
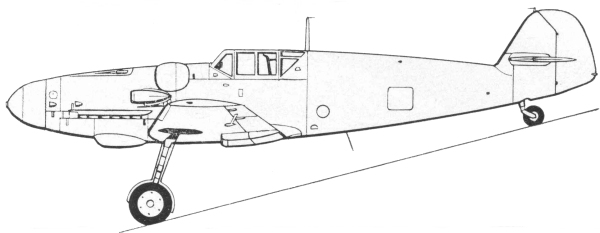
Bf 109G-6
The
G series of the Bf 109 was introduced as a result of constant
operation demands for increased fire power and additional equipment
which brought about serious deterioration in the fighter's flying
characteristics. The 109G could not be flown in the landing circuit
with flaps and gear down at anything less than full throttle and
experienced operational pilots have described it's landing
characteristics as "malicious". Nevertheless some 70% of all Bf 109
fighters produced during the war years were the G series. The most
important change over the "F" series was the installation of the DB
605A engine. the G series progressed from the G-0 through the G-14
version, each version offered differences in armament and equipment
installed. The G-6 which is the subject of this kit was designed to
take several alternate versions of the DB 605 engine, carried a
30 mm Mk 108 cannon firing through the propeller hub, two 13 mm machine
guns above the engine and two 20 mm cannons mounted in under wing
gondolas. The Mk 108 used explosive ammunition and its muzzle velocity
was only 1,760ft./ min., but it proved to be an effective anti bomber
weapon.
The Kit
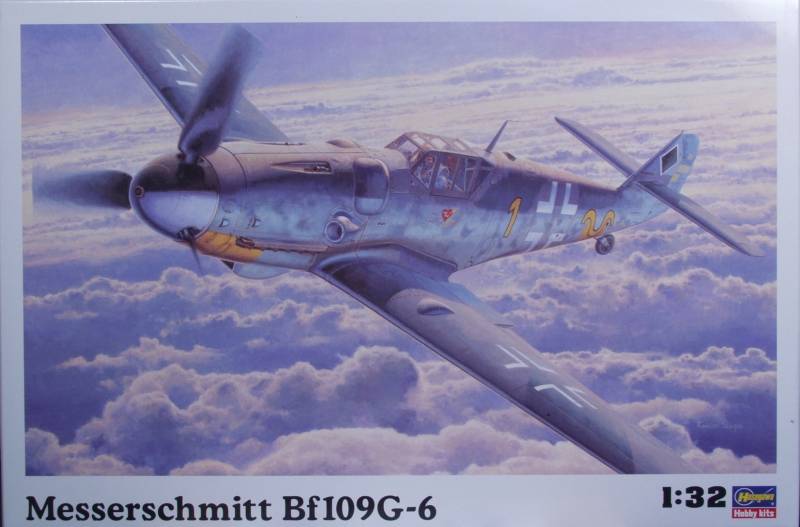
The Hasegawa Bf 109G-6 comes in a box whose size reflects the scale. The box is the top open style with Hasegawa's usually lovely artwork on top. The box is nice and sturdy with the bottom half made from corrugated cardboard. Inside the box one finds all of the parts except the clear parts enclosed in a large plastic bag. Inside the bag there are two large sprues, one medium sized sprue and three small sprues of gray plastic. The clear parts are bagged separately and not enclosed in the large bag.
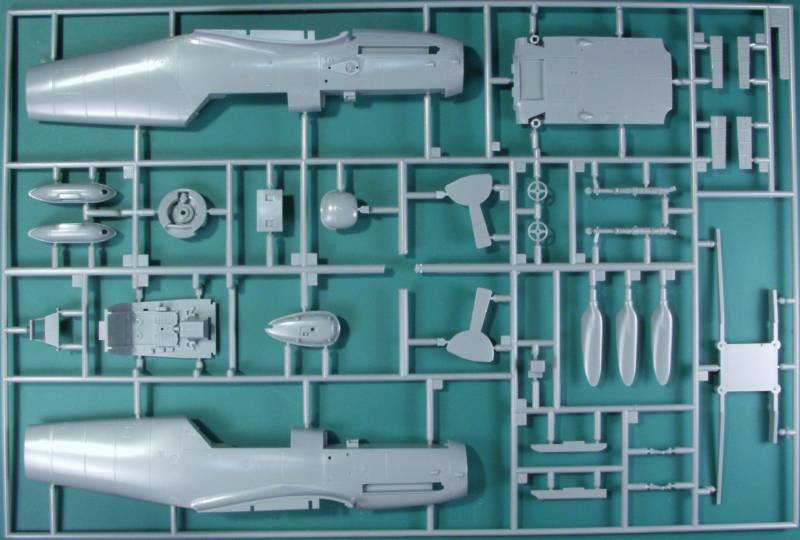
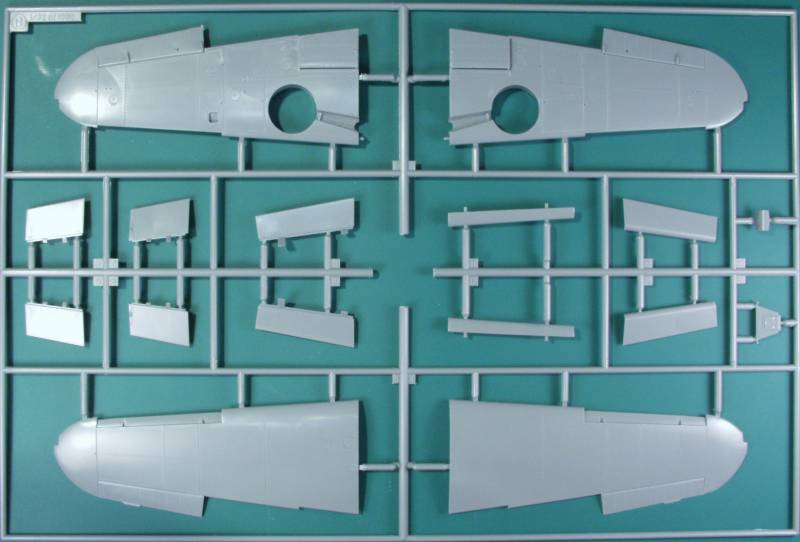
The parts are crisply molded with only a light amount of flash. The surface finish is smooth and glossy and the detail is mostly recessed, panel lines and access panels with a few raised fasteners and other details as applicable. The only surface defects I found on my kit were a couple of very slight sink marks on the bottom wing center panel where mounting bosses were molded on the inside. There was also a fair amount of scuffing on some of the parts due to the way they were packed together in a single bag. Parting lines are light and should be easy to clean up. Except for the flaps, all of the other control surfaces are molded in the neutral position. If you plan to leave the flaps down you will have a lot of ejector pin marks to clean up. Fabric control surfaces are smooth and provided with rib tapes with stitching detail. These are probably a little large for the scale but I think will look OK under a coat of paint. The piano hinge detail on panels that are hinged look nice. The leading edge slats are molded separately and I'm assuming they can be assembled open or closed but they should be open when static on the ground.
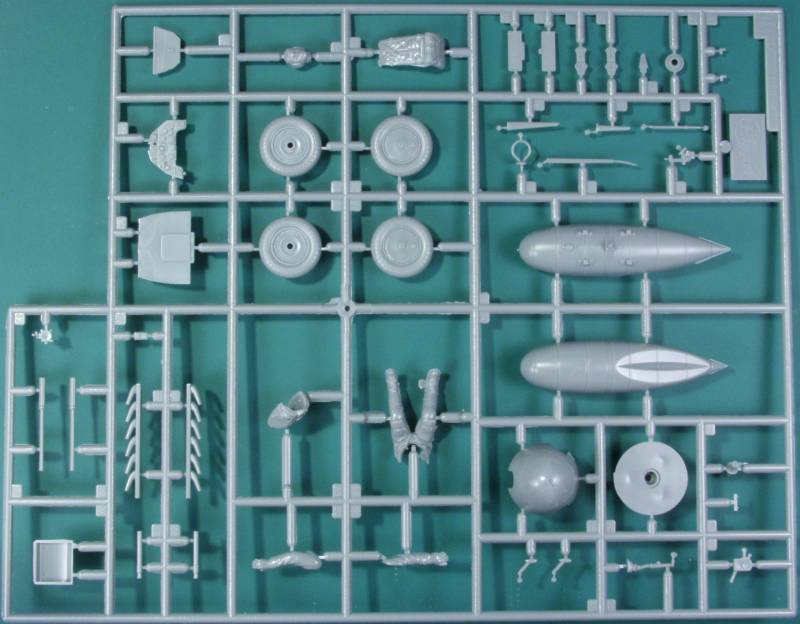
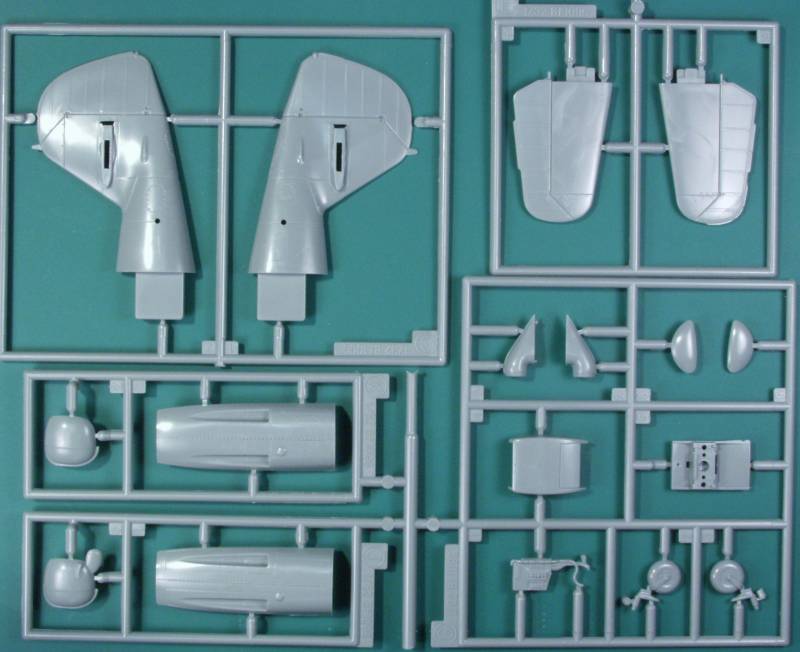
In an attempt to make the primary molds for this kit work for most of the later versions of the 109 the fuselage is molded with the tail section as a separate part. This is occurs at a natural panel line which should make any fit issues easier to deal with. There is some cockpit detail molded on the inside of the fuselage but there are also some faint ejector pin marks that will be tough to smooth out. The cockpit is well enough appointed to satisfy most. I'm sure there are some inaccuracies since that part is basically the same in all of Hasegawa's kits. In this scale one could go nuts on detailing or if you don't want to the kit contains a fairly decent pilot figure that will pretty much hide most of the visible cockpit when installed. The instrument panel has raised detail and the instruments have nicely molded internal details which should paint up nice. A decal is provided for them but due the height of the dials and other details the instructions recommend removing the detail before installing the decal. The other option would be to punch the decal dials out and place them individually or use after market instrument decals. The landing gear are nicely molded, free of ejector pin marks and include brake lines down to the oleo. There are a couple light ejector pin marks on the inside of the gear doors but these should be mostly hidden by the gear strut when installed. The wheels are molded in half and look nice but are not weighted. The tail wheel and strut are molded in two halves and are not all that convincing looking, I would have rather seen a separate wheel in this scale. Two parts are supplied for the upper cowl with slight differences depending on which markings you chose and there are different breech budges to use as well. The wheel wells are closed in with structural detail in the upper part of the well. You do need to do some minor plastic removal to adjust the wheel well shape to match the G version. This follows a line on the bottom of the wing and should be easy to perform. There is also some trimming required on the elevator trim tabs but again this is marked and shouldn't be a problem. Also if you intend to use the under wing gondolas you need to remember to open the mounting holes before gluing the wings together.There is a wing spar attached to the fuselage which should make for a sturdy wing mounting and keep the dihedral correct. The kit comes with a drop tank and under wing gondolas. There are a few parts that are not used with this version and they are clearly marked on the parts map. The sprue photos follow.
The clear parts are a bit thicker than the norm for newer kits but should look OK once dipped in Future. Two wind screens are supplied but only one is called out for use. In spite of being bagged separately I still have some scuff marks in places that will need to be polished out. The frame lines are scribed but clearly marked so masking should be fairly easy. See below.
![]()
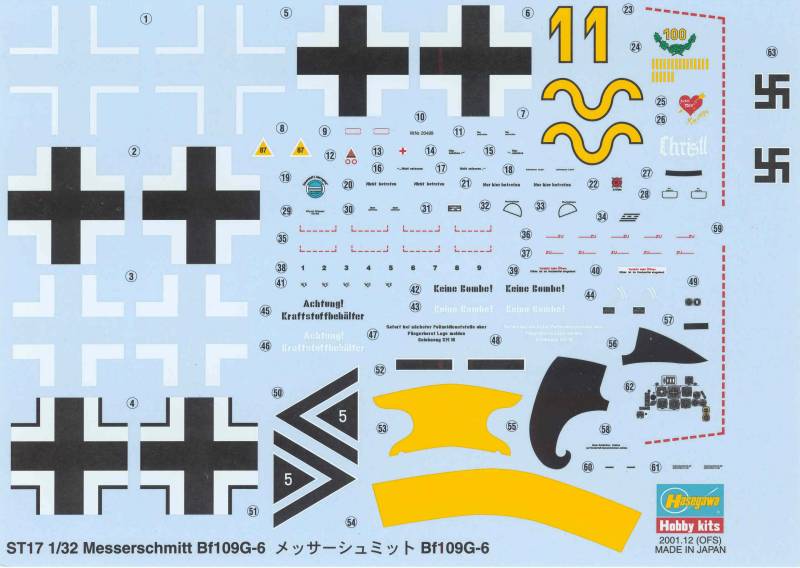
The decals are fairly normal for Hasegawa with the exception that the white is actually white instead of a cream color. They look thin on the sheet but I have varying success with Hasegawa decals. Markings for two aircraft are included, both from JG52, one is for Erich Hartman and the other Gerhard Barkhorn. A good amount of stenciling is provided. See below.
The instructions are printed on a long sheet folded to create panels, in this case 8 of them. The front panel has history and specifications in Japanese and English, the second, third and fourth panels have the assembly steps divided into 15 steps. The fifth panel has a parts map and color chart calling out colors by generic names and some by RLM numbers and Gunze paint numbers. The sixth and seventh panels have the painting and marking diagrams and the eighth panel has basic assembly information, safety warnings and decal application instructions.
After Market Goodies
I am not very good when it comes to detail painting on instrument panels and almost always opt for color photo etch if it is available, usually the Eduard ZOOM sets. In this case what was offered was just an instrument panel set. One disadvantage in this scale with the usual photo etch sets is that they are a little too one dimensional. In this case the set provides separate instrument bezels which will provide some addition depth but will also make using it very labor intensive. Combine that with the usual color discrepancy one finds in Eduard PE and it's a difficult choice. It will be a tough decision for me when the time comes. The Eduard number is 33006. See below.

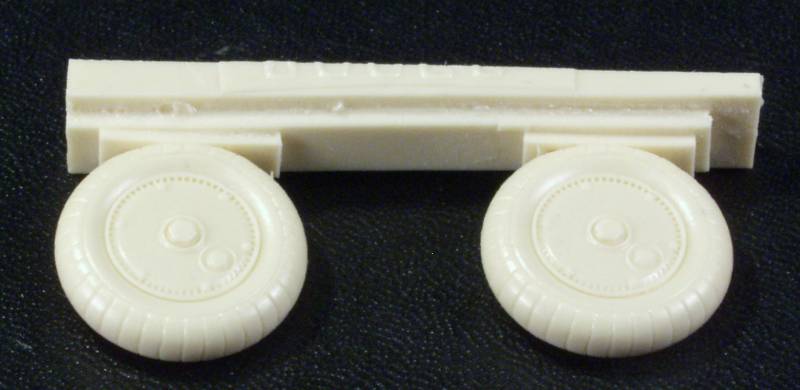
I'm not really sure why I got these other than the fact I hate doing seams on ribbed tires. These are slightly weighted but not as over done as most although the hub detail really isn't any better than the kit parts. These are from Squadron True Details, their part number 32008. See below.
Conclusions
This kit was released in the early 2000's and has held up well. It is by all accounts a fairly accurate model but I'm sure you can find expurtin that can list all the issues with it. The only one I'm familiar with is a minor shape issue with the spinner and replacements are available. I bought one for the K version and you can see it in my review of it, however the visual difference isn't that noticeable to me so I didn't opt for one for this kit. By all accounts the kit is a fairly easy build with no serious assembly issues and therefore I give it a highly recommended rating for all but the most rank beginners in the hobby.
Links to kit build or reviews
Build / reviews can be found here and here and mostly likely lots of other places as they are really popular kits.
References
I have more 109 references than I care to list and the Internet is loaded with information, let Google be your friend.
Back to the 1/32 German Aircraft Page