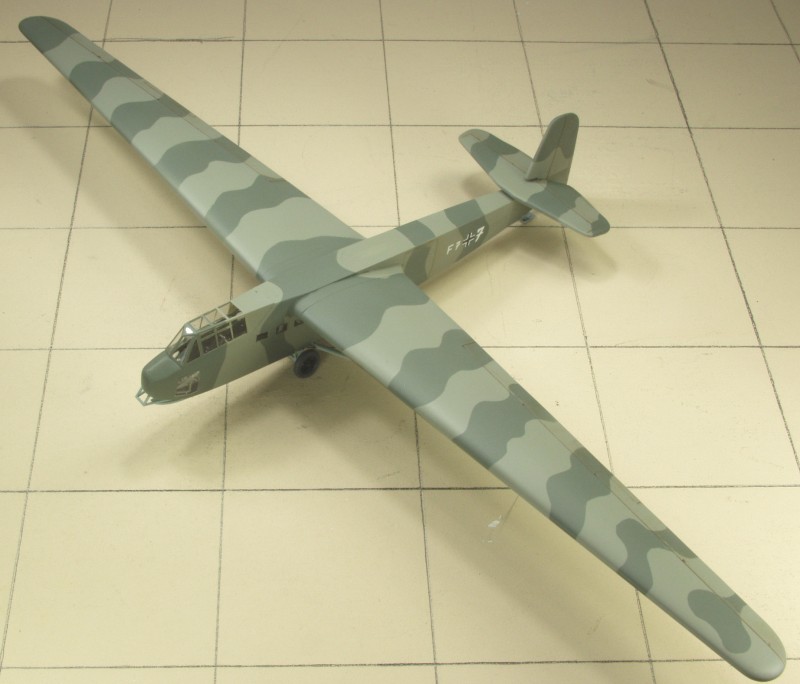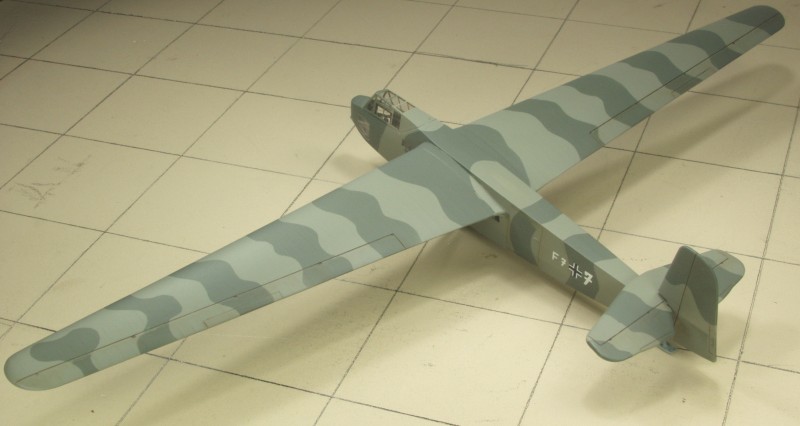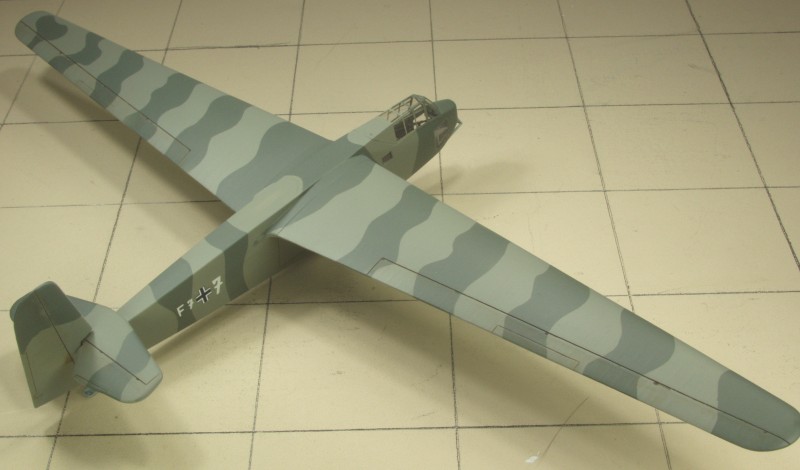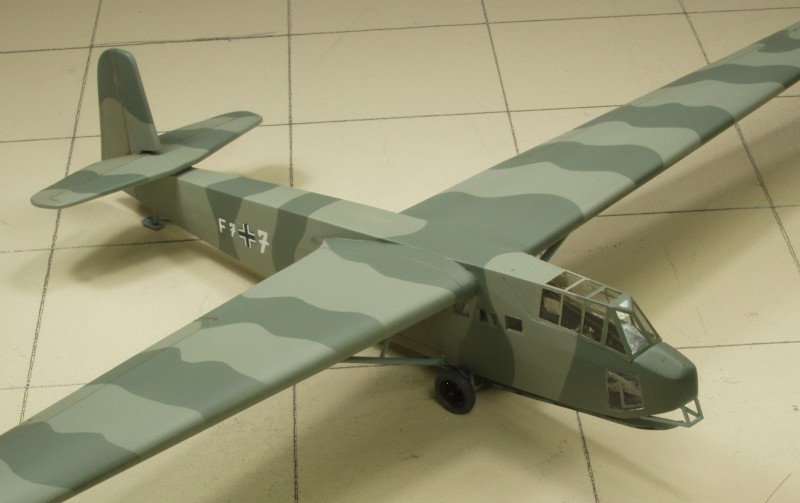
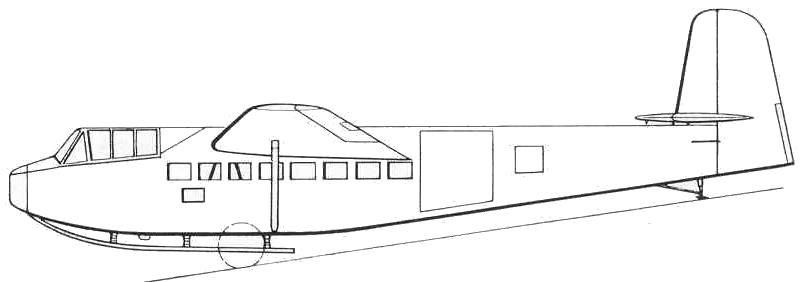
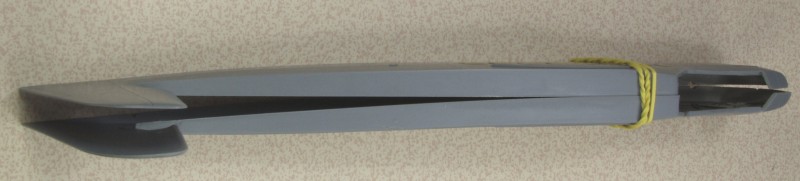
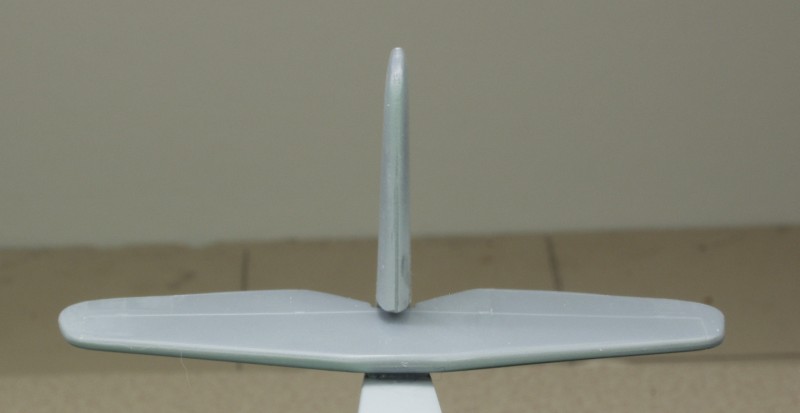
DFS 230A
The
DFS 230 was developed in the greatest secrecy and began flight
tests in
late 1937. It was the result of trials conducted in the mid
thirty's by
DFS with a large glider intended for high altitude
meteorological
research. Ernst Udet observed some of the trials and was
impressed by
its pinpoint landing capabilities. Within a few weeks DFS
received
instructions to design and construct a glider capable of
accommodating
a pilot and nine fully equipped troops. In addition to the
nine troops,
600 pounds of additional freight could be carried. A large
loading door
was provided at the rear of the cabin on the port side and a
detachable
panel was located beneath the wing on the starboard side of
the
fuselage. For takeoff a detachable two wheeled dolly was
provided. DFS
collaborated with Gotha who would be the primary manufacturer
for
quantity production. The gliders were first used in action on
April 10,
1940 when 42 gliders were involved in the attack on the Albert
Canal
and Eben Emal fortress. The gliders were able to land on the
roof of
the fortress and completely surprise the defenders. The year
following
their introduction they were used primarily for hauling
freight. The
largest single operation they were involved in was the
invasion of
Crete in which 80 were involved. They were also used to supply
various
areas in the Mediterranean Theater and were used on the
Eastern Front
as well. All totaled 1022 DFS 230's were built.
The Kit
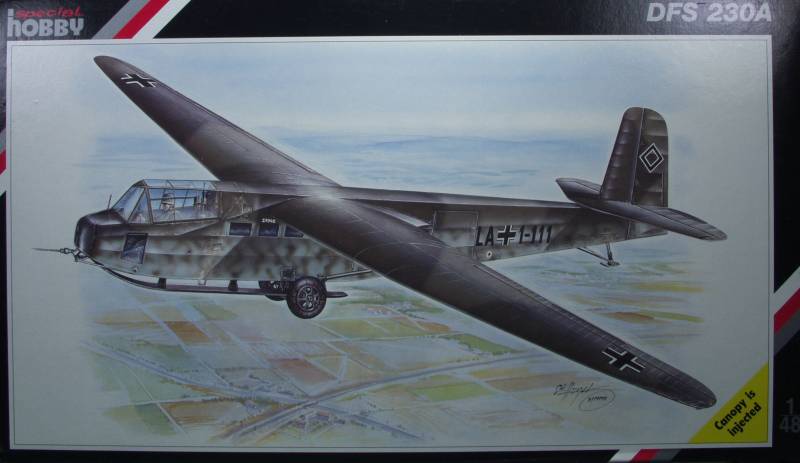
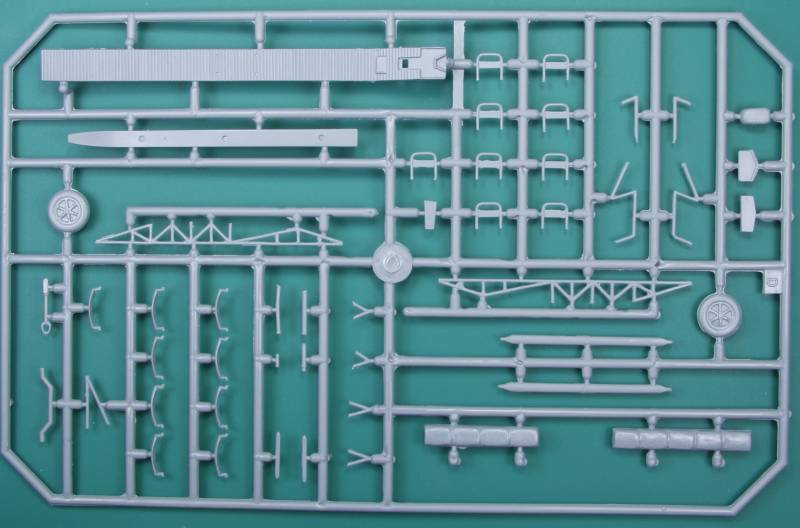
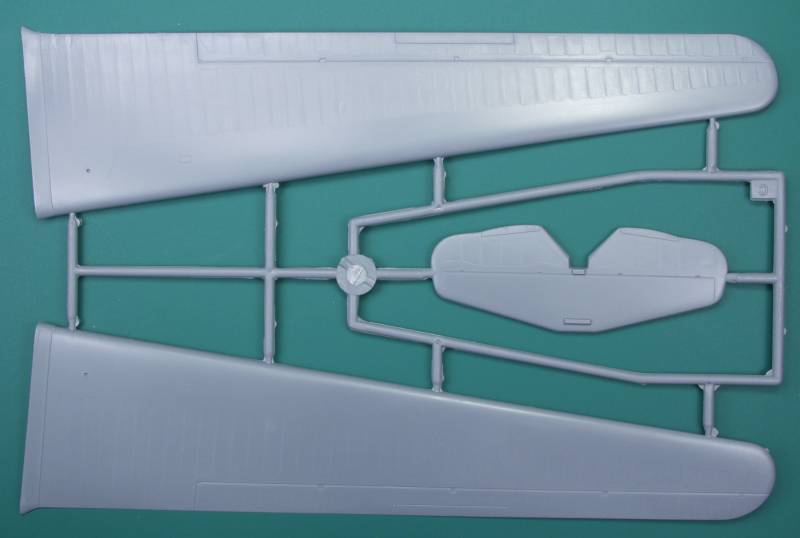
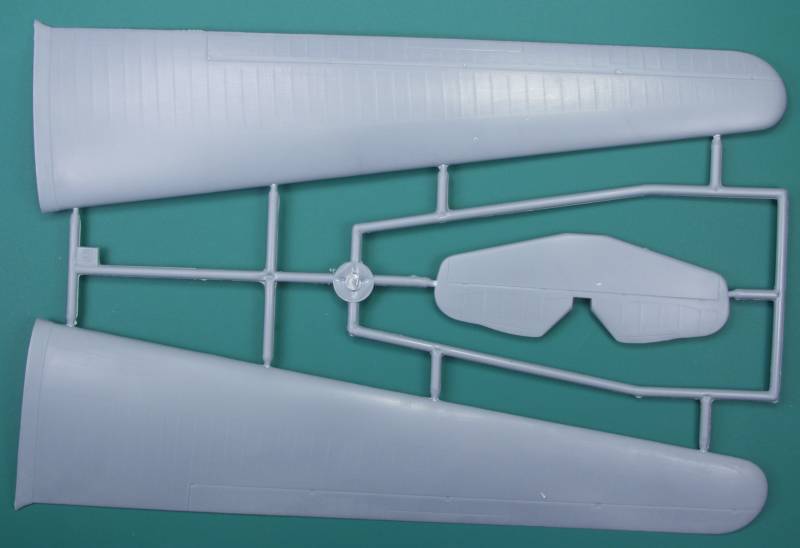
The Special Hobby kit comes in an end flap style box with nice artwork on both the front and back. Inside the box the parts are sealed in a plastic bag. In side the main bag are two smaller bags, one with the decals and photoetch parts and another with resin parts. The clear parts were not separately bagged, certainly not the best of ideas. The kit is molded in a medium gray color. The panel detail, what little there is is recessed. The aircraft featured a tubular steel frame covered with fabric and the wings were wooden forward of the main spar and fabric aft so there really weren't many panels. The fabric detail is almost not dicernible which is how it should be, more manufactures should use this kit as a standard ! The fuselage has framework detail on the inside where it will be seen but there are also some nasty ejector pin towers that will need to be removed. The surface finish of all the airframe parts is smooth and has a matte finish. I found no surface blemishes on any of the airframe parts. They have a light amount of flash. The control surfaces are all fixed. The interior consists of a floor with a frame work that gets attached to it on which the seat cushions are attached along with the seat backs, a control panel, rudder bar, stick and pilots seat, The PE parts include an instrument panel with film and seat belts and harness for the pilots seat. There is also some additional structural details to add. The small parts all have a bit more flash than the larger parts and parting lines to clean up. The wheels, which look a lot like Bf 109 wheels are not weighted. By my count there are 57 parts in gray. See below.

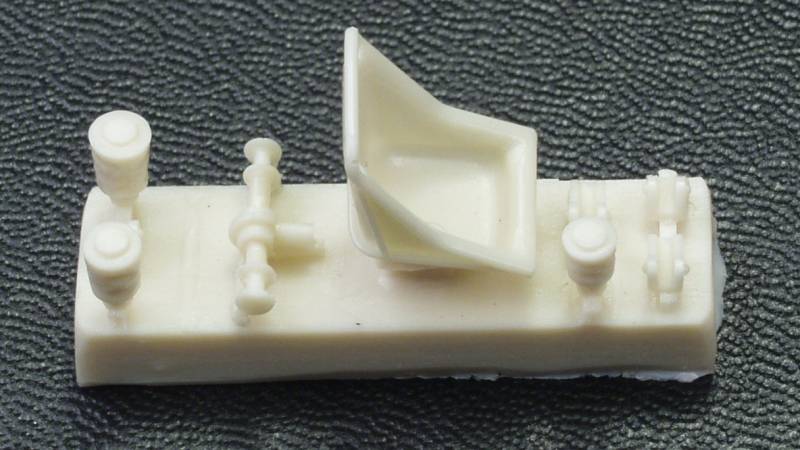
The resin parts consist of the pilots seat, rudder bar, shock mounts for the landing skid and mounting brackets for the wing struts for a total count of 9 parts. The parts are cleanly molded with little flash and no voids or pinholes. See below.
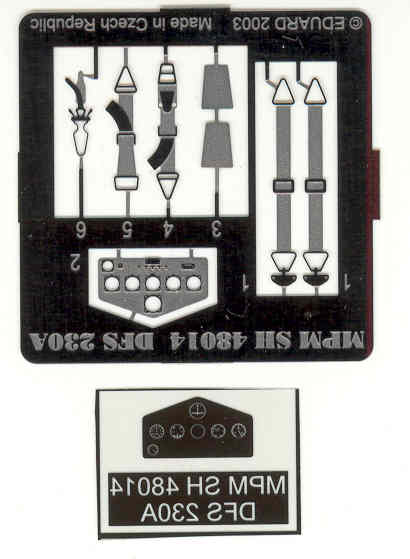
The photoetch parts are described above. See below.
The clear parts were quite clear with only a moderate amount of distortion and feature distinct frame lines for easy masking. Although they weren't packages separately they seem to have escaped damage, at least in my kit. All total there are 17 clear parts. See below.

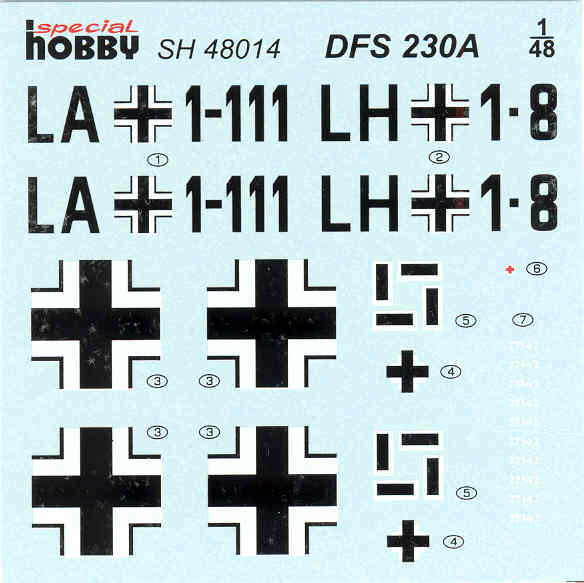
The decals provide markings for two aircraft. They appear thin and are in register. See below.
The instructions are printed on on two A4 pages and one half A4 page and folded and assembled like a small booklet with 10 pages or panels. the first panel has history in four languages, the second and half of the third are a parts map, the balance of the third through the seventh are assembly diagrams, eight and nine are painting and marking instructions and page ten has illustrations of other Special Hobby kits.
After Market Goodies
None that I am aware of, but none are really needed as the kit is complete as it is.
Conclusions
This is a nice kit of an unusual subject that hasn't been covered in this scale previously. While it has the usual short run kit attributes, no alignment pins and butt joints for the wing and tail joins, it is very nicely molded and shouldn't provide too many difficulties to a modeler with a bit of experience with kits of this type. The review posted below was favorable to the kit and it gets my recommendation as well.
Links to kit build or reviews
A build / review can be found here.
References
The Build
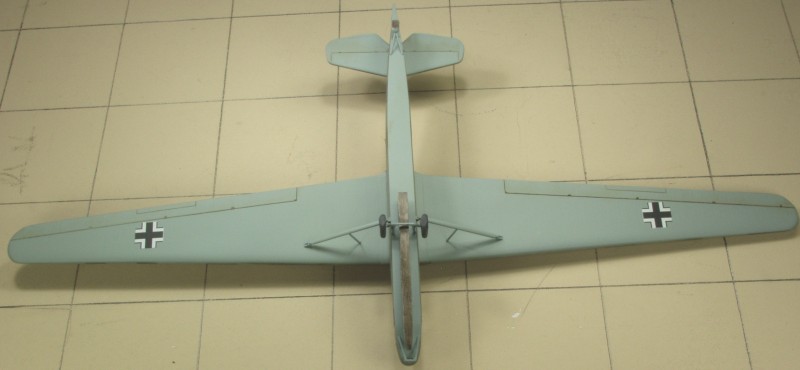
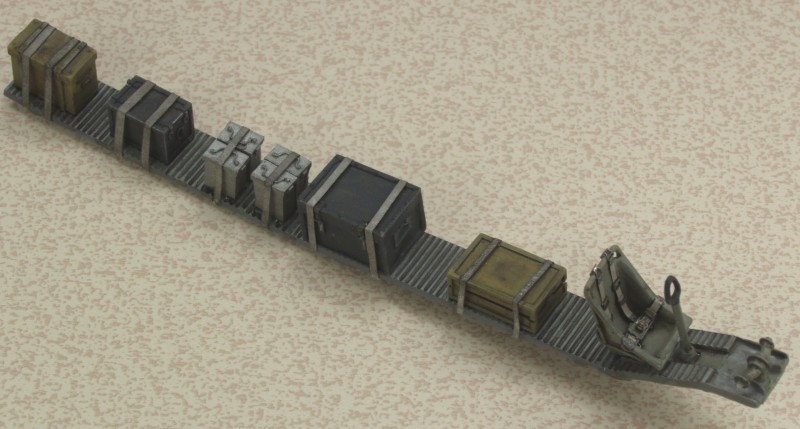
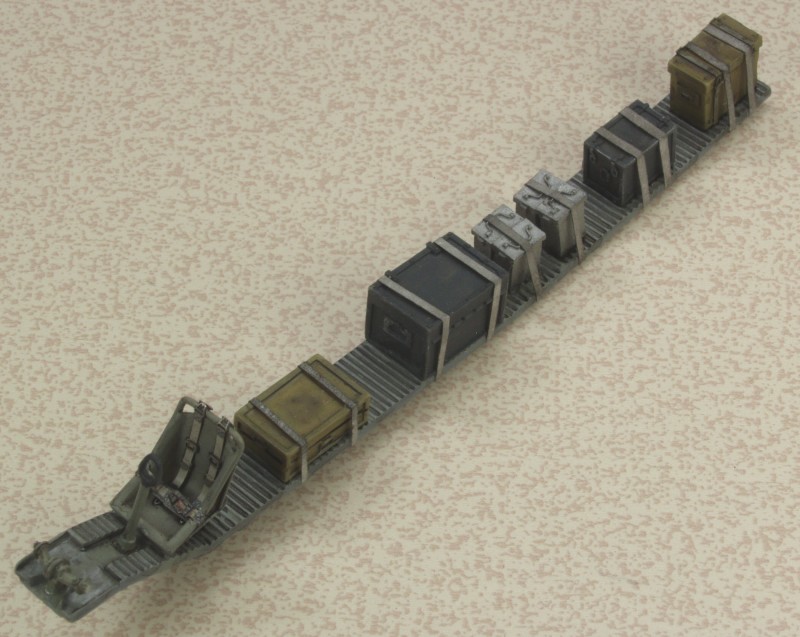
As is the norm the place to start is inside. After reading about how fiddly the seat assembly was and not looking forward to cleaning up and assembling all the seats I decided to do mine hauling freight. This was commonly done especially on the eastern front when travel by roads became problematic due to rains and spring thaw. I found some crates and other items intended to be used as stowage on vehicles and attached that to the floor. Way more fun than assembling seats.
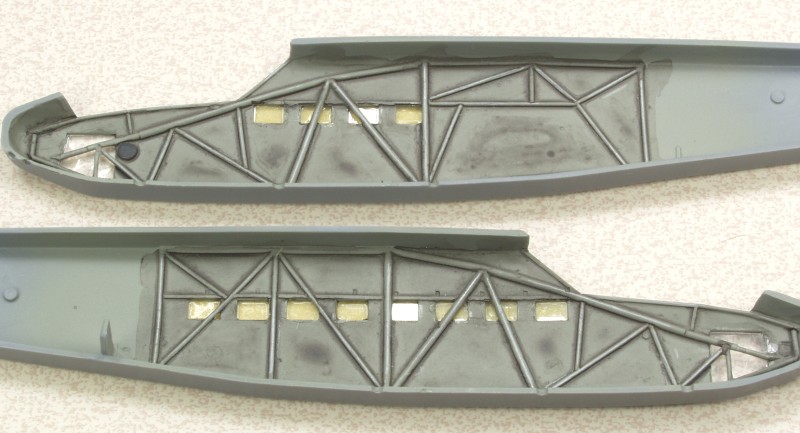
The separate internal bracing pieces were added to the fuselage halves which then had their interiors painted RLM 02 and given a shadow/sludge wash. The instructions would have you wait until after the fuselage is assembled to install the clear parts. I don't think I've ever had a Special Hobby kit that the clear parts actually fit like they should so I decided to do this first. As I suspected the windows were all over sized requiring some sanding on both dimensions to get them to fit. I took off just enough to make them a tight fit then applied Future to both sides going heavy on the inside to act as a glue to hold them in place. The next photo show the fuselage halves after the windows have been installed and mask.
I considered install the wings prior to gluing the fuselage halves together as I felt it might be easier since the wings are basically a butt joint but after test fitting the fuselage halves I decided against it. Both of my fuselage halves were badly warped and trying to deal with that with the wings attached didn't seem like a good plan.
A progressive glue job solved most of this but in spite of my best efforts I ended up with a crooked fin...

To correct this I cut a slot halfway through the fin and found a thickness of styrene that get it closer to straight.

Not perfect but a whole lot less noticeable than before...
With that issue resolved it was finally time for some paint. Most of these were painted in the standard 70/71/65 scheme with or without some mottling on the side. In looking for possible variations I found the photo below...
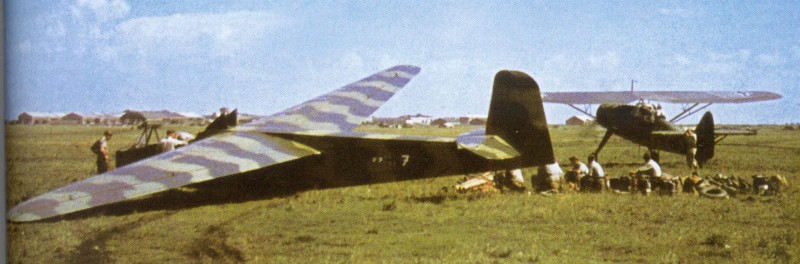
Best guess on the colors is 02/71/65, it will require some guessing but I liked this better than the standard splinter pattern. Photo was taken in Kharkov in 1943. Of interest is no apparent crosses on the top of the wing and no visible Swastika on the tail although it could be one that is just a black outline and doesn't show because of the shadows.