Ar 234B
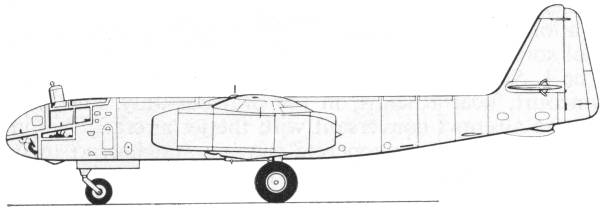
The Arado Ar 234 began its life as a response to an RLM request for a long range reconnaissance aircraft designated by Arado as project E370. Arado was given a development contract for the design in February of 1942. This project received the RLM designation Ar 234 in April of 1942. As originally designed the aircraft was equipped with a skid and outriggers for landing and used a jettisonable three wheeled trolley for takeoff thus saving the weight and space required for a landing gear and making it available for additional fuel. The prototype flew in July of 1943 and proved to be a generally successful design.
The decision to build a bomber variant necessitated a number of changes including a set of normal landing gear. The B variant first flew in March of 1944. The B2 variants were reconnaissance platforms but were also fitted with bomber equipment and associated systems
The Kit
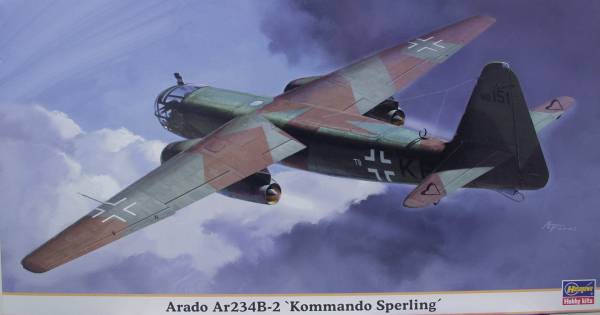
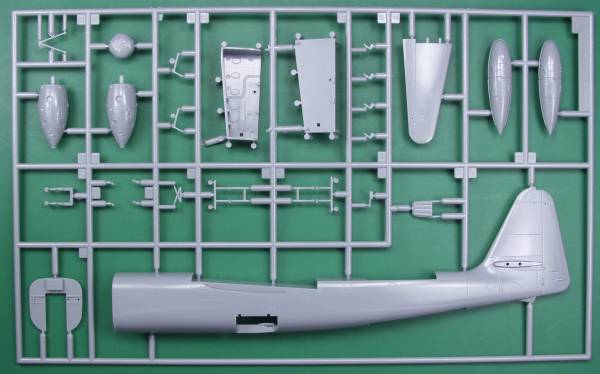
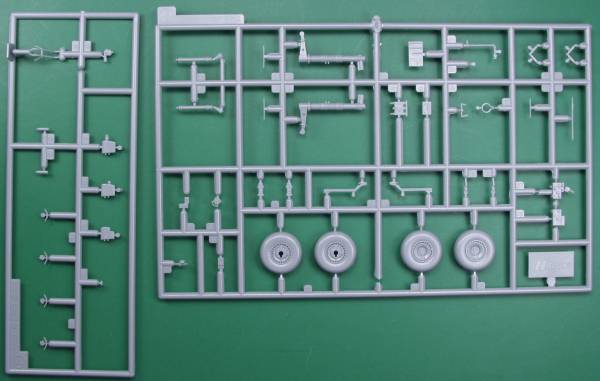
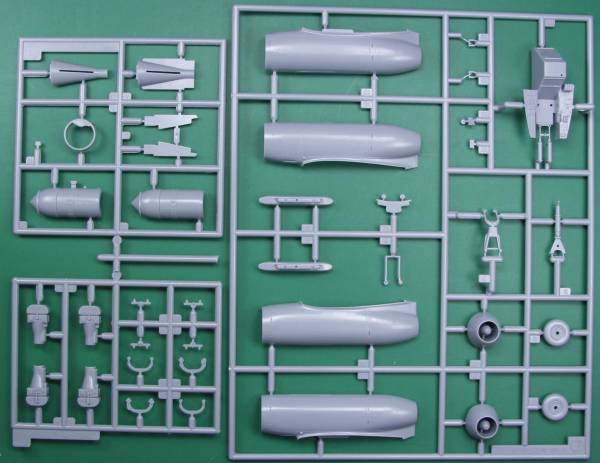
The Hasegawa kit comes in a sturdy two part top opening box with attractive artwork on the top. Inside are three bags, two with the main kits parts and one with the clear parts. While I would prefer to see each sprue individually bagged there did not appear to be any damage or excessive scuffing even though the two bags contained three sprues each. The kit is molded in light gray plastic with a glossy finish. The surface detail is recessed with both panel lines and some fastener detail. The parts are virtually flash free and even the small parts have a minimal amount of parting lines to clean up. Hasegawa also did an excellent job of keeping ejector pin marks to minimum and I had to look a long time to find the few that are visible after assembly. The kit comes with an extensive interior including the cockpit, which will satisfy most, and cameras in the rear portion of the fuselage which really can't be seen once installed. The kit does not include complete engines but there are after market items if these are desired.
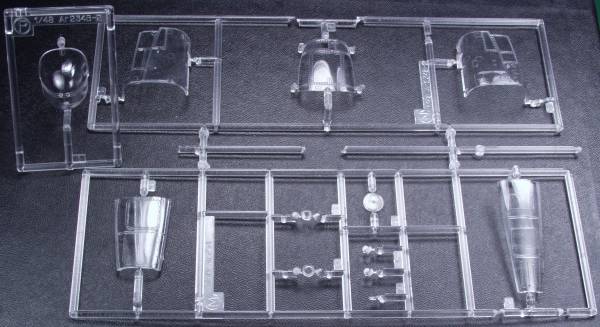
The kit includes two under wing fuel tanks and booster rocket packs. The kit exhibits good fit with a couple exceptions. The cockpit rear bulkhead is a little over sized and will cause problems closing the fuselage if not filed to fit ahead of time. The other issue deals with the alignment pins on the wings. If used these will cause issues with both the wing tips and fuselage join. The pins are best cut off and the wings aligned and glued together. There are a total of 155 parts molded in gray. The clear parts are reasonably thin and clear with well defined frame line. The only problem with them is that there is a seam line that runs down the middle of the nose cap. Fortunately it is on the outside and can be sanded out and re polished and with a coat of Future should disappear. Total for the clear parts is 12. I not sure why but there is on cast part included with the kit, must have been an oversight and was cheaper to add as a cast part than to redo the molds, it's the part to which the rudder pedals mount. See photos below for the sprues in the kit duplicate sprues are not shown.


The decals provide markings for two aircraft from
"Kommando Sperling" both from 1944 and use the same paint scheme and
markings except for radio call letters and work numbers. The decals
appear thin and are in register and include swastikas. The sheet
provides some small markings and instrument decals if you use the stock
instrument panel and side consoles. See below. After Market Goodies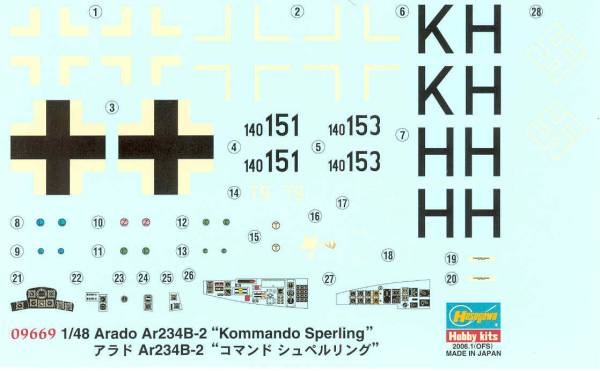
Unfortunately I can't help myself when it comes to after market goodies and I plan on using the following parts to further enhance the kit;
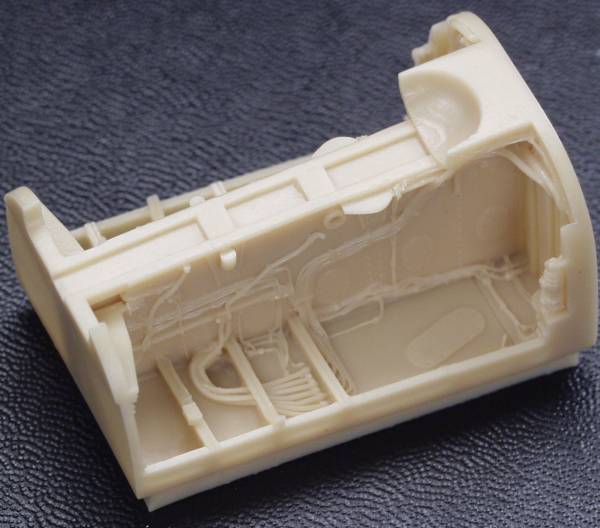
Aires 4153 Main Wheel Bay set.
I had an opportunity to obtain this set on sale otherwise the kit parts were more than adequate. This set includes a much higher level of detail and should look really sweet painted up and given a shadow wash. The parts are molded in a tan resin and include the wheel bay, the recessed bomb mount and two what appear to be gear door latches. They exhibited very crisp detail, no visible pin holes, trash globs or short shots and had very little flash to clean up. The pour blocks should be easy to remove. The instructions, such as they are are printed on a 3 1/2" x 5" piece of paper printed on both sides. See photos below.
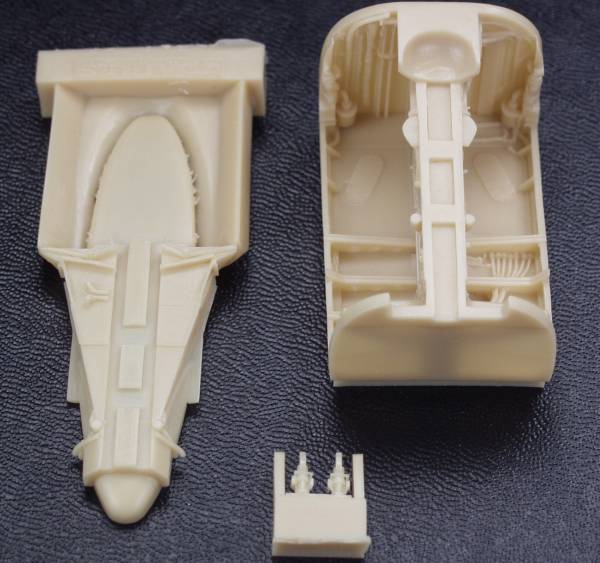
AMS hit me really bad on this kit and as a result I ended up also acquiring the Cutting Edge CEC48406 Super Detailed Cockpit set.
The set includes new side consoles and instrument panel with film instruments, a replacement pilots seat with belts and harness molded in, and a whole bunch of incredibly small other parts to dress thing up. Typical for Cutting edge the parts are molded in a gray resin, crisply molded with no visible defects. The instructions are printed on an 8 1/2" x 11" sheet printed on both sides, the front having all the instructions and a parts map and the back having photos from the aircraft at NASM.
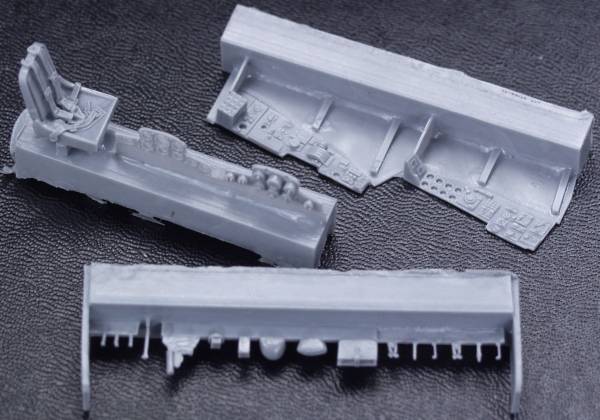
Heck, I've gone this far no reason to stop now, I also acquired the Eduard set 48399 as well. While some of these parts will be redundant, some are not and it will add yet another layer of detail to look at through all that glass in the nose. The instructions are typical for Eduard. See photo below.
And one last thing required to keep this bird from
being a tail sitter and that's a weight from Terry Dean. This weight is
just the right amount to keep the nose firmly planted and it fits right
into the fuselage behind the cockpit. See below.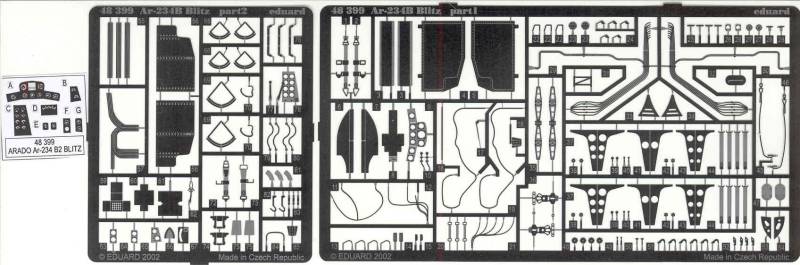
I also opted for an Eduard mask set EUEX085 as I hate masking canopys.
The instructions are printed on a 10 1/4" x 28 1/2" page that is folded in quarters to provide eight panels. The first panel is history and specifications, the next three are assembly instructions, the next has a parts map and paint color list, the next two panels are painting and decal instructions and the last panel has the decal installation process and the usually safety warning.
This is an excellent kit right out of the box and will go together easily if you take the advise given earlier concerning filing down the rear cockpit bulkhead until the fuselage halves come together correctly and cut the alignment pins off of the wing halves and align the wings at the tips. This is a nicely detailed kit right from the box and can really be jazzed up with after market items if so desired. I give it a hearty recommendation.
Links to kit build or reviews
Kit builds / reviews can be found here and here.
References
"The First Jet Aircraft" by Wolfgang Wagner
Last updated 5/10/08