
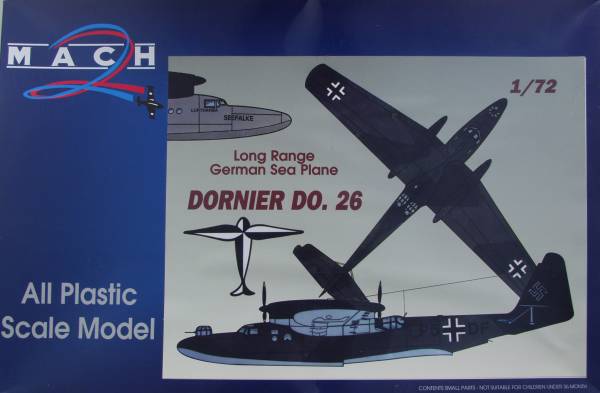
Do 26D
The Do 26 was a complete breakaway from traditional Dornier seaplane design which included a pylon mounted wing and stabilizing sponsons. When it appeared in 1938 it was without a doubt the shapeliest water-borne craft of its time. While it didn't employ any noteworthy innovations or display any previously untried features, it carried aero dynamic cleaniness to what was considered the ultimate for aircraft in its catagory. Work on the craft had been initiated in 1936 for Lufthansa to meet a requirement for an aircraft capable of operating non-stop between Lisbon and New York. The rear engines drove pusher airscrews through hinged extension shafts that allowed them to be raised 10º during take off and landing to keep them out of the water spray. Lufthansa ordered 3 of the craft with and option for 3 more in 1937. The first two aircraft made 18 South Atlantic crossings prior to the outbreak of the hostilities. Lufthansa had elected to take their option on the additional 3 craft but before any of the remaining planes on the order were delivered the RLM instructed Dornier to complete the aircraft for the task of long range reconnaissance and transport under the designation Do 26D. This conversion consisted on mounting a bow turret of the Bv 138 type, lateral glazed blisters amidships and a machine gun position located in a watertight position behind the rear hull step. It also included installing military radios and instruments. These together with the second aircraft produced were pressed into service during the Norwegian campaign flying in and out of narrow Norwegian fiords on troop transportation and resupply missions. Two of the craft were lost to fighters. The remaining three were withdrawn from first-line service and used on communications tasks until servicing difficulties necessitated their retirement. At least two of them survived until 1944.
The Kit
The Mach 2 kit is a typical short run kit with all the issues that give short run kits a bad name, huge injector pins, sink marks, pebbly surface finish, heavily flashed parts, no alignment pins, globs in the surface finish and on and on. So why bother, well for one thing it's most likely the only injection molded kit of the Do 26 we're ever going to see and hey, I like a challenge ! OK, here's a look at what's in the box...
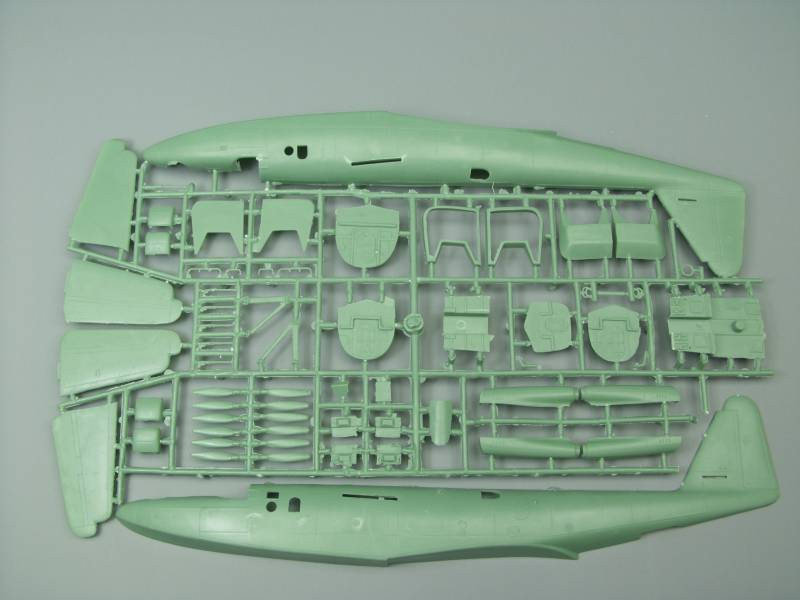
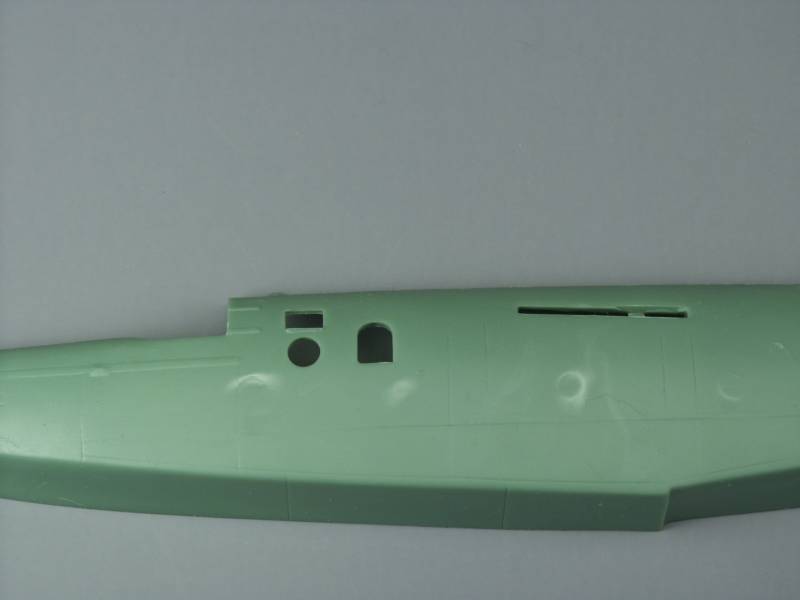
Two large sprues containing all but the clear parts. The kit contains a fairly complete cockpit compared to some of the other Mach 2 kits with fore and aft bulkheads for the flight deck and the same for the aft gunners area, the flight deck has seats for all the positions, instrument panel, rudder pedals are molded into the flight deck, engineers station, partitions and work tables. Some structure details and other items are molded into the fuselage sides. The detail seems a little soft on these but I'm not big on doing 1/72 scale interiors anyway ! Even in the views above the sink marks in the fuselage are apparent. The views below show some of the huge ejector pins, some of the interior and other trash on the inside of the fuselage and the accompanying sink marks on the outside. Most of the inside ejector pins are not a problem but two of them are in the cockpit area and need to be removed for the flight deck to fit properly.

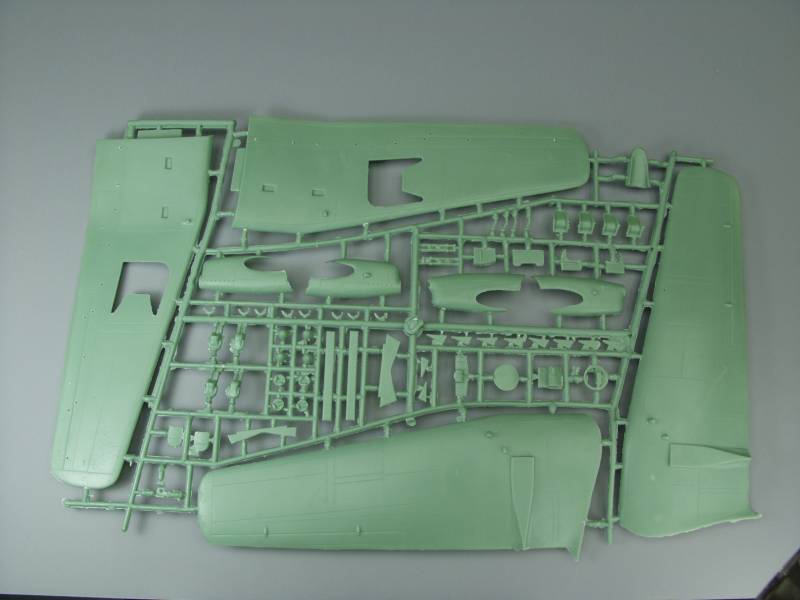
The next photo shows the extent of the ejector pins on the inside of the wings, many of these will need to be removed in order to allow the wings to fit together. It also shows the 4 pathetic crew figures supplied, these are best left on the sprue and trashed !

The last sprue is the clear parts, if you can call them that, shown below. The kit can be built as both a civilian of military model and canopies are suppled for both. For the civilian versions plugs are provided for the turret, gun blisters and rear gunners position.
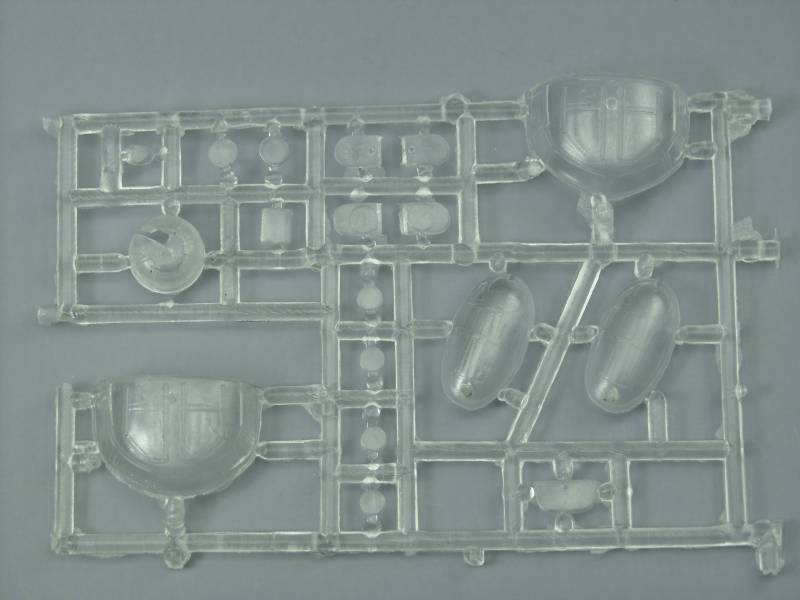
There are other options for the clear parts and we will discuss those later.
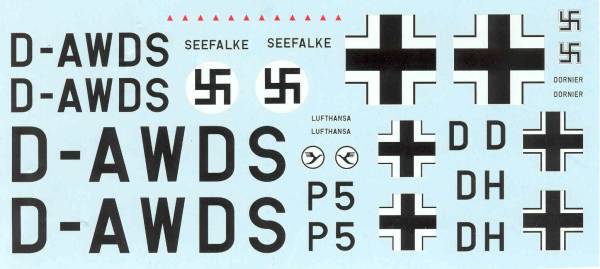
And finally the decals shown below. Registration looks good and swasticas are included.
Links to kit build or reviews
A review / build can be found here.
References
"Warplanes of the Third Reich" by William Green
The Build
As one can imagine a large portion of the time to build the kit will be spent cleaning up parts, filling sink holes and dealing with poor fitting parts, ahh the lot of the short run kit builder. Since I knew the fuselage was going to require a lot filler work I made it a priority to get it assembled first, This means getting the interior built. The instructions are not all the helpful. They give you an isometric drawing showing the relation ship of most of the parts but they do leave a lot to be desired. I figured it would be unlikely that any interior photos existed but after a short search I can upon this site which low and behold had interior photo's which answered most of the questions that the lackluster instructions had left me. These can be found at this LINK.
All of the interior bulkheads and floors were removed from the sprues, cleaned up and test fitted. The parts don't interlock in any way and trying to hold them together and fit them in the fuselage proved to be fussy so I started by glueing the rear bulkhead of the rear gunners station to the floor with Tenax and before it completely set I placed it in the fuselage along with the forward bulkhead and adjusted as necessary. When the rear bulkhead had set up I did the same for the forward bulkhead. This was repeated for the cockpit area. I found I needed to remove two of the ejector pins to allow the floor to fit properly. For this I used a burr in flex shaft on my Dremel tool to grind it down flush. Since it really won't show I didn't bother to sand it smooth. Next the rest of the cockpit parts were cleaned up.
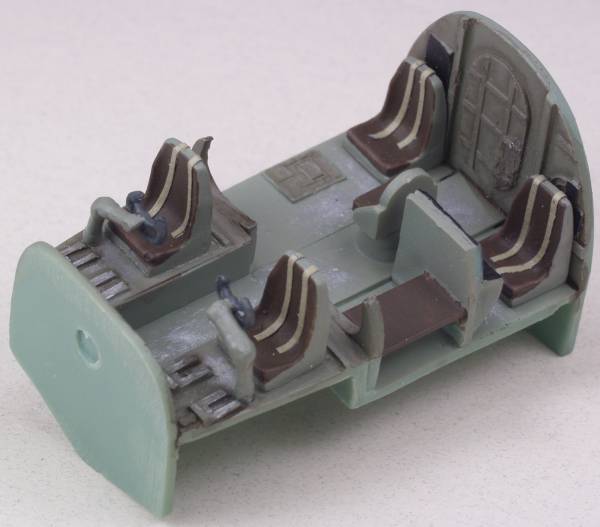
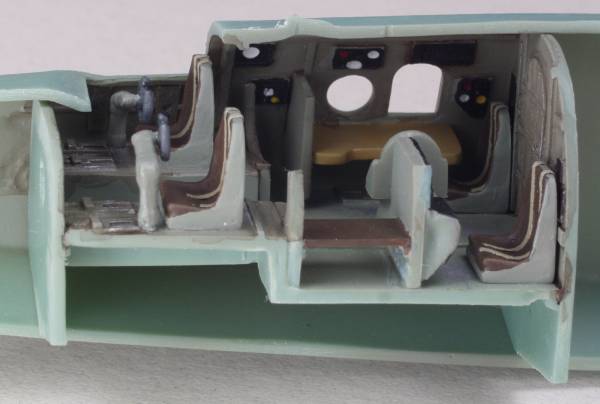
In reality the kit supplied parts are not that far off, certainly close enough for the scale anyway. At the time these planes were built RLM 02 was still the standard interior color so most of the interior was painted with that and given a shadow wash to pop out the detail. Seats were painted brown and some simple harnesses were made with masking tape and painted. The electrical boxes, instruments and other details were painted various colors and the floor areas were dry brushed with aluminum where the paint would have worn from foot traffic. Nothing spectacular but considering most of it won't be visable after assembly it's good enough for me. See photo's below. Other than bulkheads and the floor there was no detail in the waist gunners positions but the area got painted RLM 02 and washed like the cockpit area. A couple shots of the interior are shown below...
Last updated 5/10/08