
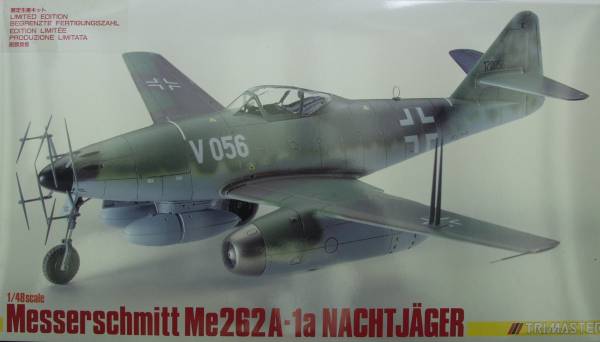
Me 262A-1a
Night Fighter
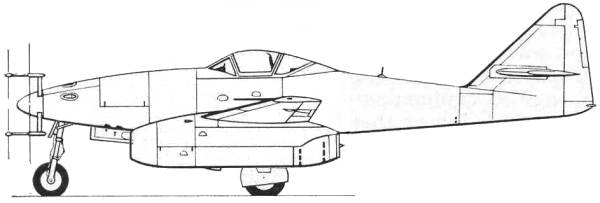
The Me 262A-1a night fighter was a one off creation to test the feasibility of using the Me 262 as a night fighter. These trials were were successful enough to warrant adapting the trainer version, the Me 262B-1a, to a two seat night fighter the Me 262B-1a/U1. Oberleutnant Kurt Welter piloted V056 during the tests and achieved no less than five kills with two Lancasters and three Mosquitos shot down.
The Kit
Trimaster started a trend back around 1990 by producing highly detailed and accurate models which included cast metal and photoetch parts. These kits also started the trend towards high prices for detailed multimedia kits. Unfortunately after producing eight or so kits the company went belly up. The Dragon Model company bought the dies and over the years has re released most of the original Trimaster kits under their name with the big difference being that they replaced the cast and Photoetch parts with plastic parts. I managed to get this kit on ebay for about what it sold for new. While the Trimaster kits had a nice level of detail they also had their share of fit issues, especially their Me 262 kits. From what I have read it's mostly due to the fuselage not holding its shape causing the wing join to be less than satisfactory and the best way to fix it is to install a bulkhead or stiffener to keep the fuselage where it should be.
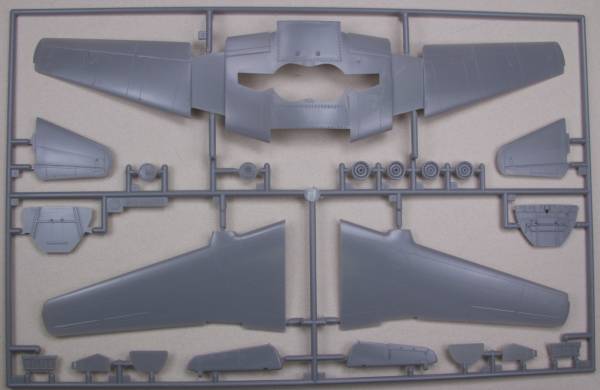
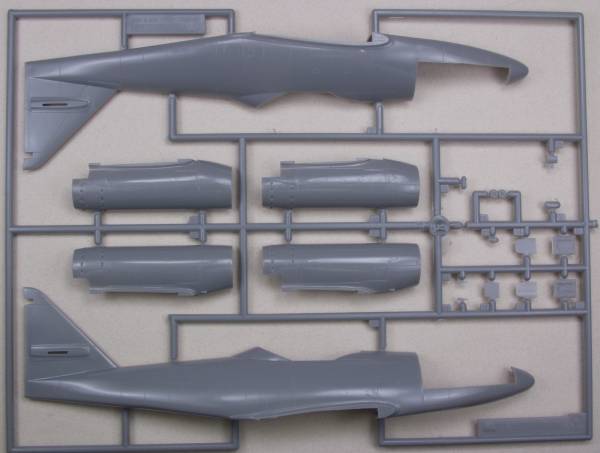
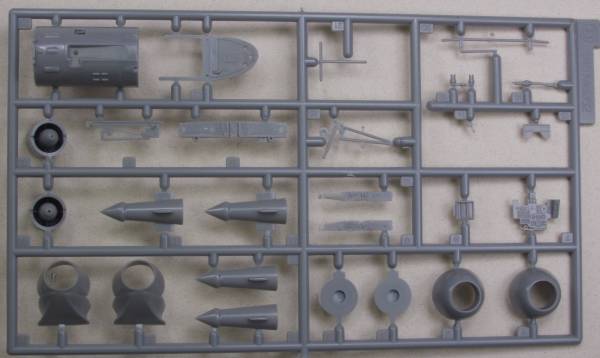
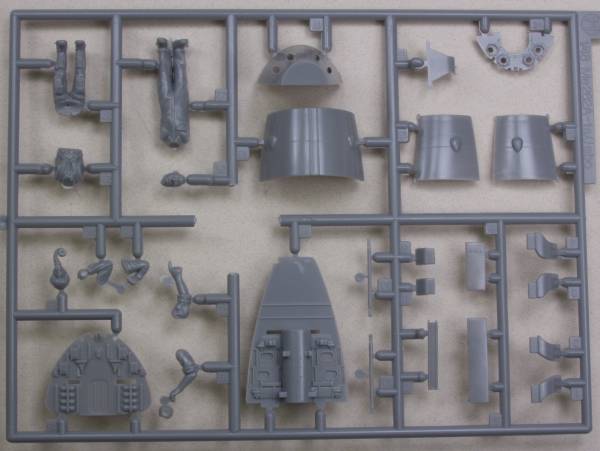
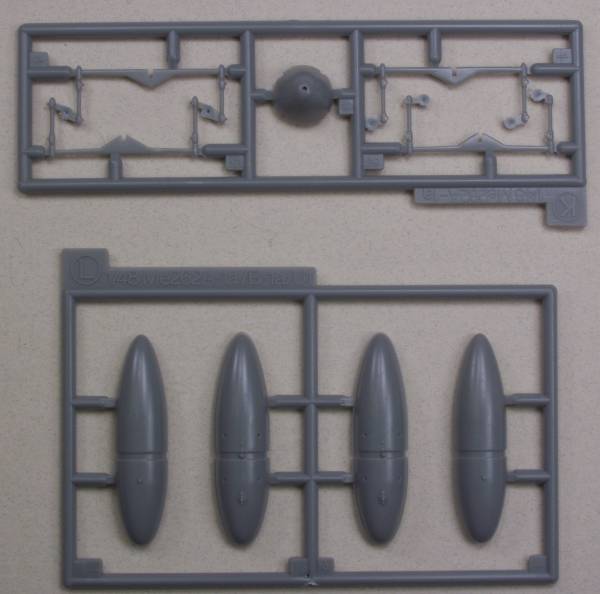
Inside the box there are four bags of goodies and a box at one end with yet more goodies. Two of the bags had two sprues each while the third had only one and the forth had the clear parts. The parts are molded in a light gray plastic with a glossy finish and the sprues that had been bagged together suffered from some scuffing over the years but nothing terribly serious. The parts feature recessed panel and fastener detail and raised detail where applicable. The panel lines are quite fine. Some parts exhibited some flash a few had a fair amount and there are the usual parting lines to deal with on the smaller parts. The cockpit and gun bays are nicely detailed using a combination of plastic and photoetch parts. Other photoetch parts are provided for extra detail in the wheel wells. The major airframe pieces were free of surface defects. All flight surfaces are fixed. A few ejector pin marks can be found inside of gear doors and the gun bay access doors. The gun bay doors can be made to open if desired, there are two sets, one for opening doors and a one piece part if you decide to leave them closed. Two figures are supplied, a pilot and ground crewman. These are in several pieces and need to be assembled. There are no engines, only intake and exhaust parts. The nose of the fuselage needs to be cut off so that the radar nose can be installed. By my count there are 99 parts in gray plastic. See photos below.
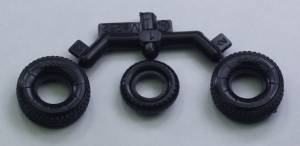
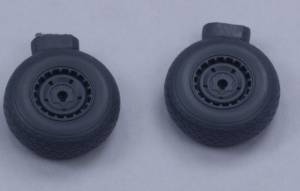
The tires are vinyl parts which have a bad reputation in the amongst hobbyists as they either crack and split with age or in some cases eat the plastic to which they are attached. See below.
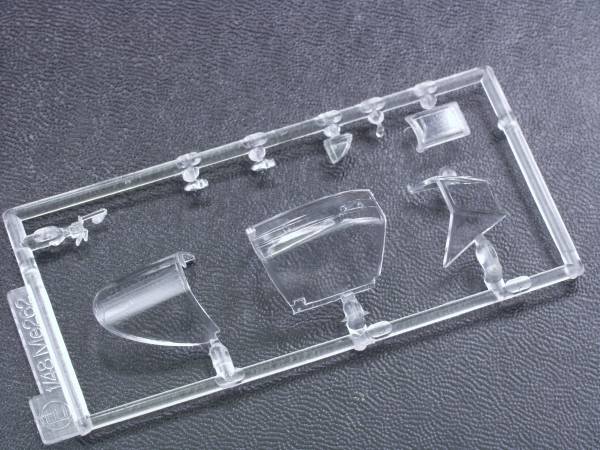
The clear parts are thin and reasonably clear. The canopy is in three parts so it can be displayed open and there is a photoetch part to simulate the spring and retaining wire that keeps the cockpit glass from opening too far. The armored piece for the windscreen is a separate piece. All together there are 9 clear parts. See photo below
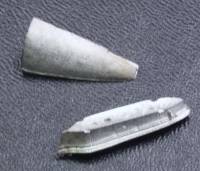
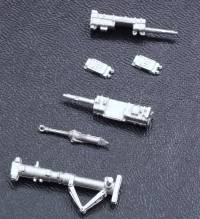
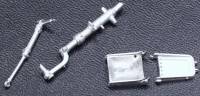
The cast metal parts consist of the main and nose gear struts and actuators, the fuel tank pylons, the guns, the pilots seat and two filler pieces which appear to provide extra weight when combined with the other metal parts to keep the nose on the ground without any additional weight. The parts are nicely molded with minimal parting lines and flash. There are a total of 20 cast metal parts. See photos below. Note: Only one of each part is shown.
There are two frets of photoetch, one has mostly cockpit details and the other has some structural details. By my count there are 46 PE parts. see photo below.
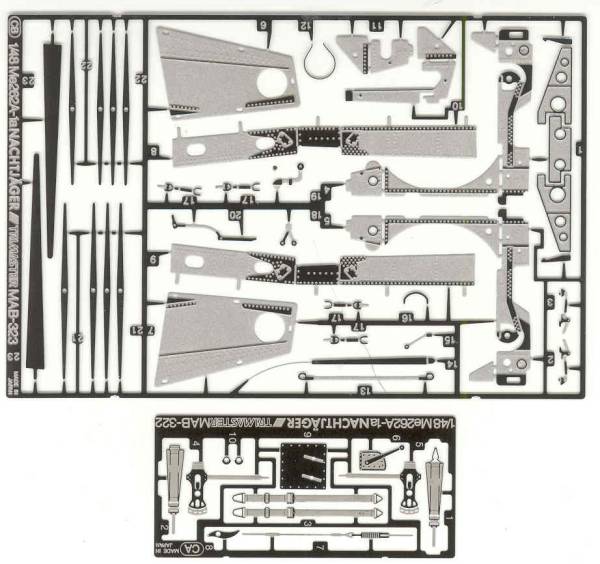
If all that wasn't enough the kit includes pieces of hypodermic tubing and fine wire to fabricate the nose radar antenna. You are provided with two choices here, you can either used the tubing and wire and duplicate the FuG 218 radar antenna or used photoetch pieces and do the FuG 226 antenna. The latter also requires to long vertical antenna on the port wing which look to be very delicate. The tubing and wire looks much better in my opinion but the photoetch would be quicker and easier. There are different plastic mounts used depending on which you choose so you must be careful when assembling things. These parts bring the kit total to 179 parts. Quite a haul for a plane this size.
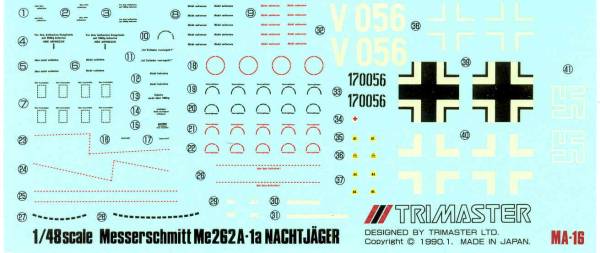
The decals include marking for one aircraft as there was only one of this version built. The decals look a bit thick and have a matte finish. There are a lot of stencils and walk way markings and swastikas are included. The registration on my set was good. see below.
The instructions are printed on a sheet that is A4 in height and 4x A4 in width. This is folded to form an eight page booklet. Page one has the history and specifications in six languages, page two has a multilingual paint list by color name only, an icon chart and cautions as well as the first assembly step. The next five pages cover assembly. Page six has a parts map and decal instructions. A separate A4 size sheet has the painting and marking locations.
After Market Goodies
OK, after all that is anything else really needed. Well that depends on how bad your AMS is I guess. Since the vinyl tires are not trust worthy I got replacement main wheels from Cutting Edge [CEC48370] that boast that they have the correct hexagonal tread. I not sure I know the difference but they are different from the one supplied in the kit. I probably could have gone with a True Details set and got all three wheels but they seemed too flat to suit me so I guess I'm going to go with the vinyl nose wheel for starters. See below.
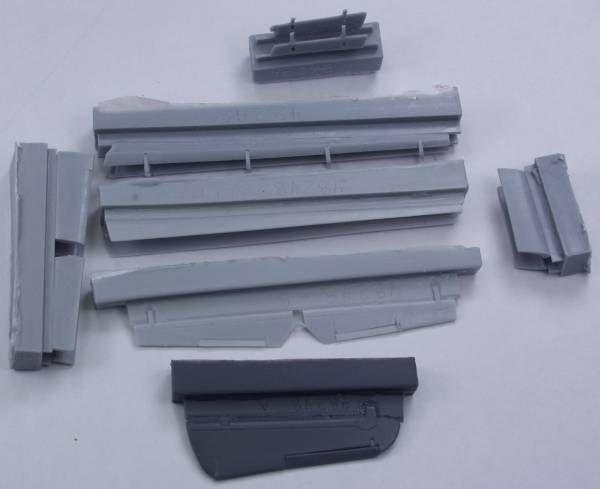
The other thing that bothered me about the kit and Tamiya's 262 as well is that the leading edge slats are molded closed. These rather prominent items are alway open when the aircraft is static on the ground. The only way to fix these unless you are real good at scratch building is with the Cutting Edge [CEC48248] Flying Control Surfaces and Slats kit. I'm not sure I want to replace all the control surfaces but I do want the slats. The set is shown below.
Conclusions
With all the parts this kit includes and the added items it will no doubt be a long build but should produce an outstanding model when complete. While no longer available except through meets or ebay the basic kit can still be had from Dragon as they release it every now and again. The Dragon kit will require some additional after market items to bring it to the level suppled by this kit.
Links to kit build or reviews
A build / review can be found here.
References
"Warplanes of the Third Reich" by William Green
"German Jet Aircraft" by Hans-Peter Diedrich
"The First Jet Aircraft" by Wolfgang Wagner"
Updated 5/10/08