
Me 262B-1a/U1
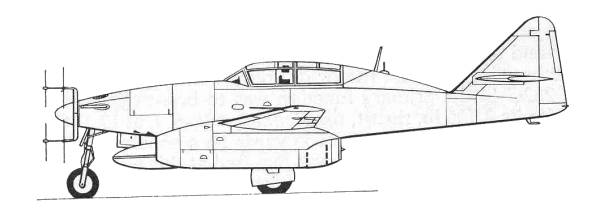
The use of the Me 262 as a night fighter resulted from a series of trials performed at Rechlin in October of 1944 by Oberst Hajo Hermann and Oberleutnant Behrens with an Me 262A-1a equipped with intercept radar. The success of these trials resulted in the decision to adapt the Me 262B-1a trainer as an interim night fighter. The two seat version went to Kommando Weltner, a unit that had already been using single seat Me 262A-1a's for night fighting using Wilde Sau techniques. This group became 10./NJG 11 in April of 1945 which operated in defense of Berlin. The group was the only one to receive the two seat night fighter and they received fewer than ten of them.
I probably should have chosen a standard Me 262 to be included here but since the night fighter version didn't quite meet the criteria set forth in the night fighter page and for some reason I've always liked the look of the two seater, I decided to go with it here.
The Kit

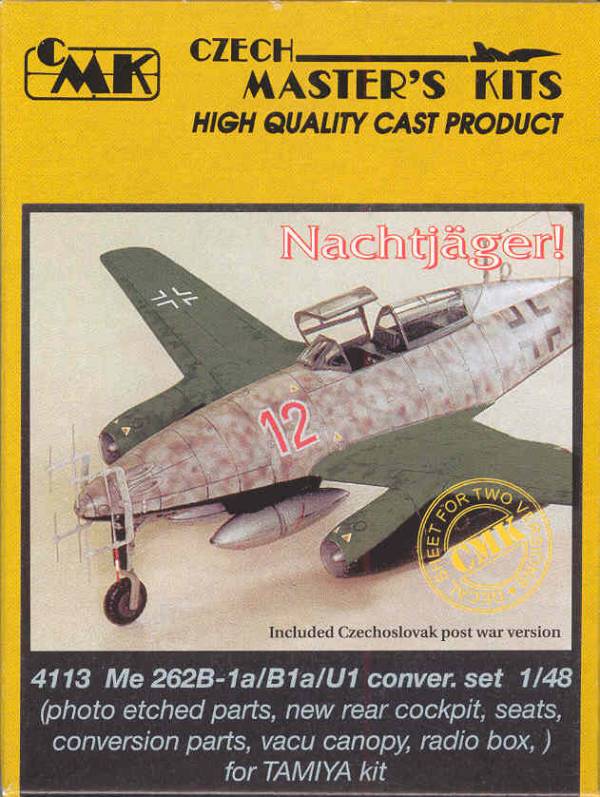
The Dragon kit, formally Trimaster, is the only one I am aware of in 1/48 scale and had been my original choice but it is currently out of production and several attempts to get one on Ebay did not bear fruit. I recently discovered the CMK conversion kit that converts the easier to build Tamiya kit, shown above, into the B-1a/U version so I decided to give that a try.
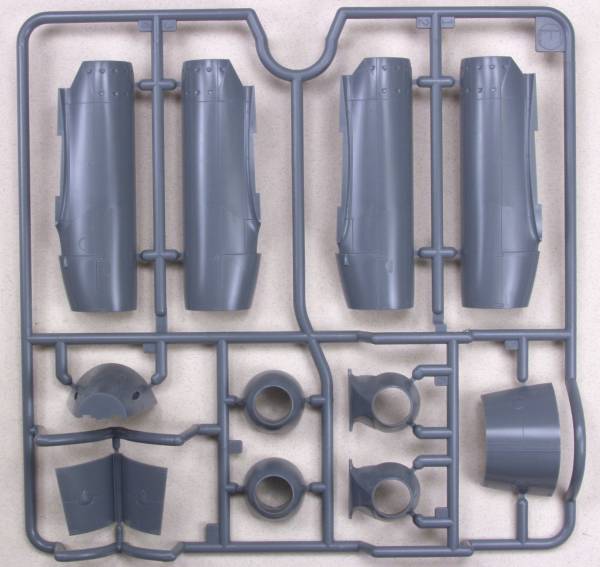
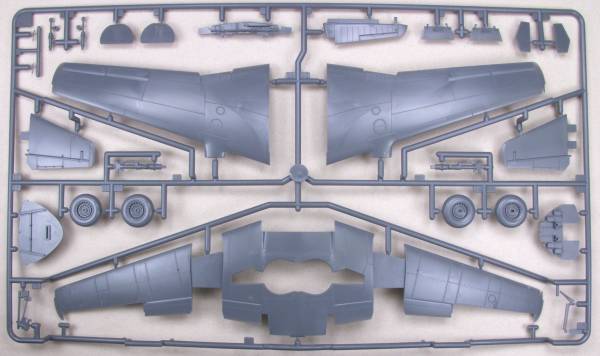
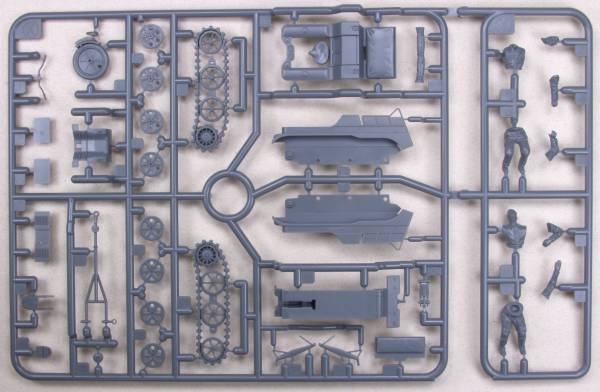
So lets first look at the stock Tamiya kit. The kit comes in a top open two part box with nice artwork on the front. The kit I chose also comes with the Kettenkraftrad that they include in a number of kits and one can never have too many of them. Inside the box there are six bags, each containing one sprue. In my opinion the best way to package kits to prevent damage to parts. The parts are molded in a dark gray plastic with a smooth glossy finish and virtually no flash. The panel and fastener detail is recessed and nicely done. In looking over the main airframe parts I found no surface defects or irregularities. There is a small parting line to clean up on the smaller parts. There are also ejector pin marks on the inside of the landing gear doors and a few other locations that will show when the model is finished but most are light and not that noticeable. The fuselage and engines are unusual in that they have structural detail over their entire inner surfaces. This is a result of he same dies being used to produce the transparent version of the kit. The kit supplies separate parts for the gun access doors so that they may be displayed open or closed. This particular kit does not include complete engines, just the intake and exhaust parts but since it is the bomber version it does include the under fuselage racks for bombs which will be used for drop tanks on the night fighter version.
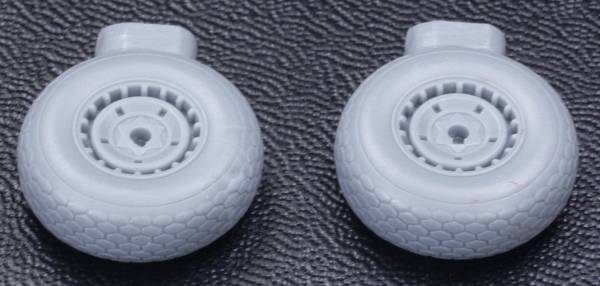
The kit comes with a nicely detailed cockpit and gun compartment as well as alternative tire types for the nose wheel. The kit comes with a pilot figure outfitted for flight or an alternative ground crewman that can set in the cockpit like a crew chief. The control surfaces are all fixed and the leading edge slats are in the retracted position. This is a major bone of contention among many 262 zealots as these slats were always open when the aircraft was stationary on the ground. The kit comes with the kettenkraftrad which is a kit in itself, It is very nicely rendered and can be used in conjunction with any Luftwaffe aircraft for diorama purposes. Altogether there are 155 gray parts for the aircraft and 37 for the kettenkraftrad for a total of 192 parts. See photos below.


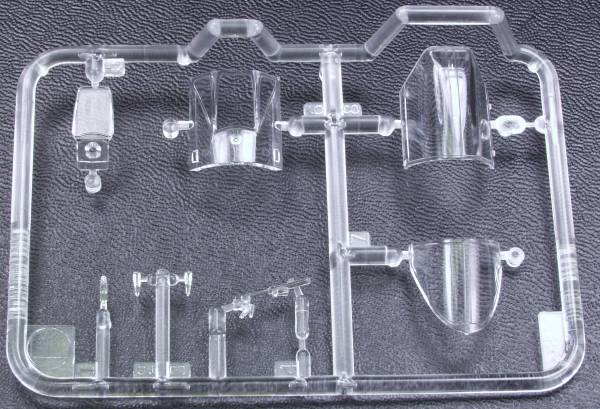
The clear parts are thin and clear and the canopy is molded in three parts so it can be posed in the open position. The other clear parts include lenses for the wingtip lights, gun sight and internal armored windscreen. Altogether there are 8 clear parts bring the kit total to 200 even by my count. A good value for the money. See photo below.
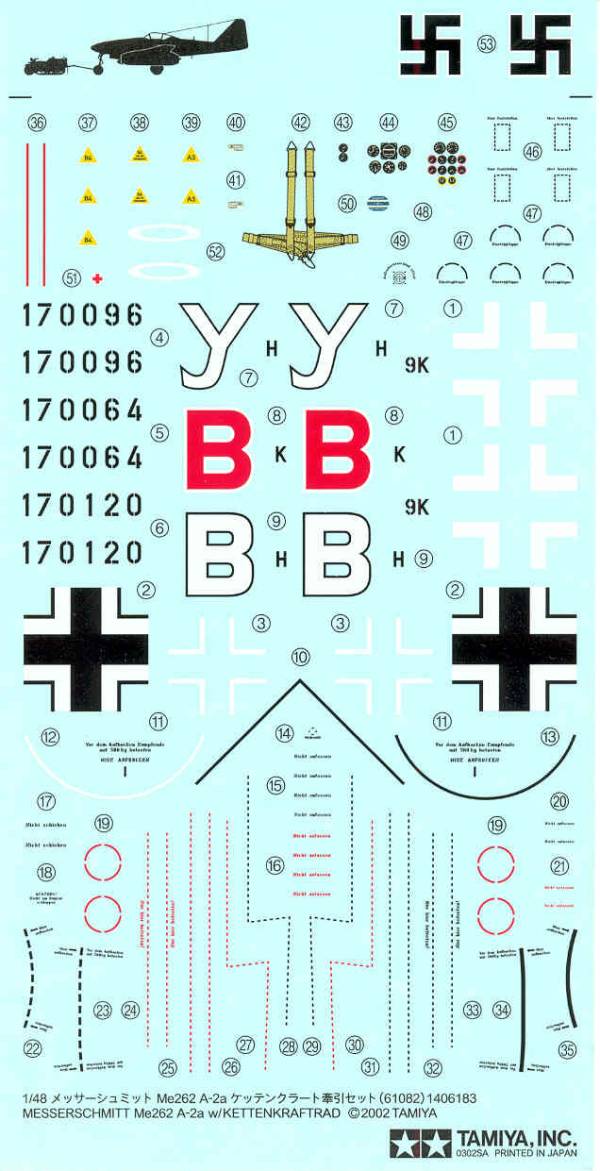
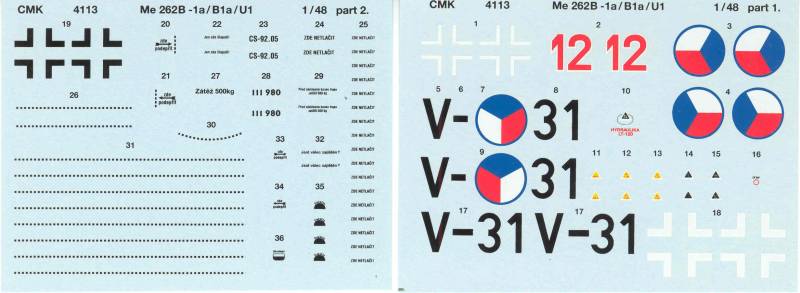
The decals are the typical fair from Tamiya , just a tad on the thick side. They are well registered and include markings for three aircraft. There is a good collection of stencils, wing walk markings, instrument panel gauges, harness and seat belts and swastikas. See photo below.
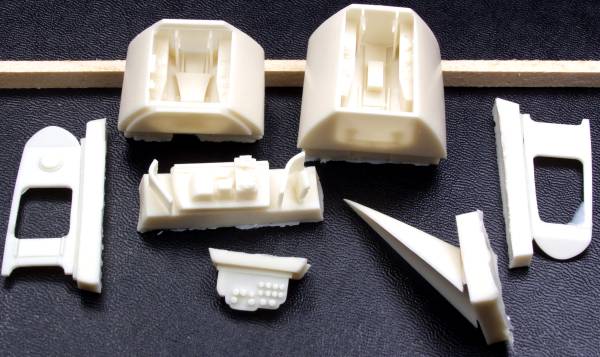
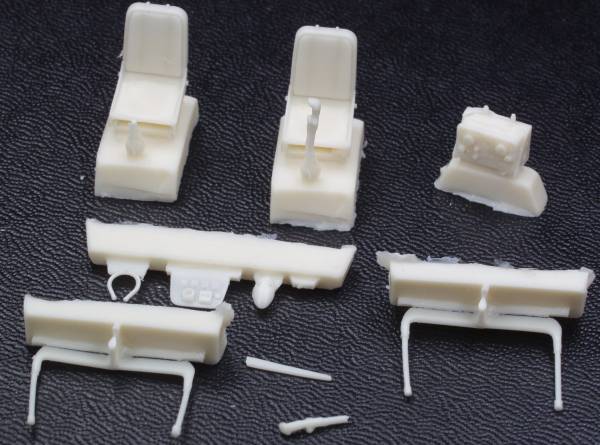
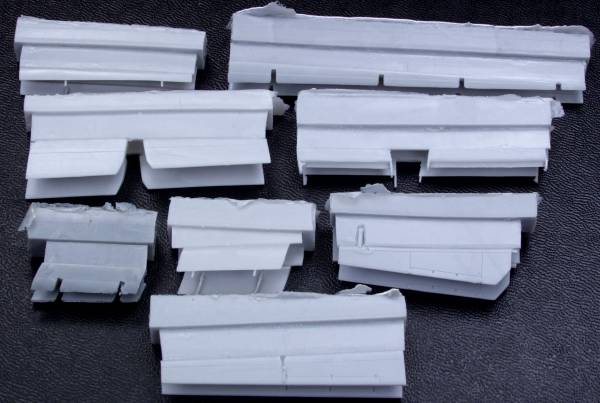
The other bag contained the balance of the resin parts. These had a bit more flash but were still of good quality. One of the supplied sticks was broken but only one is needed for my modification. The radar antenna mounts need to be straightened a bit but that should present no problems. See photo below.
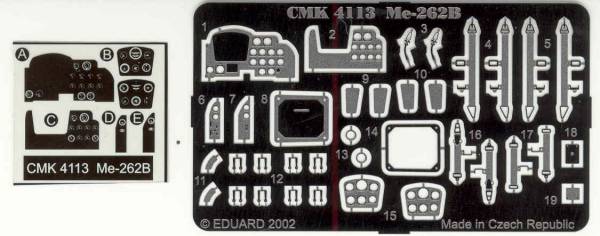
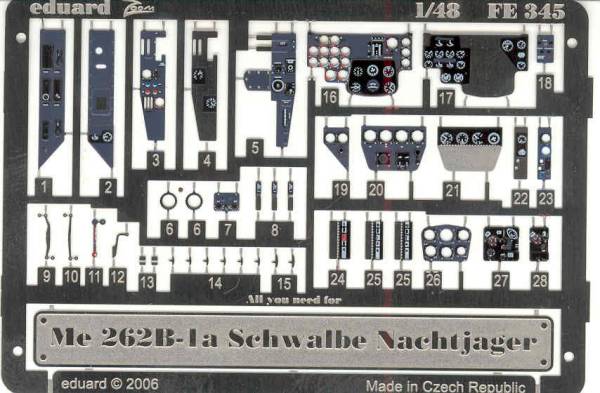
The kit also contains a fret of photoetch with instrument panels and belts and harnesses with films for the instruments. See photo below.
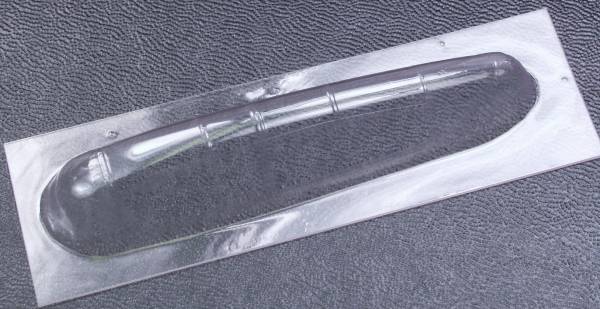
The canopy is a vacuformed part and only one is supplied so one must cut carefully. The kit windscreen is used. The part is thin and clear with raised frame lines. See photo below.
One of the issues I mentioned in the initial review was that the kit represents the leading edge slats in the retracted position which they were only when the aircraft approached takeoff speed. Otherwise they are normally open on the ground. Again Cutting Edge has come to the rescue with a set that includes replacement open leading edge slats as well as replacement ailerons, elevators and wing flaps. The parts are molded in gray resin and the parts are cleanly molded with little flash. Although the pour stubs are massive they shouldn't be all that hard to remove. The set will require some careful cutting and fitting. The instructions are printed on one side of a single 8 1/2" x 11" sheet and are brief but should be adequate if care is taken. See photo below.
While the CMK kit provided photoetch instrument panels I'm absolutely terrible at painting them up so decided to also go with the Eduard [FE345] color Zoom set which has prepainted instrument panels and instruments and side consoles that look oh so much better than I could do. See photo below.
While these are after market parts a pair of drop tanks were need and Matt Swan was kind enough to supply a set from his spare parts box. Thanks Matt !

Conclusions
The Tamiya base kit is typical Tamiya, well
engineered and with good fitting parts. With the exception of the wing
slats issue, which may or may not bother you it's an excellent kit and
highly recommended to modelers of all skill levels. As you can see
above, I'm going to take this nice kit and chop the hell out of it, but
I think the effort will be worth the effort. The Dragon kit not only
offers some poor fitting parts but does not have dropped slats either.
Links to kit build or reviews
No reviews or builds were found for this so I'm apparently breaking new ground here and will go into detail on how it goes together.
References
"Warplanes of the Third Reich" by William Green
Luftwaffe Colours "NachJager" Volume Two by David P. Williams
Last Update 5/10/08