Fl 282 V21
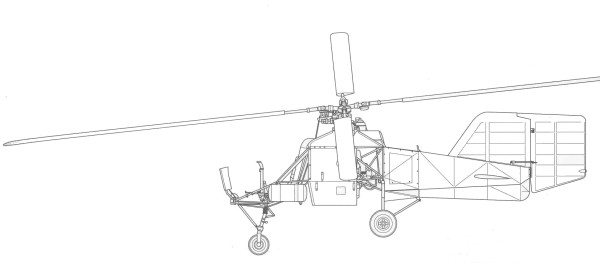
The Flettner Fl 282 Kolibri was an improved version of the Flettner Fl 265 announced in July 1940, which pioneered the same intermeshing rotor configuration that the Kolibri used. It had a 7.7 litre displacement, seven-cylinder Siemens-Halske Sh 14 radial engine of 150-160 hp mounted in the center of the fuselage, with a transmission mounted on the front of the engine from which a drive shaft ran to an upper gearbox, which then split the power to a pair of opposite-rotation drive shafts to turn the rotors.
The Sh 14 engine was a tried-and-true design that only required servicing every 400 hours, as opposed to the nearly 27 litre displacement, nine-cylinder BMW/Bramo Fafnir 750 hp radial engine powering the larger Focke Achgelis Fa 223 helicopter, whose outdated design required maintenance every 25 hours. The Fl 282's fuselage was constructed from steel tube covered with doped fabric, and it was fitted with a fixed tricycle undercarriage.
The German Navy was impressed with the Kolibri and wanted to evaluate it for submarine spotting duties, ordering an initial 15 examples, to be followed by 30 production models. Flight testing of the first two prototypes was carried out through 1941, including repeated takeoffs and landings from a pad mounted on the German cruiser Köln.
The first two "A" series prototypes had enclosed cockpits; all
subsequent examples had open cockpits and were designated "B" series.
In case of an engine failure, the switch from helicopter to autorotation
was automatic.
Intended roles of Fl 282 included ferrying items between ships and reconnaissance. However, as the war progressed, the Luftwaffe began considering converting the Fl 282 for battlefield use. Until this time the craft had been flown by a single pilot, but by then a position for an observer was added at the very rear of the craft, resulting in the B-2 version. Later the B-2 proved a useful artillery spotting aircraft and an observation unit was established in 1945 comprising three Fl 282 and three Fa 223 helicopters.[8]
Good handling in bad weather led the German Air Ministry to issue a contract in 1944 to BMW to produce 1,000 units. However, the company's Munich plant was destroyed by Allied bombing raids after producing just 24 machines.
Towards the end of World War II most of the surviving Fl 282s were stationed at Rangsdorf, in their role as artillery spotters, but gradually fell victim to Soviet fighters and anti-aircraft fire. When the war ended the Allies captured only three airworthy examples. Two of these along with Flettner's chief test pilot and mechanic were turned over for trials in the USA, the other example went to the Soviet Union. In the USA testing was entrusted to the Prewitt Aircraft Company, which had some autogyro experience in the 1930s. The 30 hours of trials proved the excellent characteristics and performance of the German helicopter. The information obtained was used in helicopter development in the USA, for example Kaman used the intermeshing layout for many years, including the popular HH-43B Huskie helicopter.
The Kit
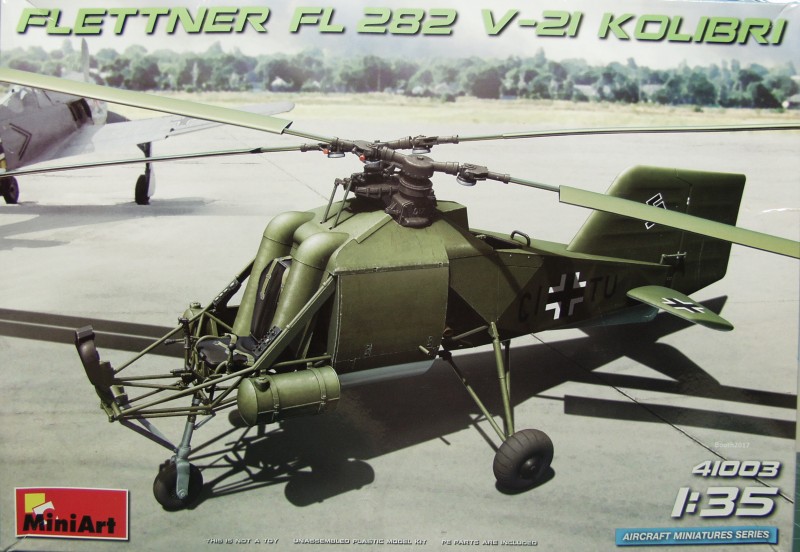
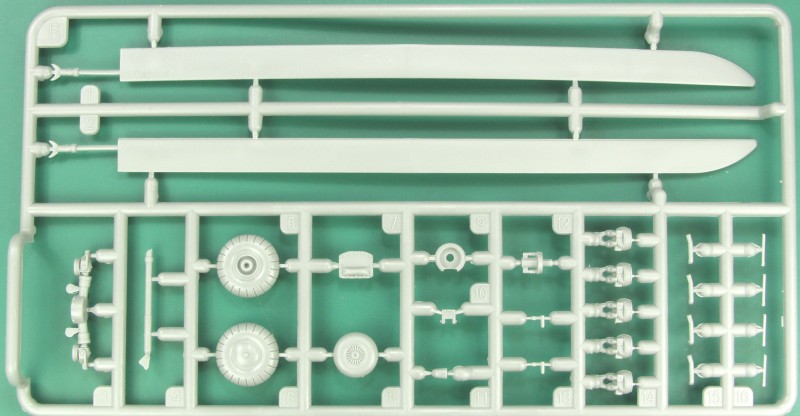
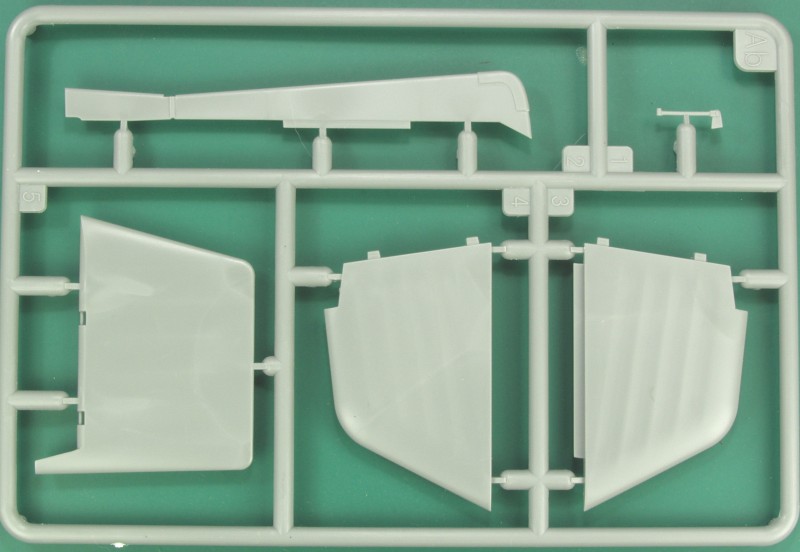
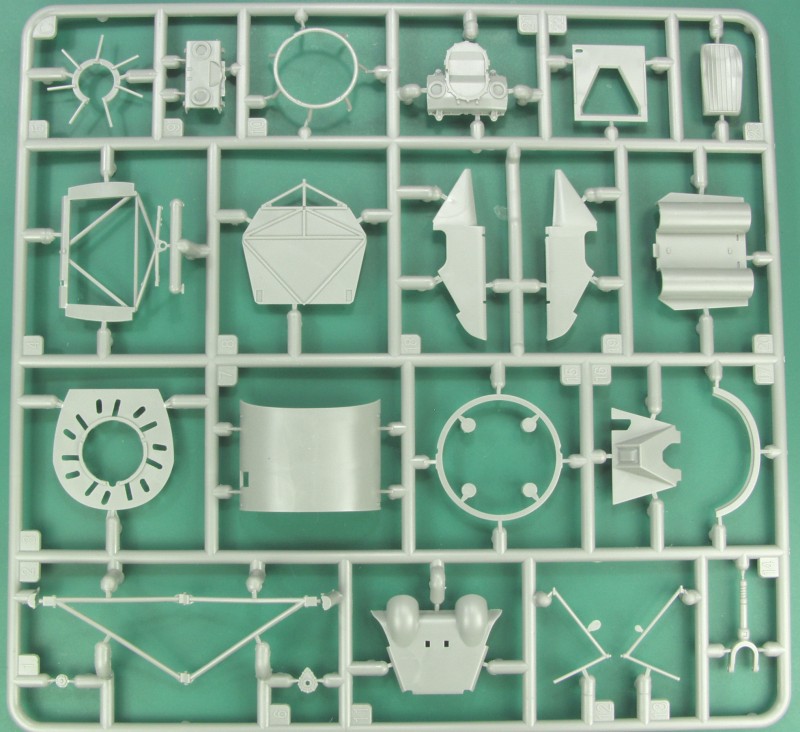
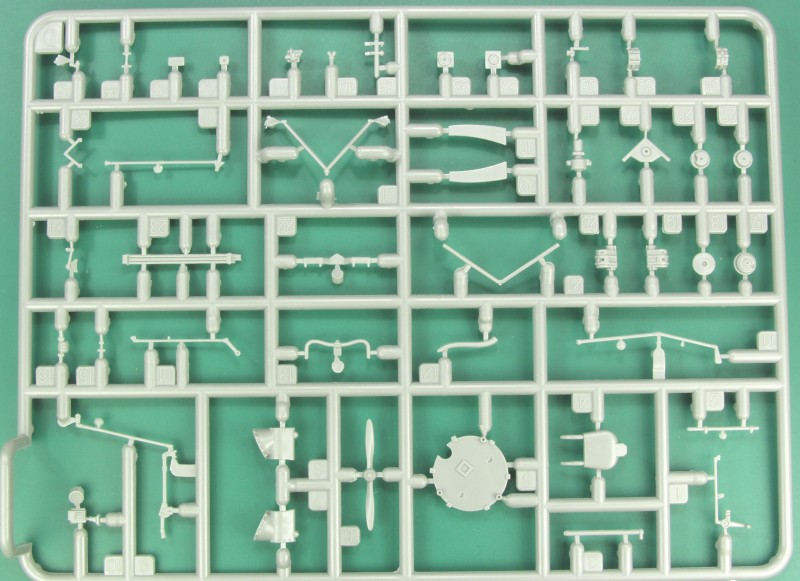
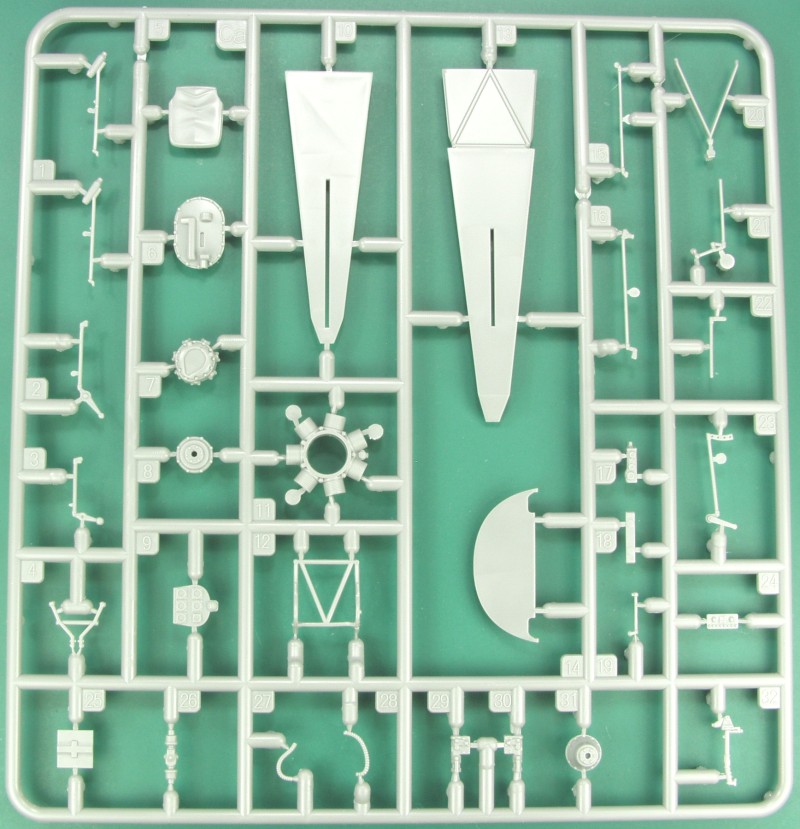
This kit is in 1/35 scale which is common for rotary winged aircraft so as to make them compatible with 1/35 scale armor models and thus it was included in this series with the 1/32 scale kits. The Miniart kit comes top opening tray type box with a thin top and heavier corrugated bottom. The box is a bit generous for the kit which only takes up a portion of the box space. Inside the box there is one large cellophane bag with two smaller bags inside of it. There are no clear parts. a small decal sheet is included in one bag (with nothing to protect it from damage) and in the other bag is a small card stock envelope containing a small photo etch fret which also has a protective film on it. Some of the parts are quite small and could easily be broken so having a lot of room for the parts to move around in is not the best. I was lucky on my kit as there were no broken parts.
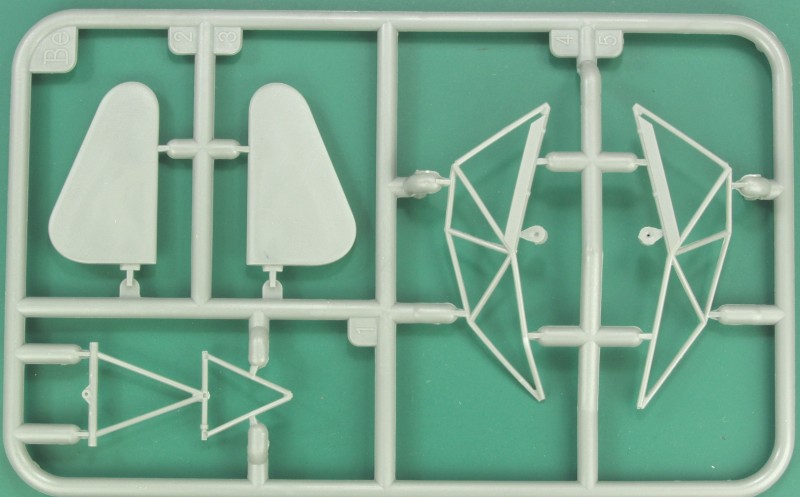
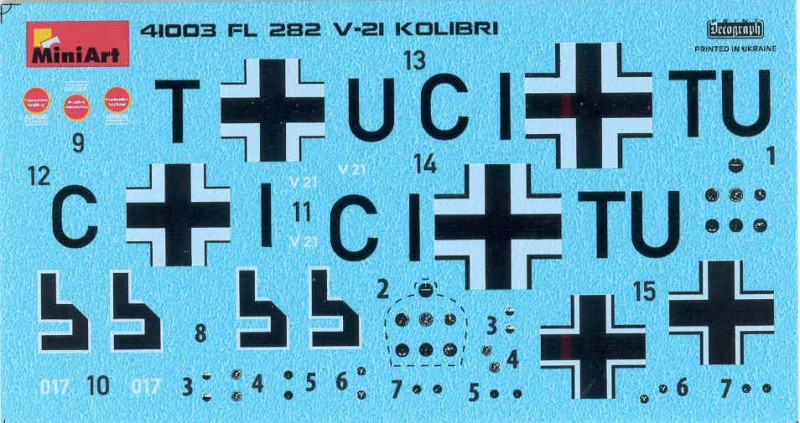
The parts are molded in a light gray color an are crisply molded with only a hint of flash. That said almost all of the fine small diameter parts have a hint of mold line flash which will require some delicate handling to remove and prevent breakage. The sprue gates on these parts are also heavy compared to the parts themselves so care will be required when removing them from the sprue as well. Since much of the kit is frame work with very little in the way of body parts there are not a lot of places for surface blemishes. The parts have a semi gloss finish and the fabric detail is not over done. The engine and gearbox drive assembly is quite complete and uses a great deal of the kits parts. Too bad more of it is not visible when the kit is complete. Decals are provided for the various instruments and instrument panels. The PE fret supplies some structural detail and a pilots restraint harness. The kit contains 178 plastic parts and 11 photo etched parts. Lets look at the parts.
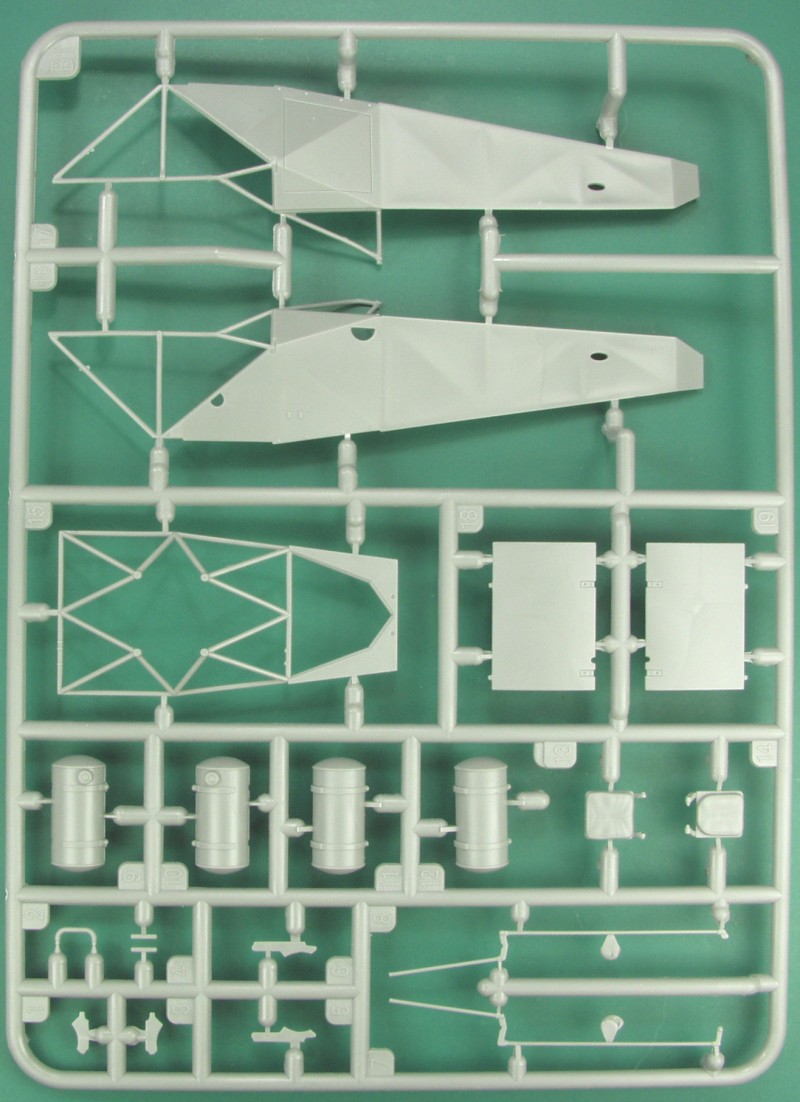
There are two of the following sprues.