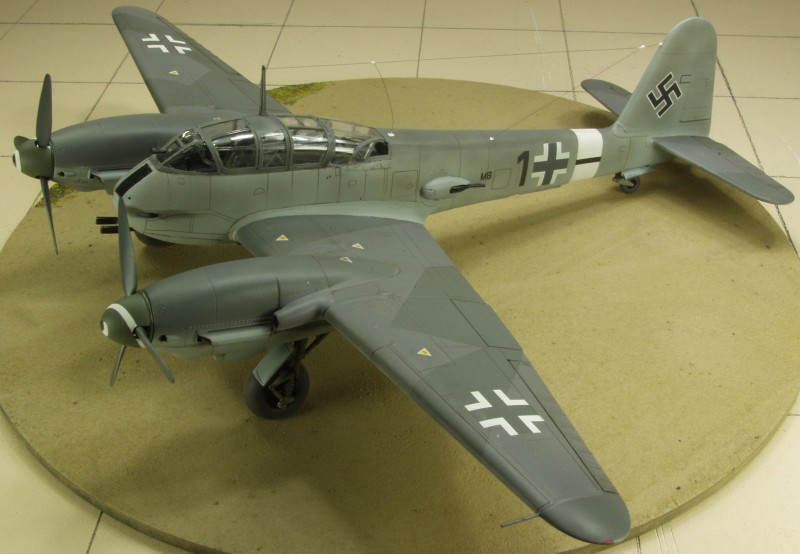
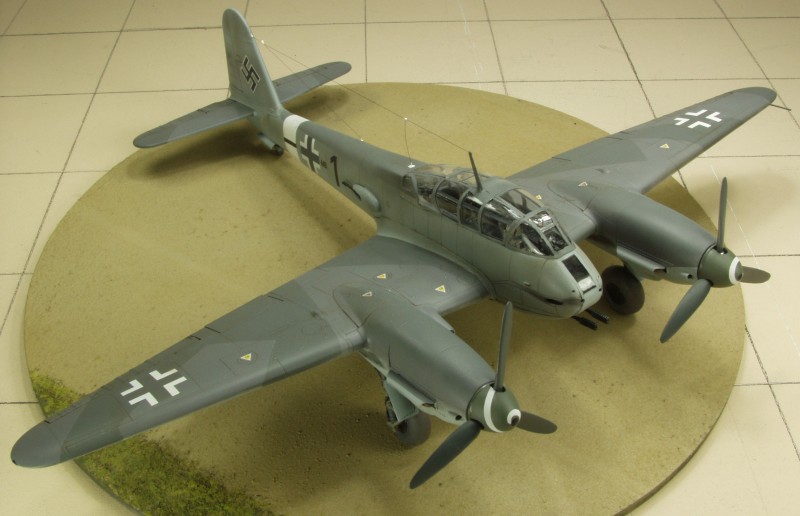
Me 410B-2/R2

The Messerschmitt Me 410 was essentially an improved Me 210. Most of the issues that lead to the cancellation of the Me 210 had already been worked out prior to it being canceled but due to the scandal that occurred in official circles as a result of the dismal failure of the original aircraft, it was deemed necessary to change the designation to 410. Only nine months elapsed between the cancellation of the 210 and the time that the first 410 rolled off the assembly line. By comparison with the original Me 210, the handling characteristics of the 410 were, if uninspiring, perfectly acceptable. It possessed no serious vices and it was spin proof. Most important its performance was an advance over that of the Bf 110 which it was to replace. Within a few weeks of the V1 aircraft completing initial handling trials the production line was turning out A-1's and A-2's. The A-1 was a Schnellbomber and the A-2 a Zerstorer. Both versions were similar, both having a fixed forward armament of two 20-mm MG 151 cannon and two 13-mm MG 131 machine guns. For defensive armament two 7.9-mm machine guns mounted in remotely controlled lateral barbettes. The internal weapons bay could accommodate a single 2,205-lb SC 1000 or SD 1000 bomb, two 1,102-lb, SC 500 bombs or up to eight 110-lb SC 50 bombs, although all loads over 1,102-lb, were considered overloads.
The B series took the place of the A series in April 1944. Structurally similar to the A series, differed in being powered by the DB 603G engines with higher power. The B-1 and B-2 were the Schnellbomber and Zerstorer respectively. A variety of armament kits were tried to improve it's potency as an anti-bomber weapon. While it initially was successful against bombers, once the P-51 showed up in numbers, attrition eventually became too great and by the end of 1944 the Me 410 was phased out with a total of 1,160 built. Remaining aircraft were converted to single seat fighters and operated in the reconnaissance role.
The Kit
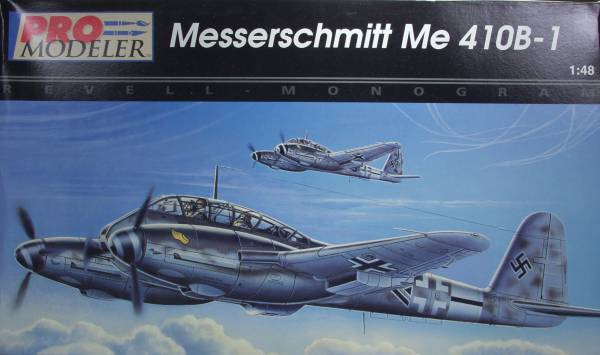
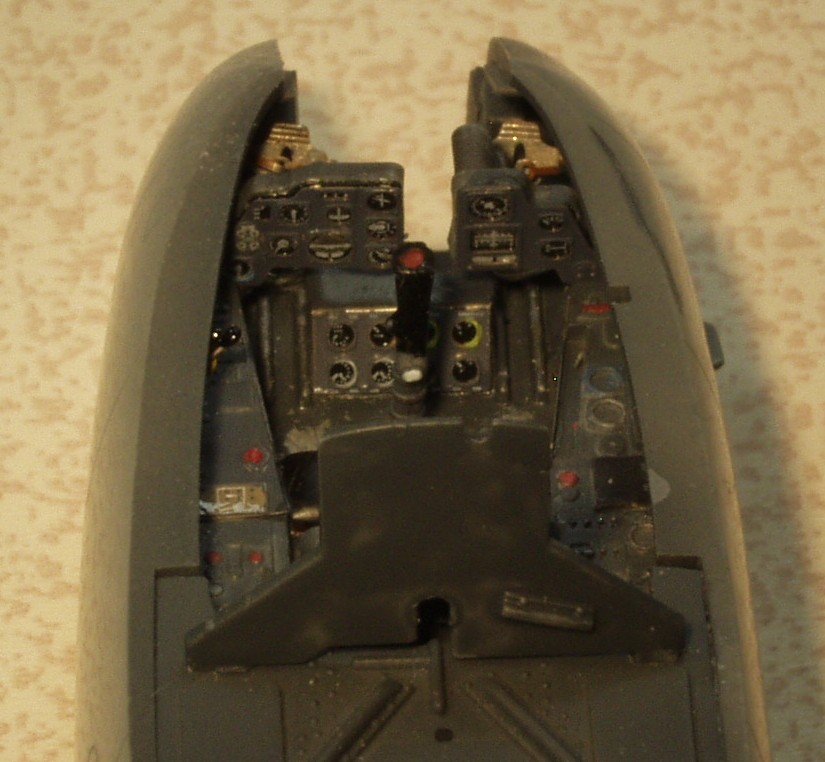
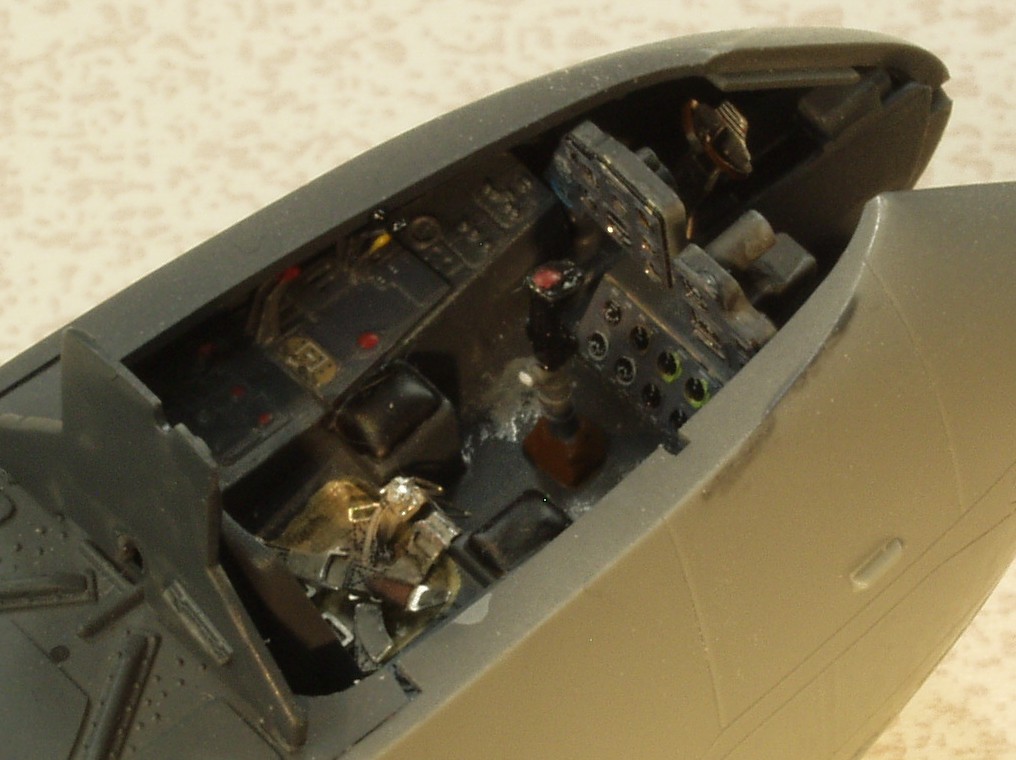
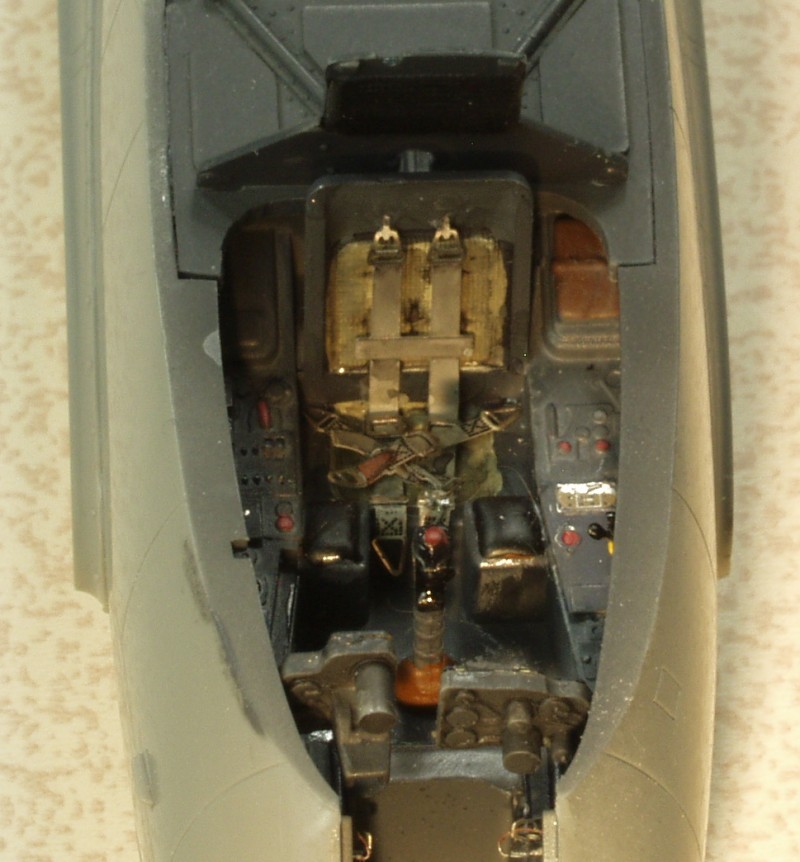
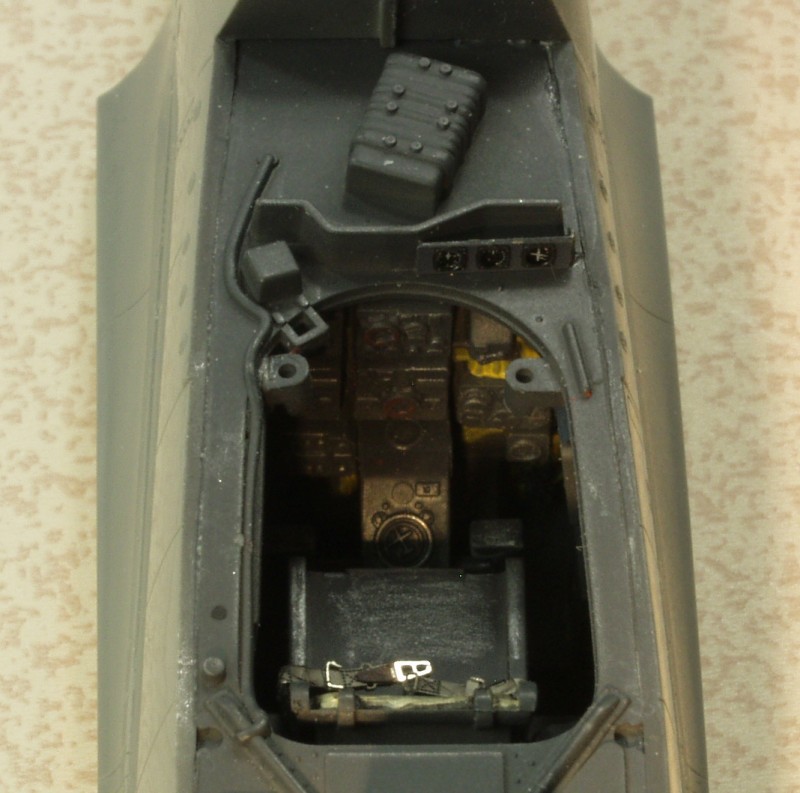
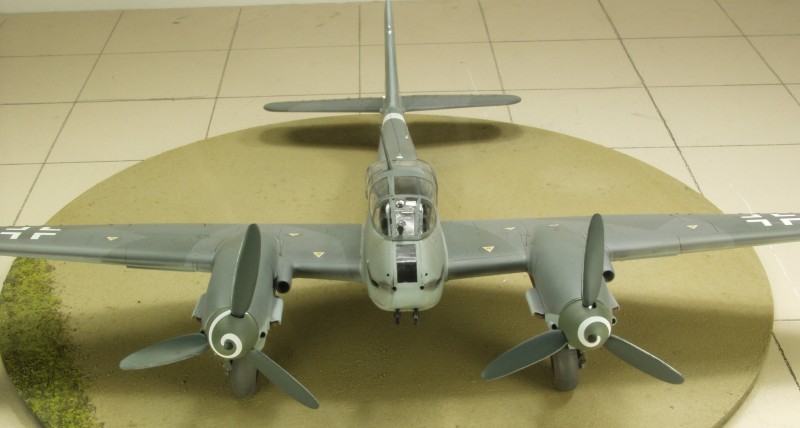
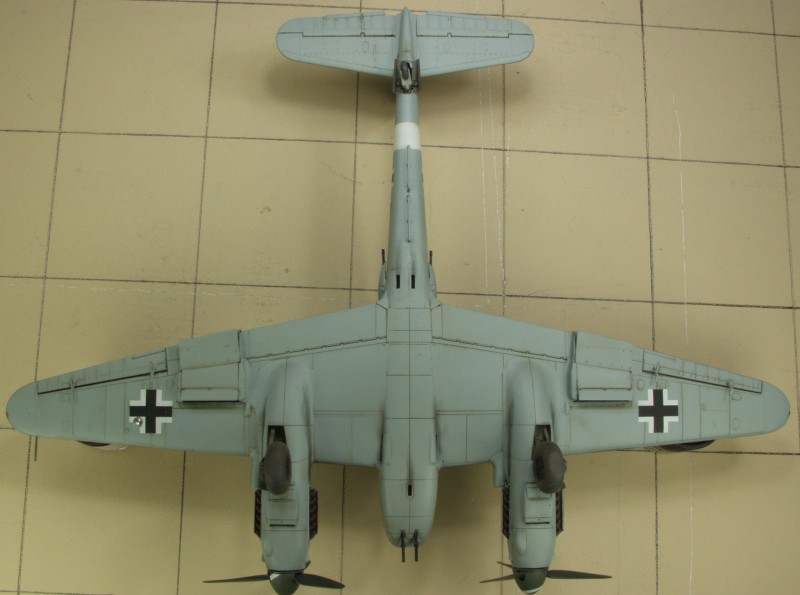
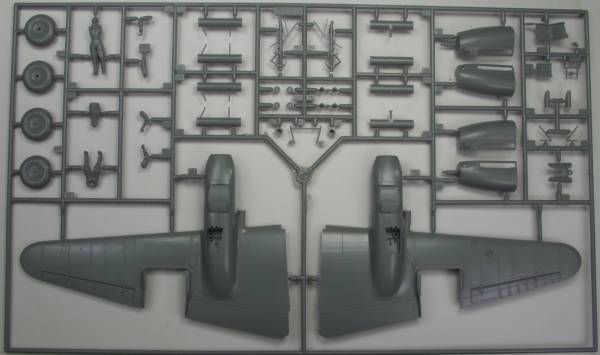
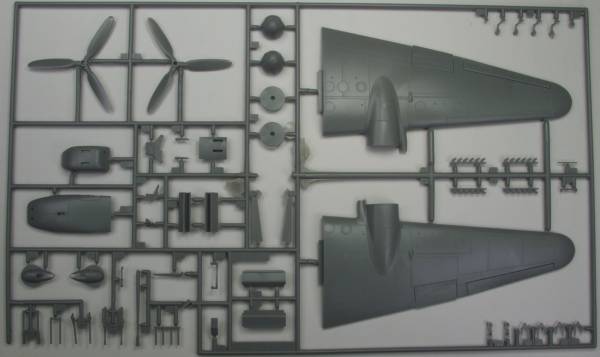
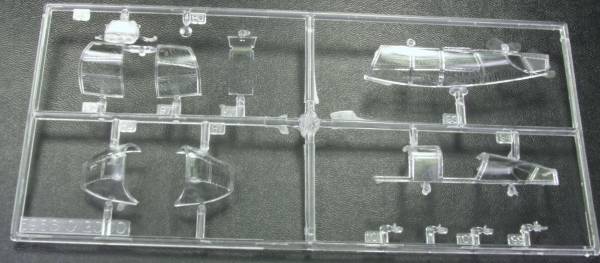
The Promodeler Me 410B-1 comes in a large hinge top box with OK artwork on the box top. While the hinge top is better than an end flap box it would still be better with a separate removable lid. Inside the box are three bags, one with two sprues in gray, one with one sprue in gray and one with the clear parts. The parts are cleanly molded with recessed panel lines and some raised detail where applicable. A few parts had light to moderate flash but nothing that should be difficult to clean up and most of the smaller parts had some mold parting lines to clean up. There are ejector pin marks on the main struts, inside the gear doors and fuselage but the fuselage marks may be covered by other cockpit details. The kit comes with a very nicely detail cockpit that will most likely satisfy the majority of modelers with the exception of AMS folks like me. The wheels and tires are very nice, not only weighted but have the size and manufacturer molded into the side walls. The landing gear struts include brake line detail. The kit includes two figures, one standing gunner and one seated pilot. The kit features some armament options, one can add the R4 gun pack under the fuselage with two 20-mm cannons. Another option is under wing rocket launching tubes. By my count there are 125 parts molded in gray. The clear parts are reasonably clear but a couple in my kit had some distortion in the molding and other defects. A good coat of Future should help most of them. The canopy frame lines are well defined but unusual in that they are raised on the inside which could make painting them interesting. Most of the complaints heard about the kit center on the canopy as the way it is divided makes it difficult to assemble. There are a total of 13 clear parts bringing the kit total to 138 parts. See photos below.

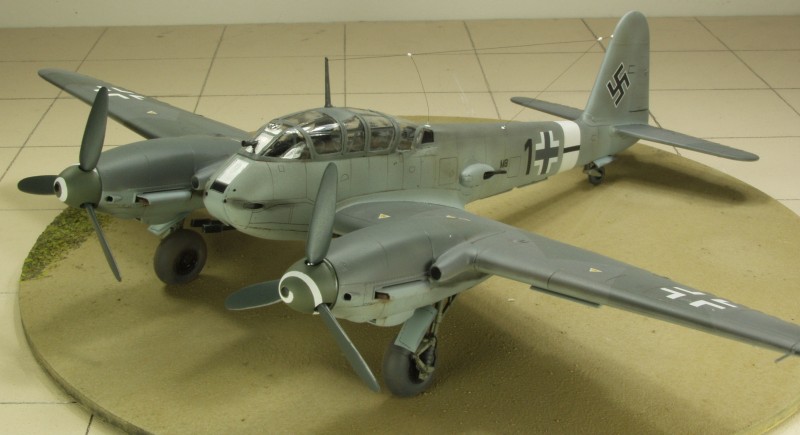
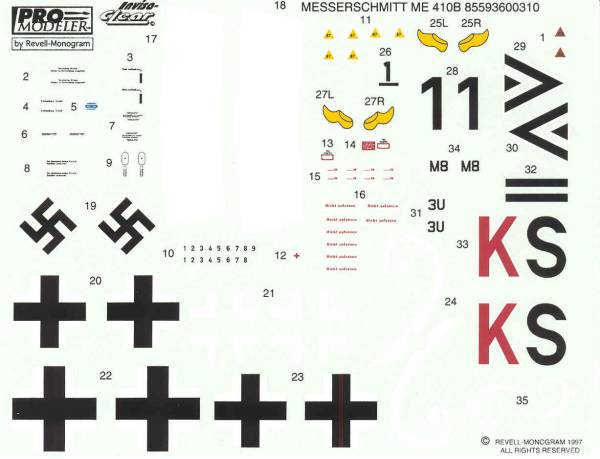
The decals include markings for three aircraft. The decals appear thin and opaque but are out of register. This is most noticeable on the Swastikas, the two color national markings, the octane stencils and group leader markings. A fair number of stencils are provided, the smaller ones are not really readable. It's nice that swastikas are included, too bad they are not in register. Spirals for the prop spinners are included. See photo below.
The instructions are typical of many of those provided in Promodeler kits and consists or a stapled booklet 24 pages long. The first page is history and the second page is warnings, basic instructions, an icon chart, and a paint chart using color names, RLM numbers, and Promodeler numbers. The next eighteen pages are assembly instructions intermixed with photos of a preserved 410. The last four are painting and marking instructions.
After Market Goodies
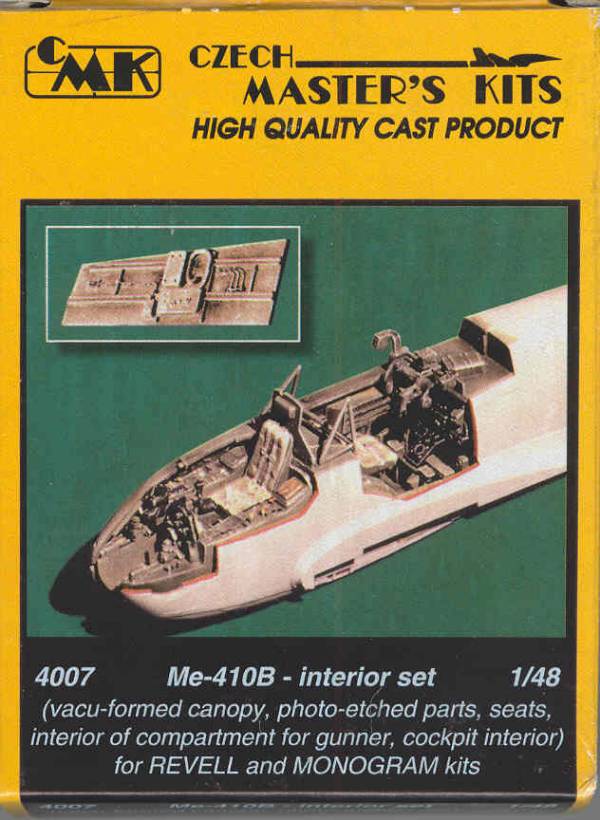
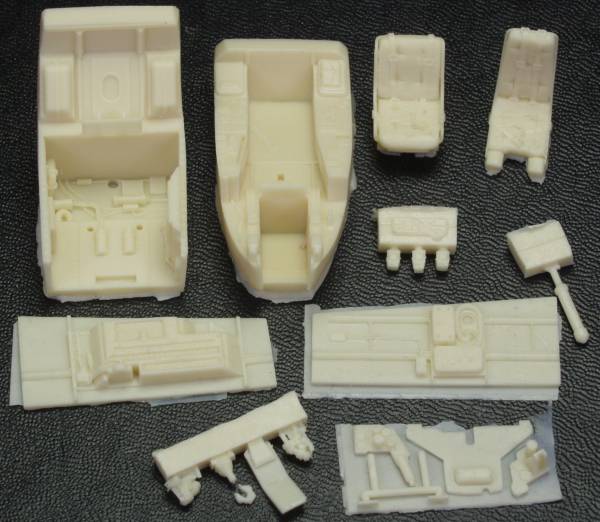
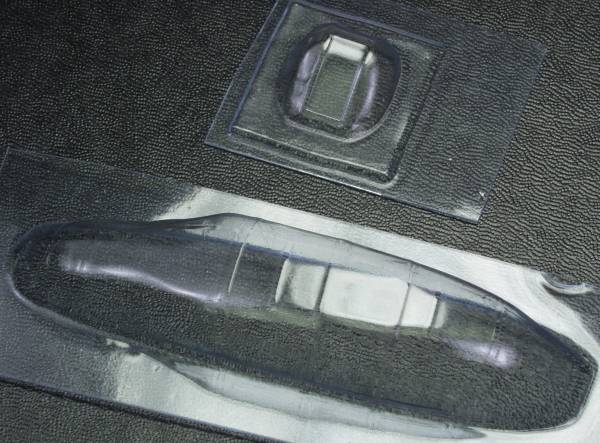
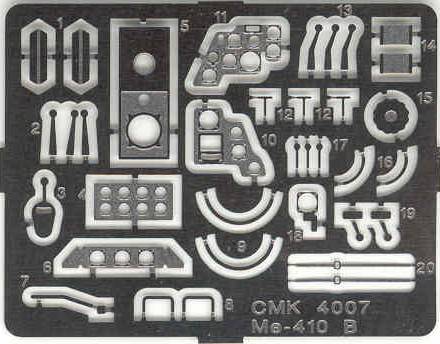
One could make a case for not needing any after market on this kit but what the hey, it's only money and I'm a sucker for such things. The first item is a resin cockpit set from CMK [4007]. It comes in a compact box and consists of 18 cast resin parts, two vacuformed parts and a small fret of photoetch. The resin parts are cast in tan resin and are nicely done. I found no pinholes or short shots however the stick was loose from the casting block and both of the rudder pedals were broken. Since I will probably use PE rudder pedals it wasn't an issue in my case. The vacuformed parts are not very well done in my opinion. The main canopy is one piece which is nice but its complex shape didn't seem to turn out all that well to me. The frame parts are not all that well defined. The parts are clear and may appeal to those who don't want to struggle with the kit parts. The PE parts include instrument panels with films, levers for the cockpit controls, canopy handles, rudder pedal straps and a trim wheel. The instructions are printed on an A5 size page printed on both sides with a parts map and pictorial drawings of where everything goes. See photos below.
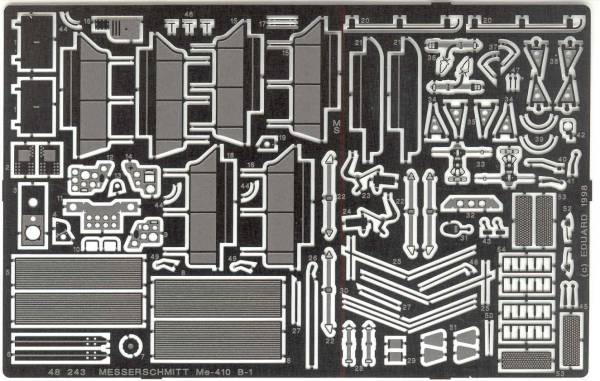
Next up is a PE set from Eduard [48243]. This set also includes a lot of parts for the cockpit, some of which are duplicates of the ones supplied in the CMK set, others are not. The seat belts are molded into the seats on the CMK set but off times separate belts and harnesses look better. See photo below.
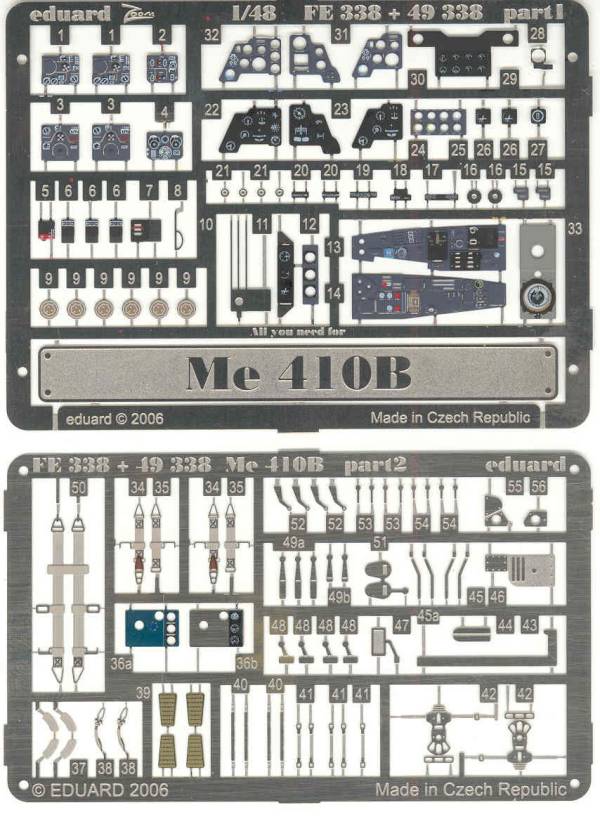
Some time after I purchased the above set, Eduard came out with their color Zoom set [FE338] which adds not only color to the panels but the new multilevel self adhesive parts which look even better than the films and the painting is superior to anything I could do. Between these three sets I should end up with a super looking interor and add lots of good PE parts to my spares collection. See photo below.
Conclusions
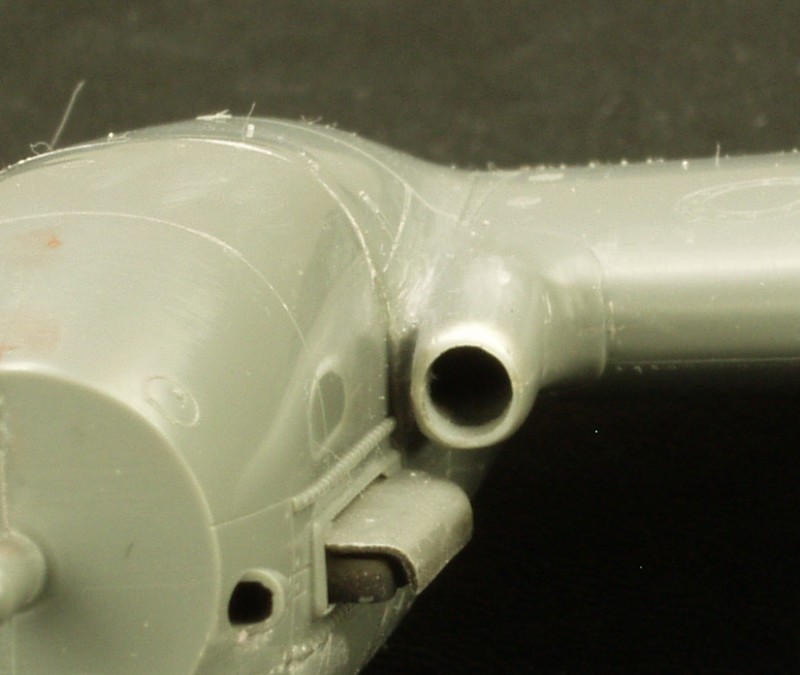
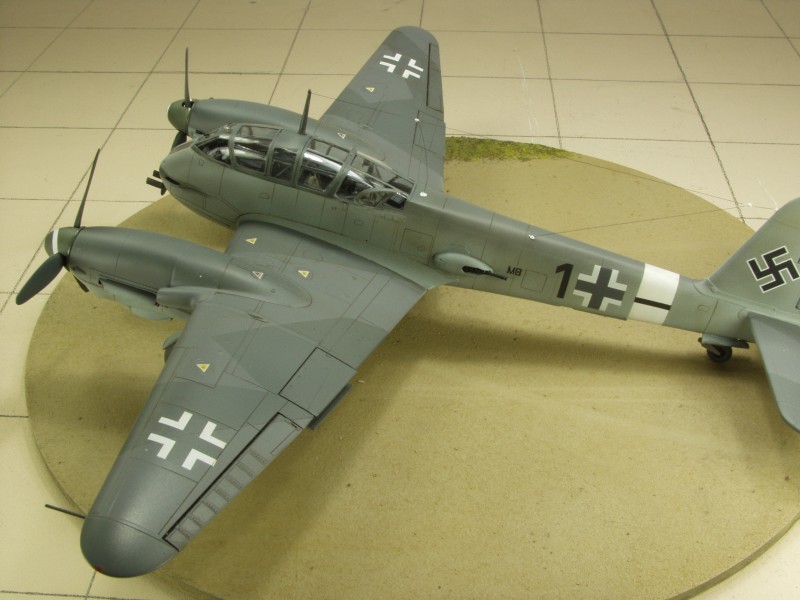
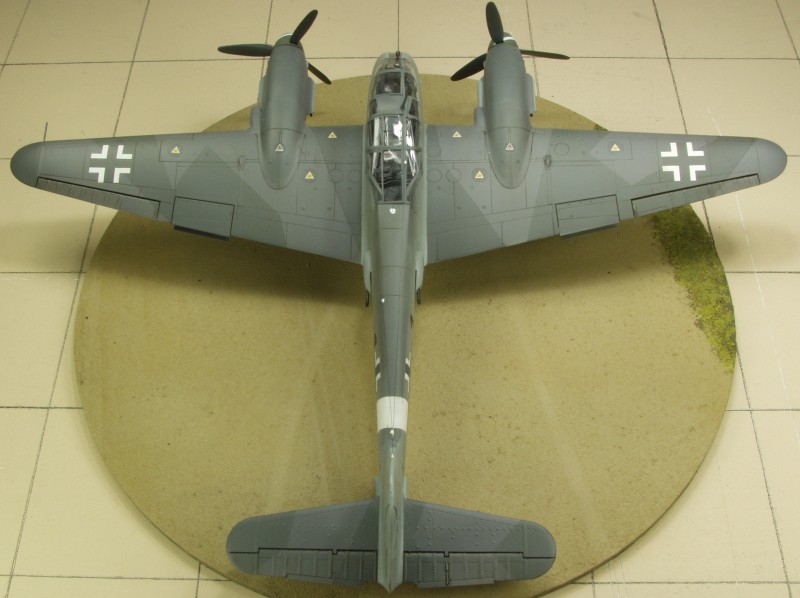
This is a very nicely detailed kit which by most reports goes together well with the exception of the canopy parts and will produce a nicely detailed kit right out of the box. There are issues with the supercharger air intakes not being the right shape, that will be up to the individual as to whether it's worth correcting or not. After market parts are available to those so inclined to take it to a higher level. I would recommend the kit to modelers with some experience only due to the complexity of the kit.
Links to kit build or reviews
Builds can be found here, here and here.
References
"Warplanes or the Third Reich" by William Green