
He 51B

The Heinkel He 51 was nothing special itself, a sturdy and completely orthodox biplane of undistinguished performance, but it had been subjected to such intense publicity since the existence of the Luftwaffe had been officially proclaimed 17 months previously, that, more than any other single aircraft type, it symbolized at home and abroad the renaissance of German military aviation.
The He 51 was a development of the earlier He 49. It was produced in three main versions: fighter, ground attack version and seaplane. It was first used during the Spanish civil war in 1936. It was successful in operations against older biplane designs such as the Nieuport Ni-52, Brequet 19 and Potez 54. Its time of superiority was short lived with the arrival of large numbers of more modern aircraft from the Soviet Union, including the Polikarpov I-15 and I-16. After that the He 51 was withdrawn from fighter duty and relegated to the ground attack role by both the Legion Condor and the Spanish Nationalists. While a failure as a fighter, the Heinkel proved successful as a ground attack aircraft, being used by the Luftwaffe in the early days of WWII. There was little difference between the A and B models with the B having twin wire bracing on the undercarriage bracing and was capable of carrying a 37.4 gallon fuel tank below the fuselage. The He 51 was used in front line service until 1938.
The Kit
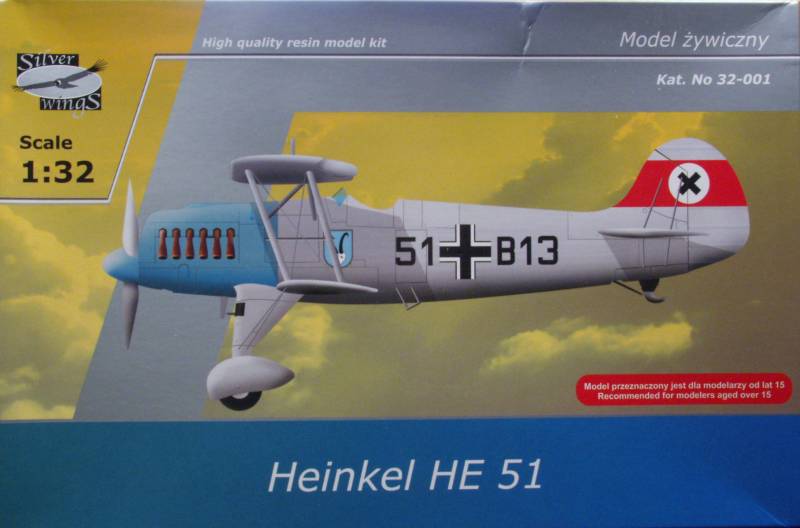
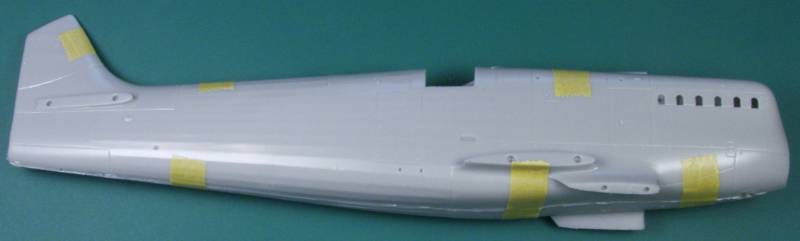
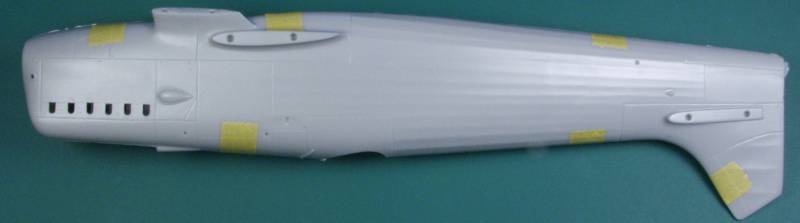
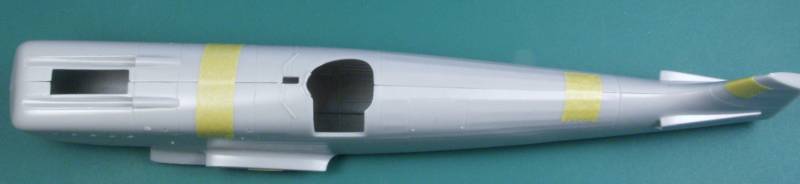
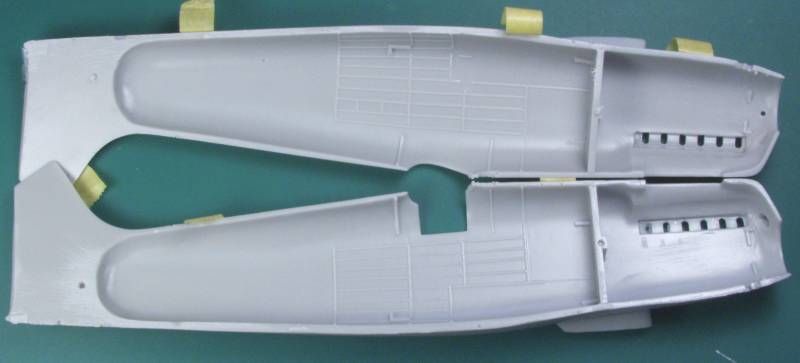
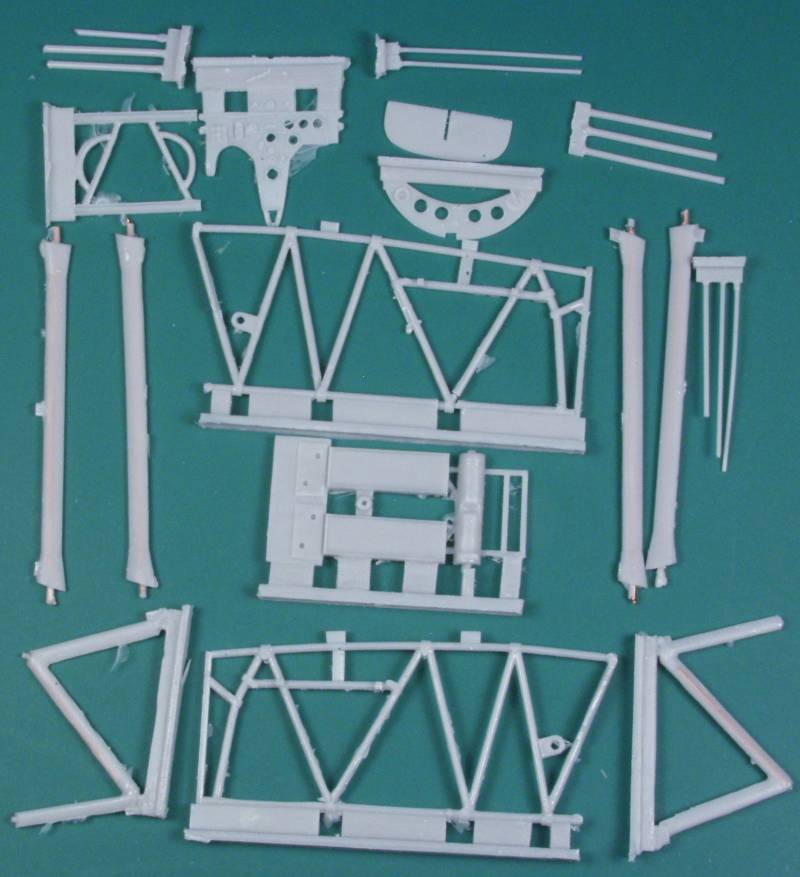
The Silver Wings kit is an all resin kit and comes in a small (for 1/32 scale) top open box with a thin top and a sturdy corrugated bottom half. The box top features a nice color profile of one of the set of markings supplied with the kit. The kit arrived well packed with the major parts inserted in bubble pack bags and the balance of parts bagged in zip lock bags. The parts are molded in a light gray resin. The two fuselage halves are taped together to protect them. This kit is unlike any other resin kit that I have experienced. The fuselage halves are molded thin and look more like injection molded parts. As can be seen in the first four photos below there are no pour stubs found on most resin kits and even without being cleaned up fit together remarkably well. The surface detail on the fuselage consists of recessed panel lines and fastener detail where metal was used and the fabric detail looks perfect to my eye. There is also interior structure detail molded inside.
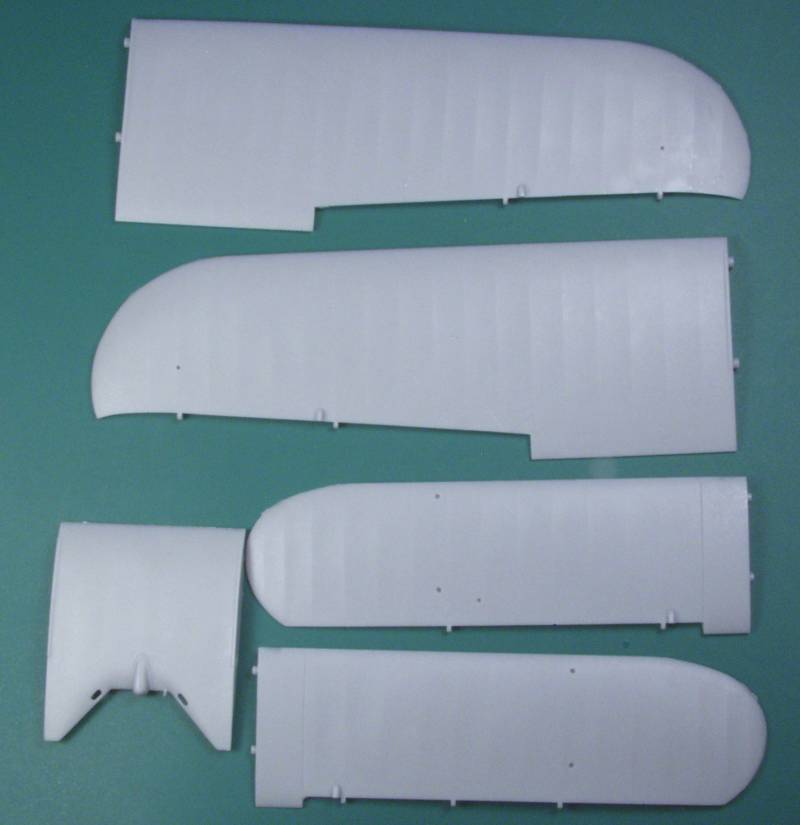
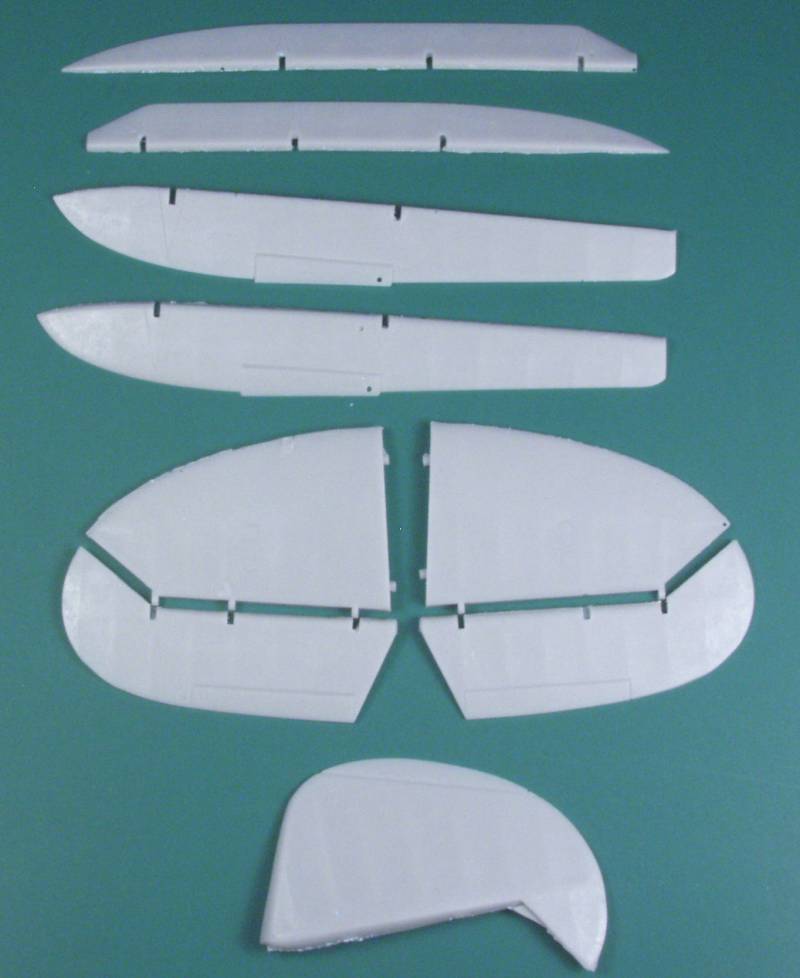
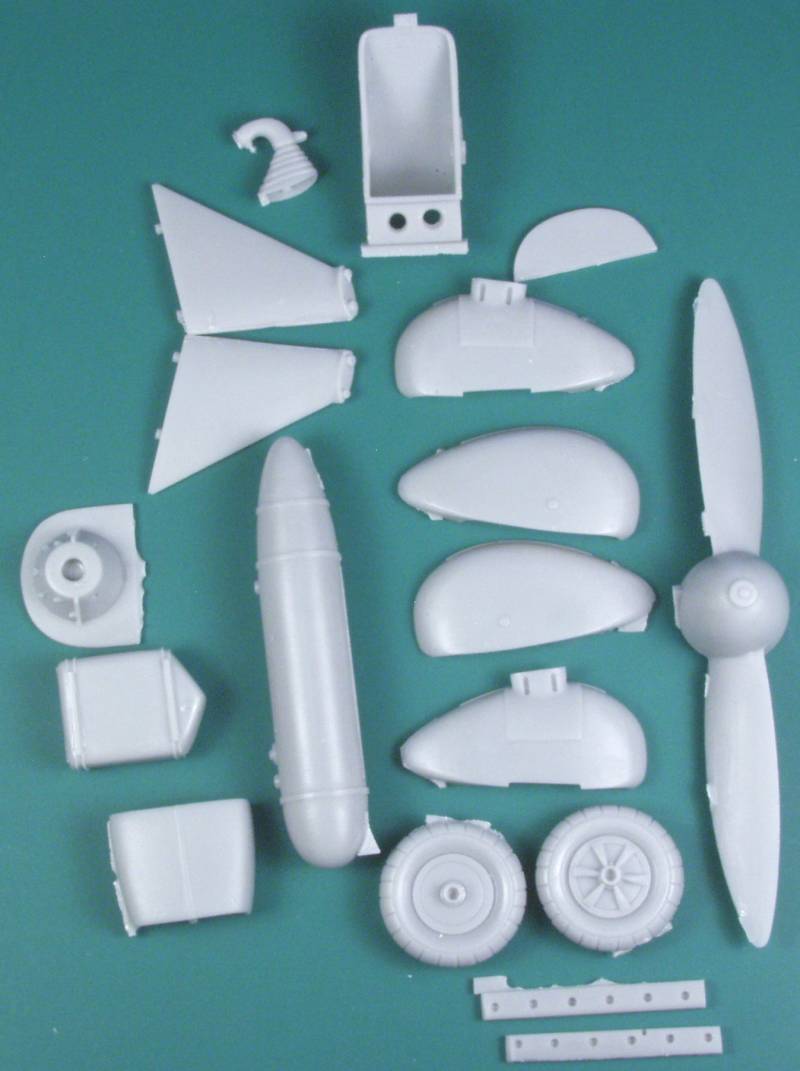
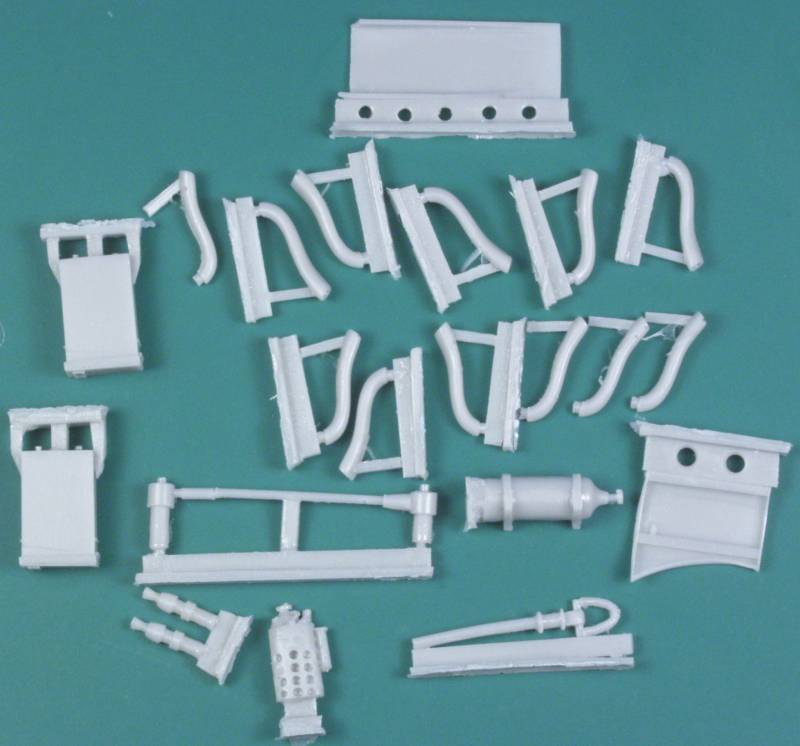
The upper and lower wings are one piece castings again with beautiful fabric detail. As with the fuselage there are no casting stubs or pour blocks to remove and only a light amount of flash. The ailerons are molded separately. The horizontal stabilizers and rudder are also one piece castings and the elevators are separate parts and again no stubs or blocks to remove and a light amount of flash. Of the balance of the parts, larger parts such as the prop, spats, wheels, fuel tank and drop tank have nothing to clean up other than flash and a few attachment points. Most of the smaller parts have a bit more flash, which is very thin and should be easy to clean up and have mold blocks to remove. The wing struts and cabane struts have a metal reinforcement molded in which also provides alignment pegs at their ends. By my count there are 131 parts cast in resin. Quite a haul !
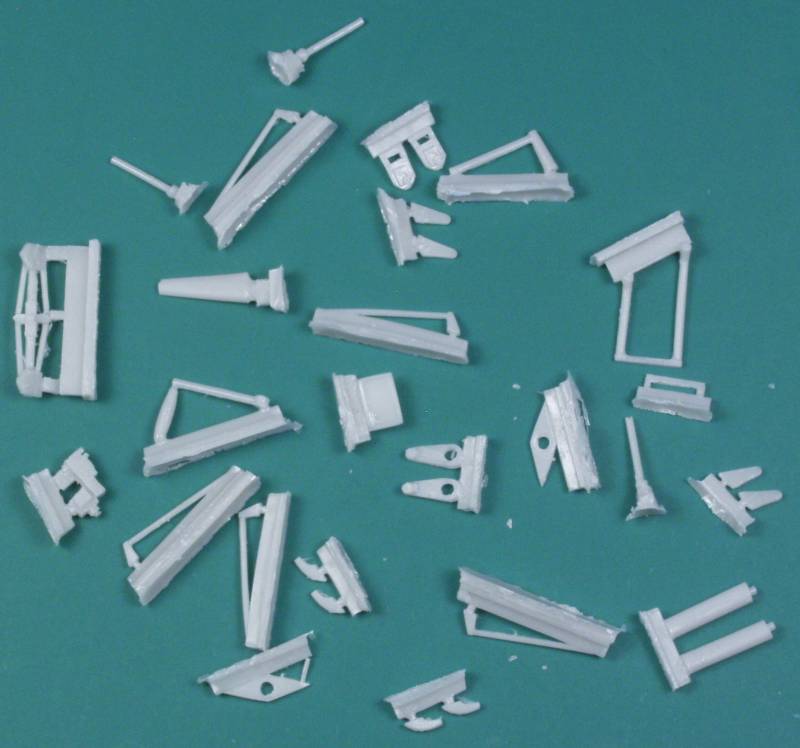
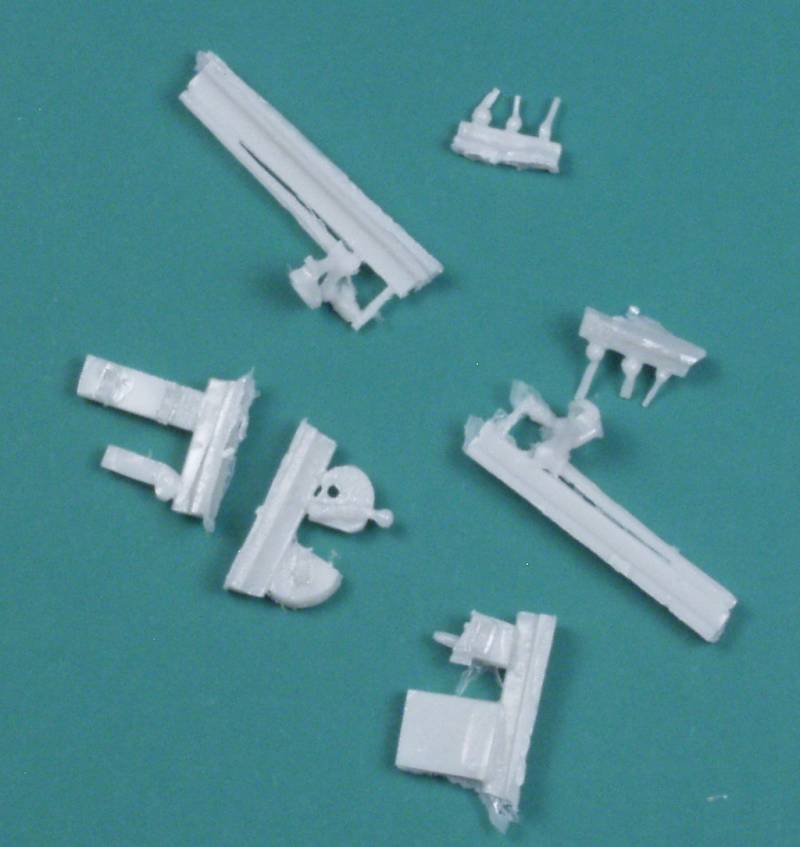
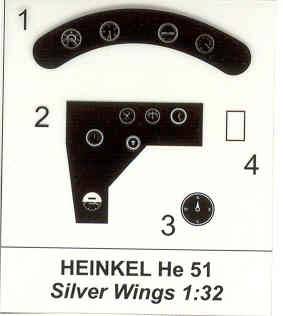
A lot of these parts go to make up the cockpit which is very well appointed. My only issue will be cleaning up and handling some of the really tiny resin parts that go into it. The instrument panels use a film behind the panel for the instruments. The molding itself on all the parts is superb and I could find no short shots or other surface defects on any of the parts. See photos below.
The clear part, yes there is only one and either it was missing from my box or I lost it in the progress of unpacking the kit and didn't see it. It's actually quite small and shouldn't be that hard to reproduce. we'll see what happens at build time.
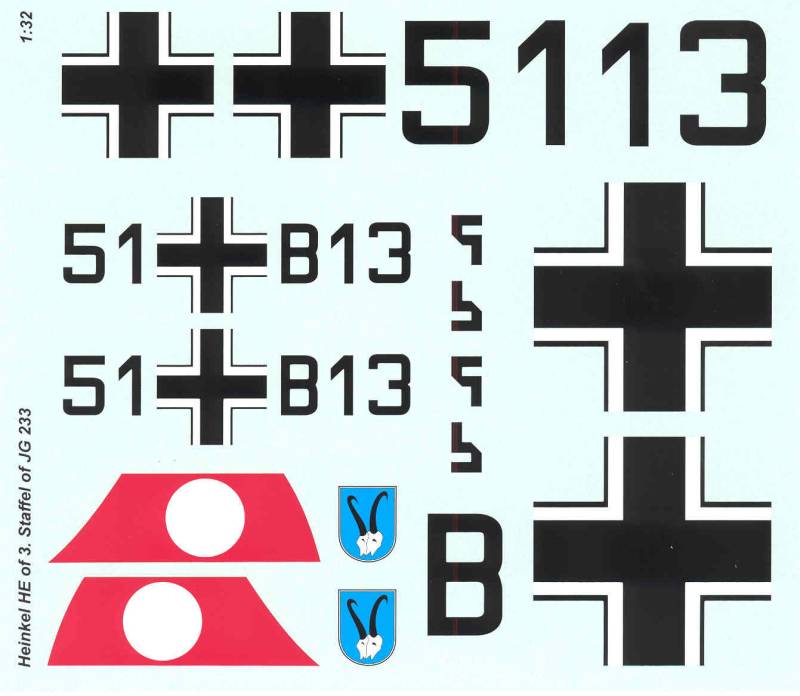
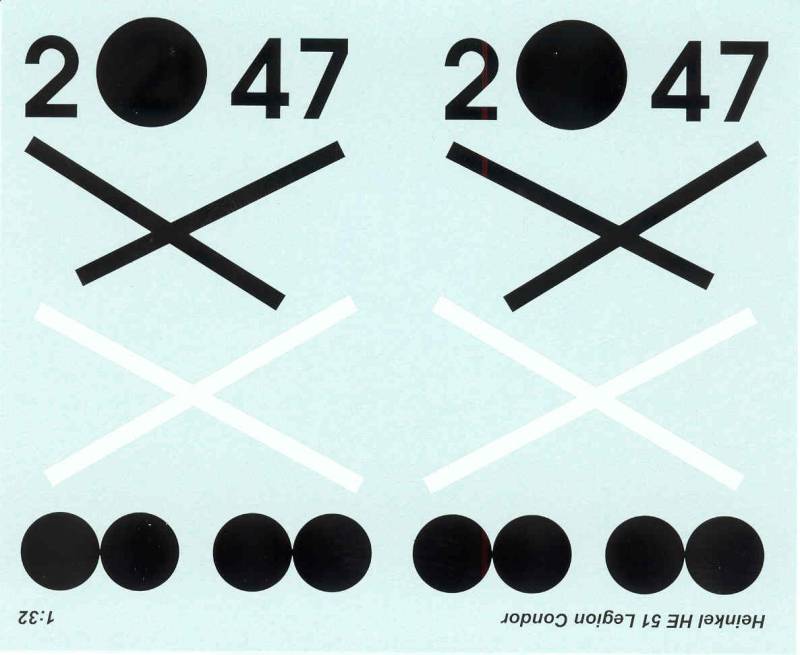
The decals are well registered and printed, have very little excess film and provide markings for two aircraft, one from 3.Staffel of JG 233 in 1938 and one in Legion Condor markings from 1937. Shown below the decals is the instrument panel film. See below.
The instructions are in the form of a landscape A4 sized booklet. The front page has a brief history and technical data. the next eight pages are the assembly instructions and helpful dimensions for the cockpit assembly and diagrams showing wing dihedral and a rigging schematic, although some photos and other references would be helpful as well. The back page has the painting and marking schemes for the decals supplied.
After Market Goodies
None that I'm know of and none really needed unless you want alternative markings.
Conclusions
This is without out a doubt the finest resin kit I have yet encountered and I have no reason to believe that it will assemble almost as easily as a limited run injection molded kit. The kit is not inexpensive but you get a lot for your money and I was able to find it on sale which made it even a better deal. Recommended to anyone with some resin and limited run kit experience.
Links to kit build or reviews
A build can be found here.
References
Warplanes of the Third Reich by William Green
Back to the 1/32 German Aircraft Page