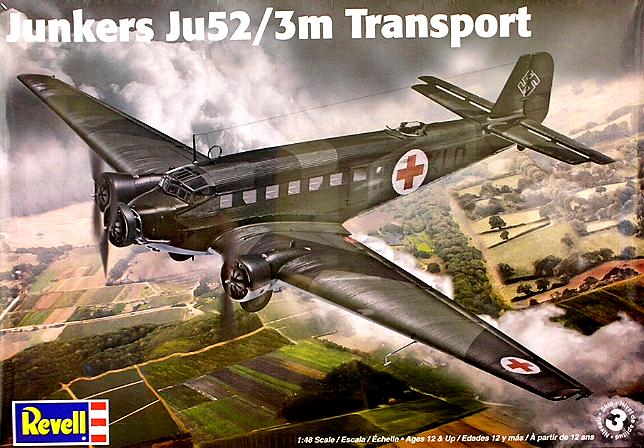
Ju 52-3m
The Junkers Ju 52 was originally designed and produced as a single engine civil transport which first flew in October 1930. In 1931 Junkers modified the design to add two additional engines. The designation was changed to Ju 52/3m. It first flew in April 1932 and it was produced in large numbers for use by Lufthansa and the airlines of over twenty nations. In 1934 the first military version was produced as a transport and medium bomber. It could carry a bomb load of approximately 1,300 pounds.
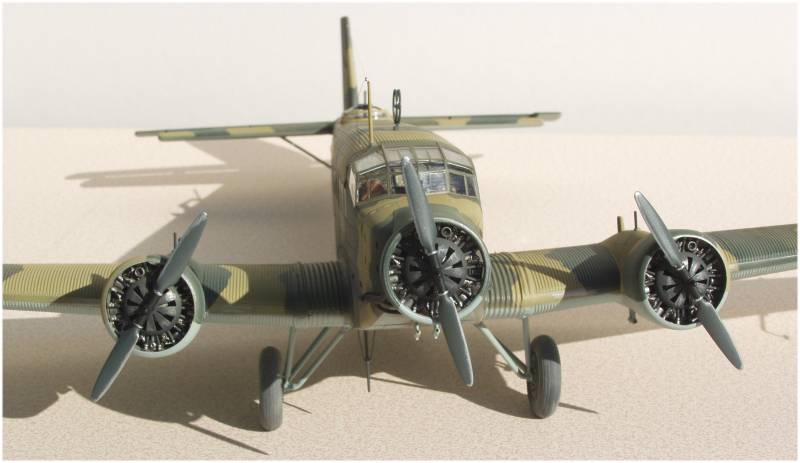
When the Spanish Civil War began in July 1936, Germany provided twenty Ju 52s to the Nationalist forces and they later served with the Legion Condor. These aircraft were used primarily as transports, but they also saw duty as bombers as well. Combat operations illustrated the fact that although the Ju 52 was an excellent transport, it was not well suited to be a bomber. As a result it was soon replaced in the bombing role by aircraft that were specifically designed for that role.
The
Ju
52 remained the most important transport aircraft in the
Luftwaffe
throughout the war, delivering men nd supplies wherever
needed. The Ju
52 was also the Luftwaffe's primary air assault aircraft and
it dropped
thousands of paratroopers as the German army moved in to
Poland,
Norway, France, Russia, The Netherlands and other countries.
the Ju 52
also served as glider tugs for air assault operations, while
others
were used as VIP transports. Adolf Hitler often used one as
his
personal aircraft.
The Kit
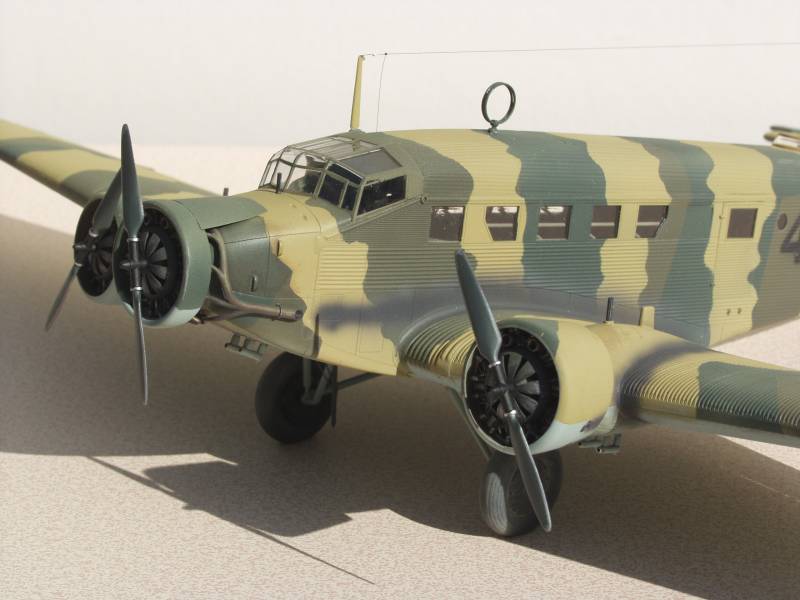
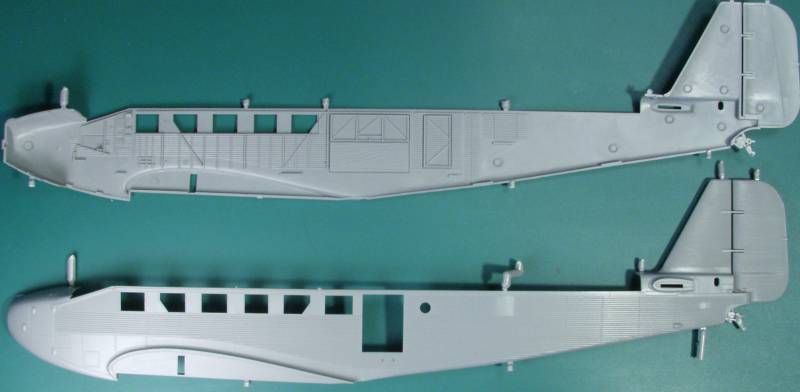
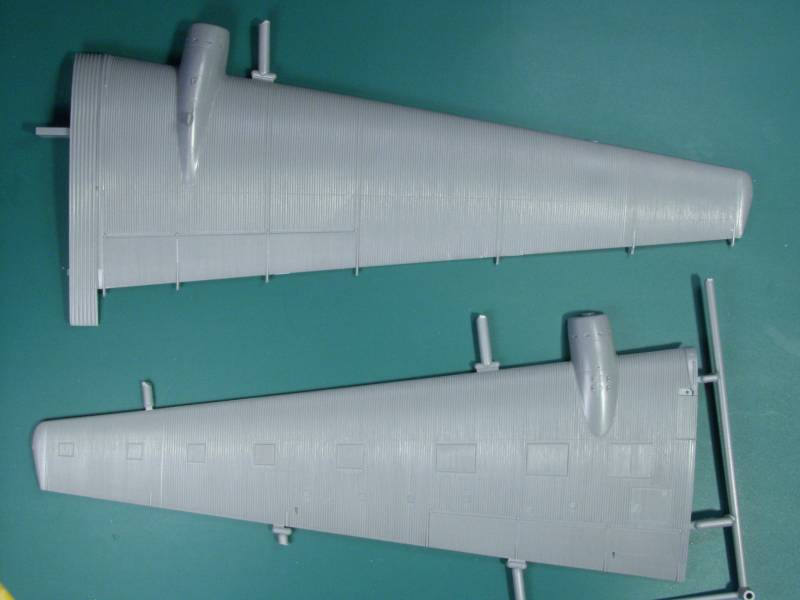
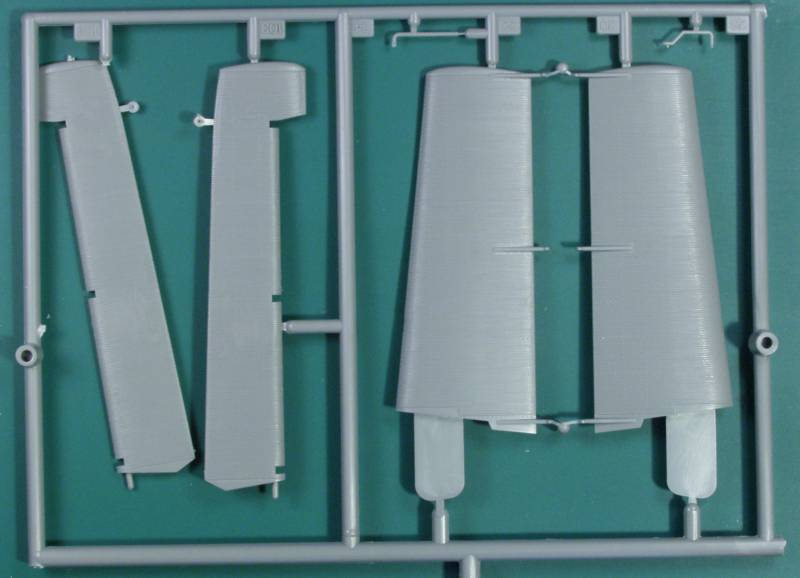
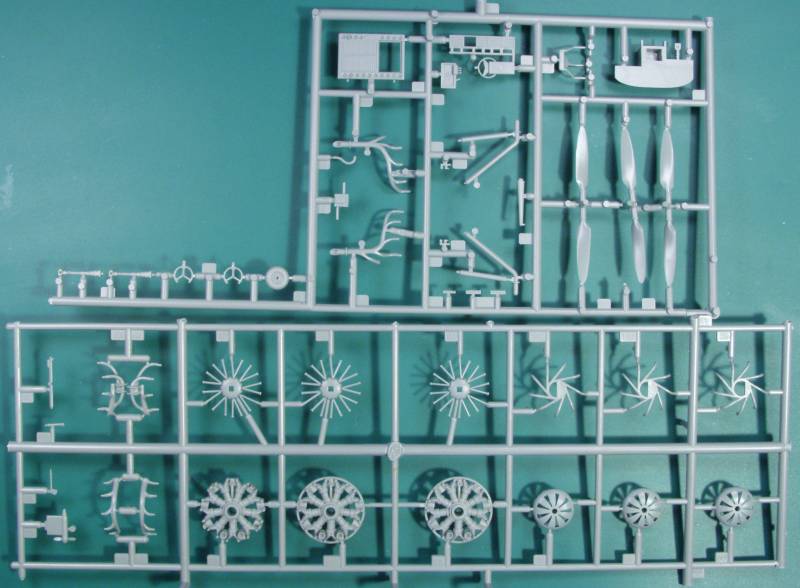
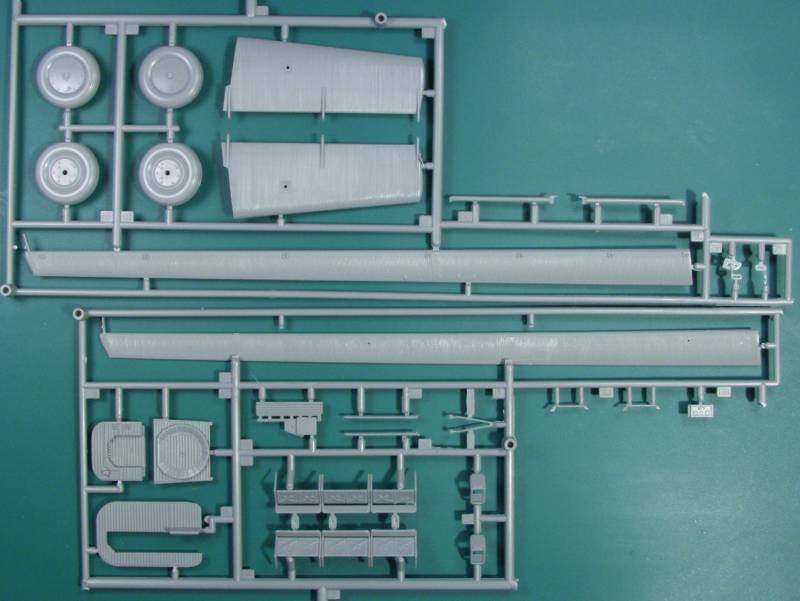
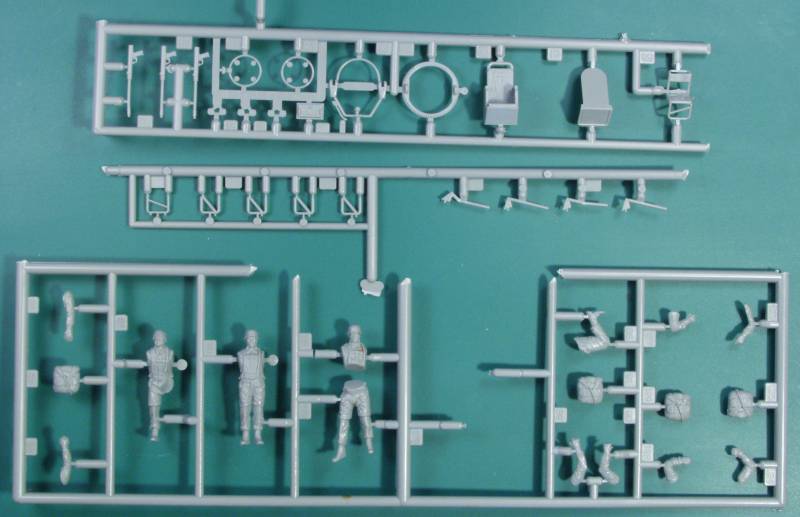
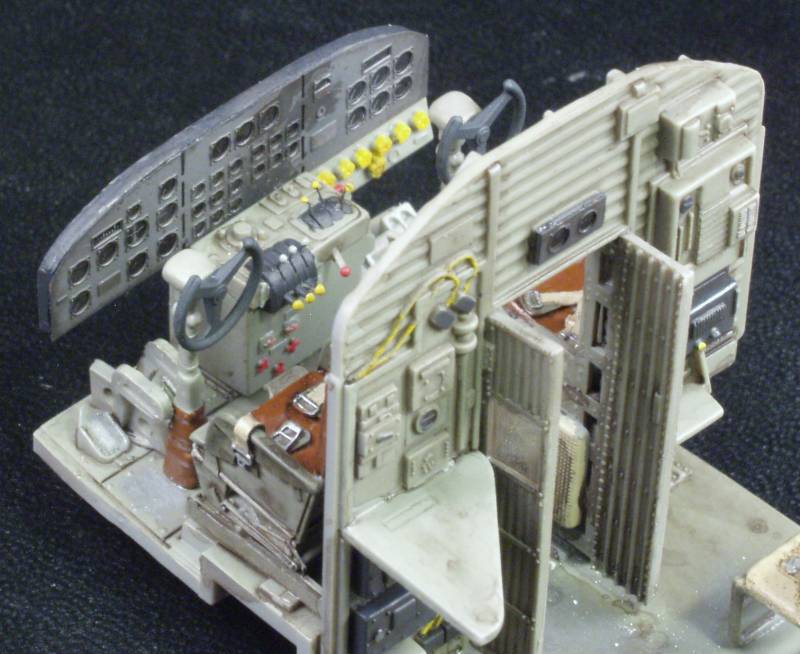
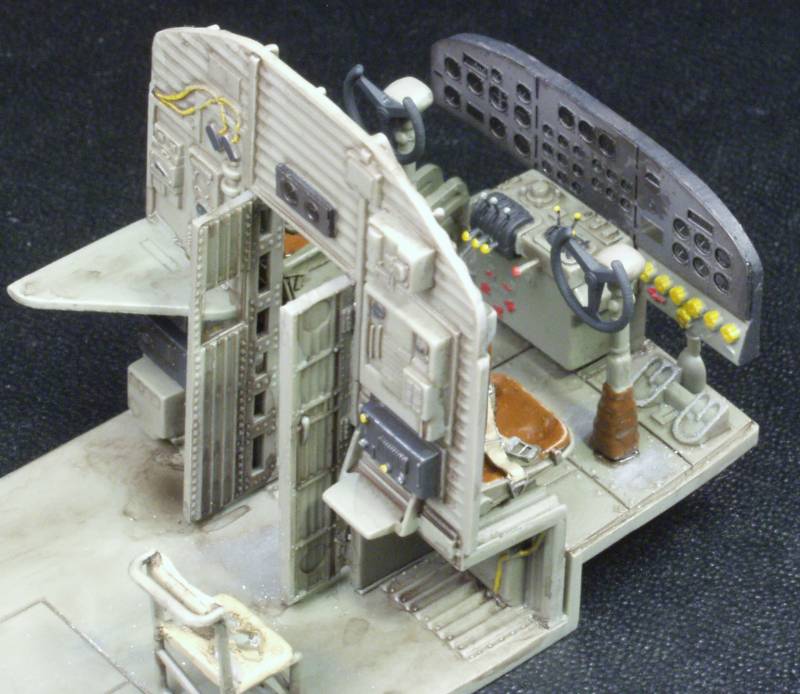
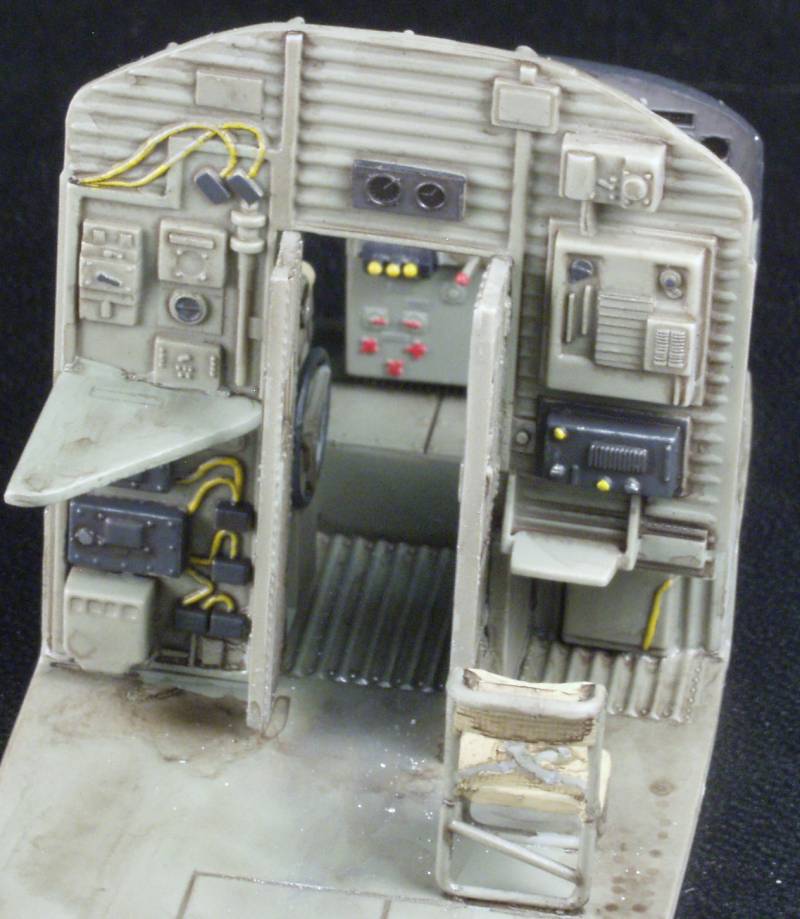
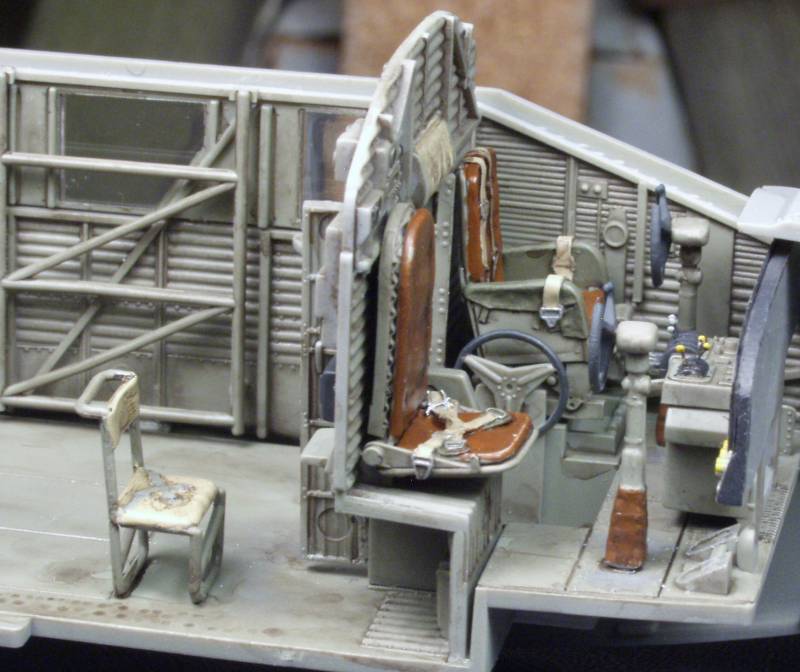
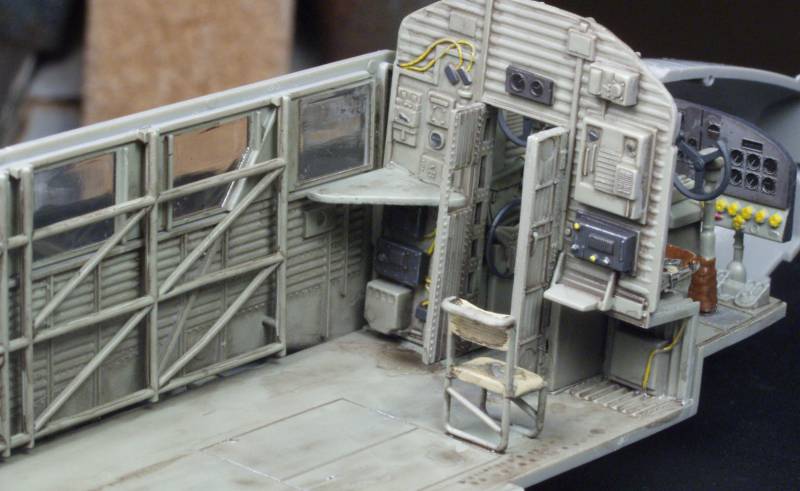
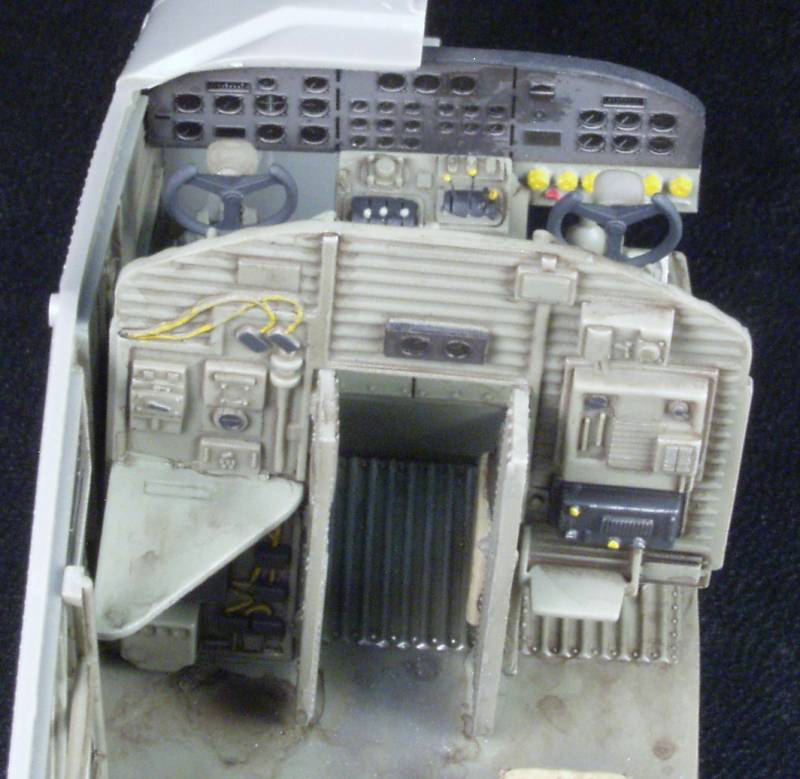
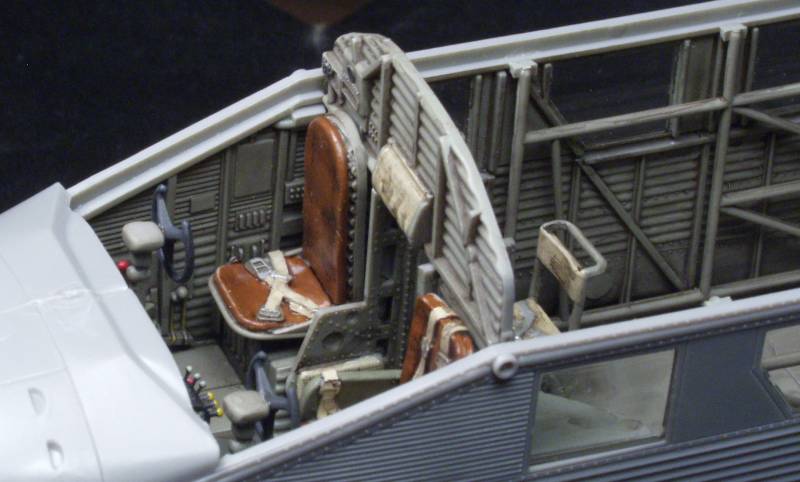
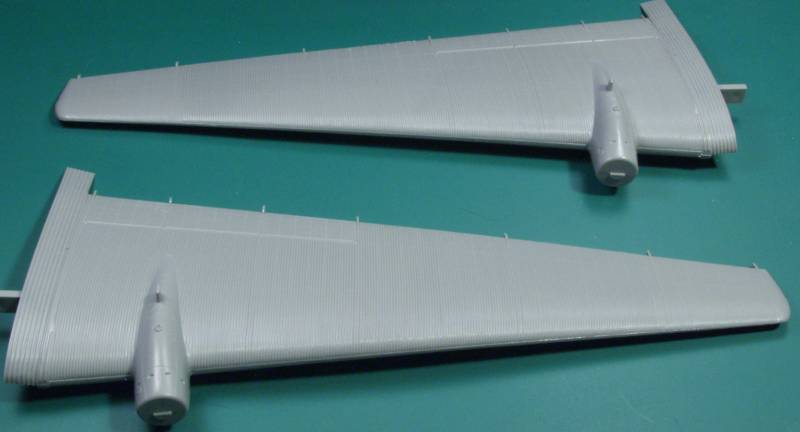
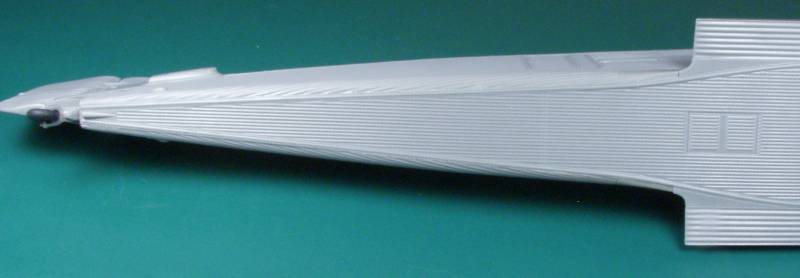
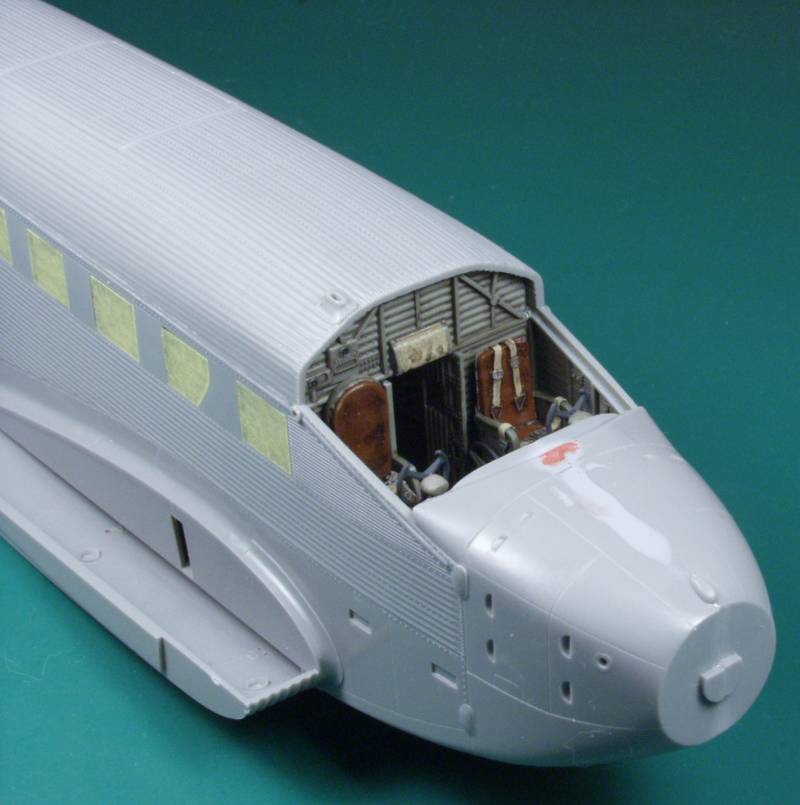
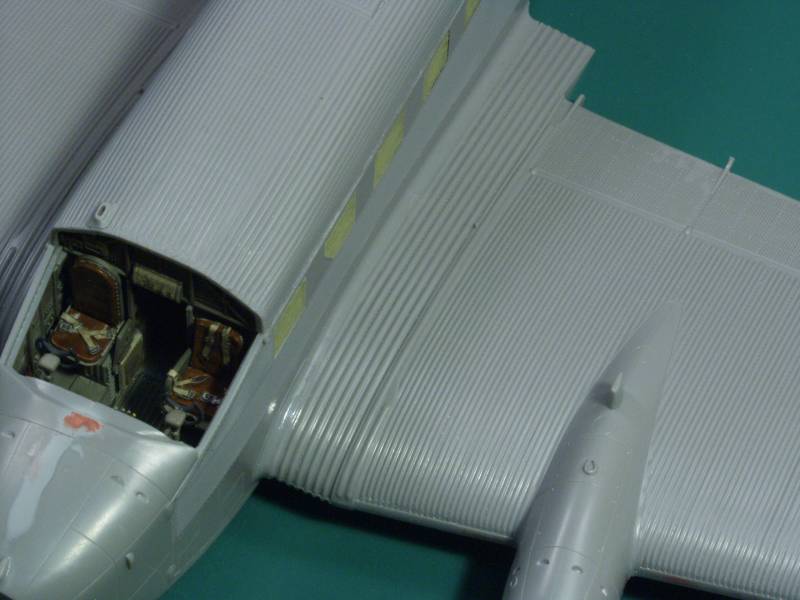
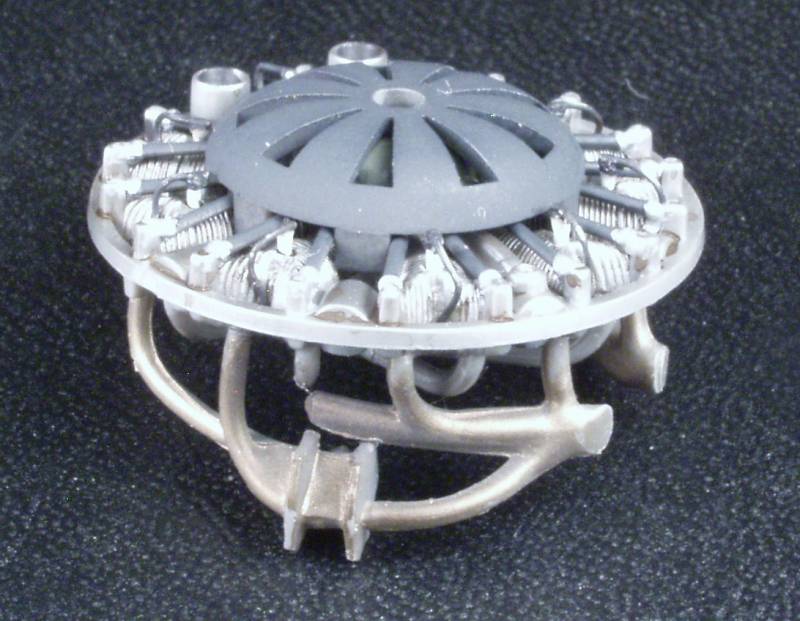
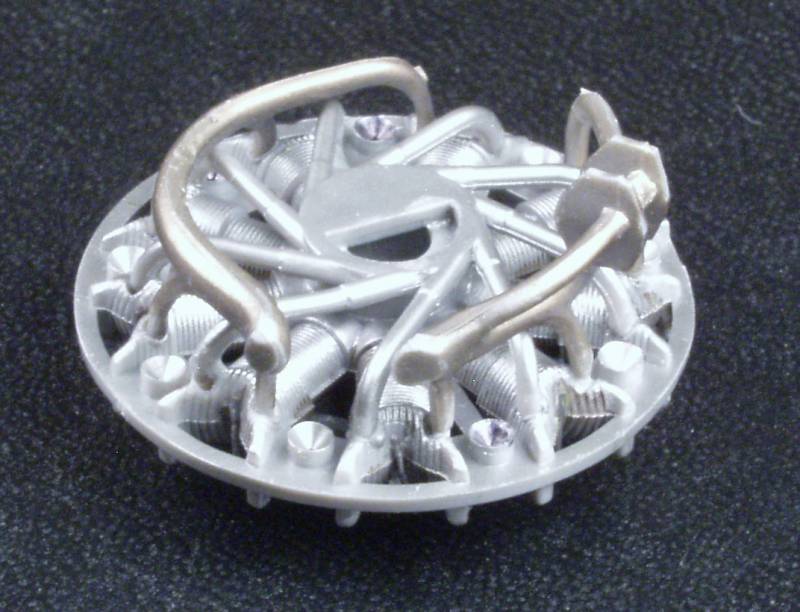
The interior is nicely appointed supply enough detail that any after market really isn't need. The only exception would be seat belts and harnesses which are molded in a look a bit wimpy. Not only is the cockpit well detailed but the balance of the fuselage as well. It is recommended that the flight control surfaces on the wing be left off till the end or they will likely be broken off during handling. The landing gear can be done with or without spats and the tires are nicely weighted. The engines are nicely detailed with push rods, intake and exhaust manifolds. The exterior is also supplied with numerous fiddly bits to add. I didn't do a parts count but one review stated over 150 parts. Duplicate sprues or parts are not shown. See below.
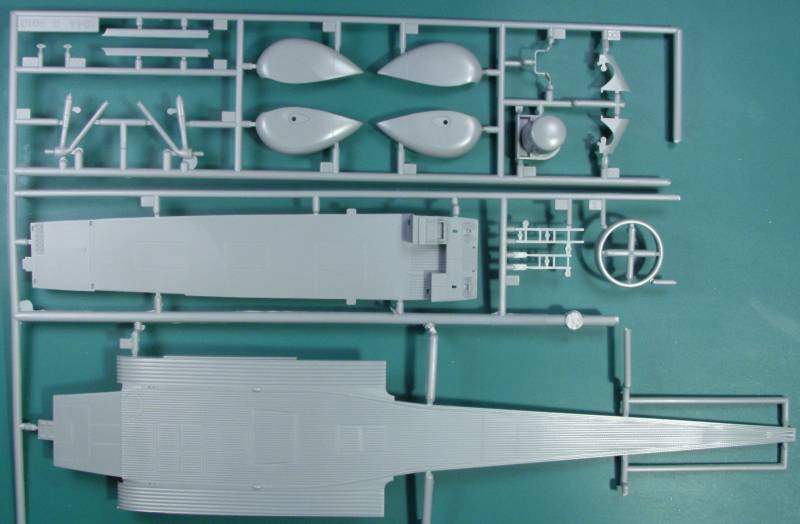
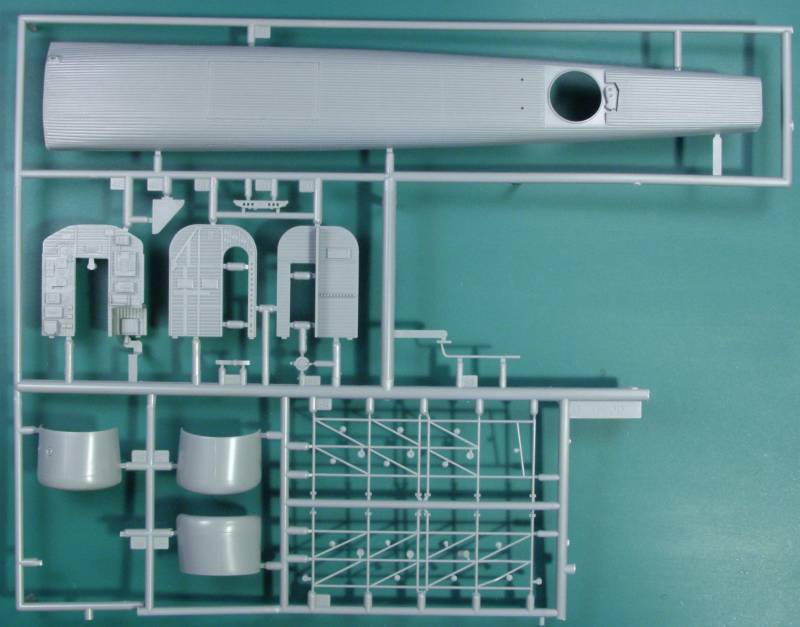
The clear parts are a tad thick but nice and clear with little distortion and should look great with a coat of Future.
![]()
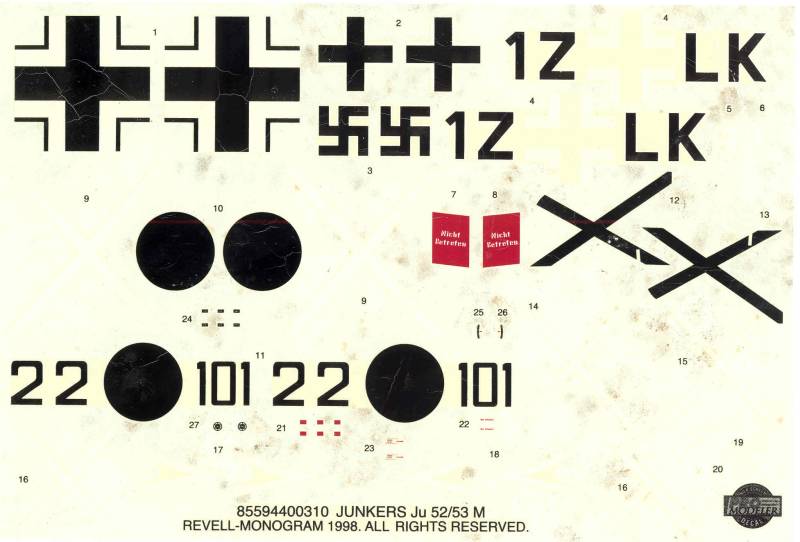
The decals in my kit apparently were subjected to moisture at some point and are trashed. The kit came with marking for two aircraft, one from a Spanish Nationalist Grupo and the other from Greece in 1941.
The instructions are in the form of an A4 sized booklet 16 pages long and stapled. The front page has the aircraft history, second page the usual warnings, icon chart and paint chart, pages 3 though 14 are the assembly steps with prototype photos interspersed as common with Promodeler kits and the last two pages are painting and marking instructions.
After Market Goodies
Eduard, CMK, Quickboost and others have made after market for this kit, check with your favorite retailer for what is currently available. To date the only item I have acquired is a mask set from Eduard.
Conclusions
This kit was nice when it was released in the late 90's and had held up well through the years and is not likely to be supplanted by a newer kit any time soon. It goes together extremely well, one of the best fitting kits I've ever built. Highly recommended !
Links to kit build or reviews
A build review can be found here and some photos of nice builds with comments, here, here and here.
References
"Warplanes of the Third Reich" by William Green
"Transporter" Volume one by Martin Pegg
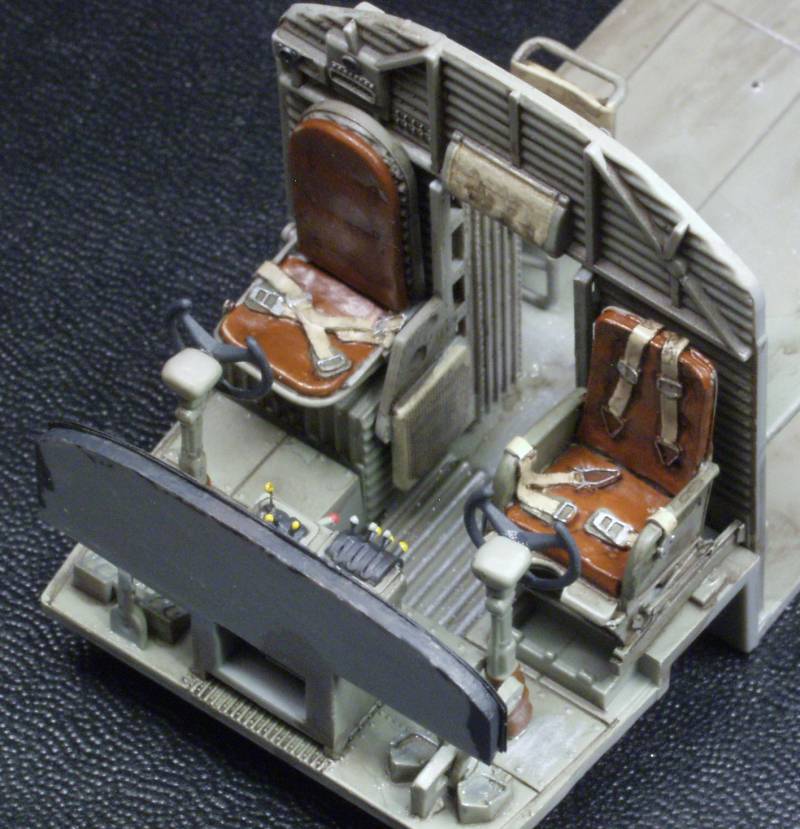
Like most model aircraft assembly begins with the cockpit and interior. This kit supplies some really nice interior detail and I had planned to use all the kit parts but at the last minute decided to go with some Quickboost replacement seats which already had the seat belts and shoulder harnesses molded on, I find I can paint these up and they look better than the photo etch belts, these seats also had better detail on them than the kit parts.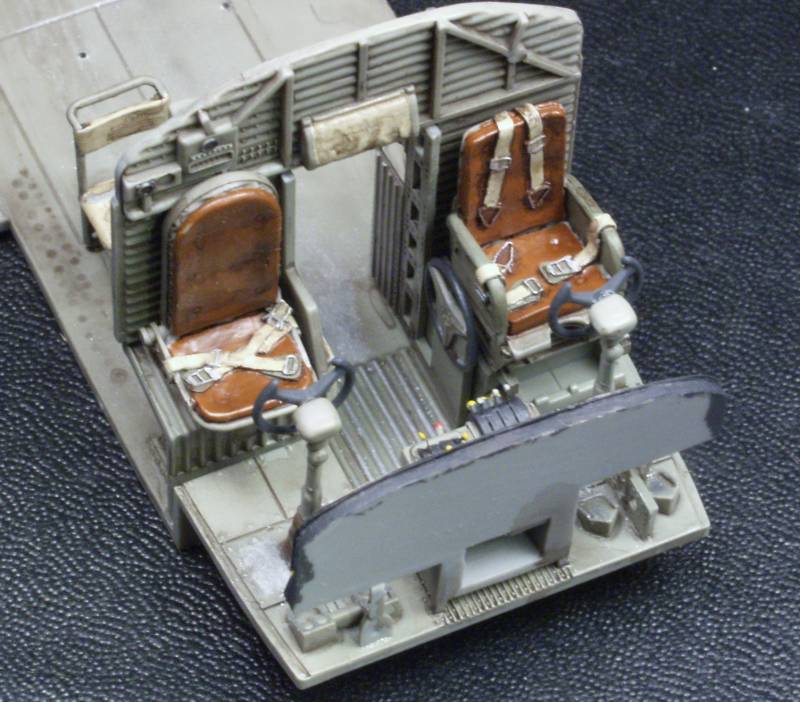
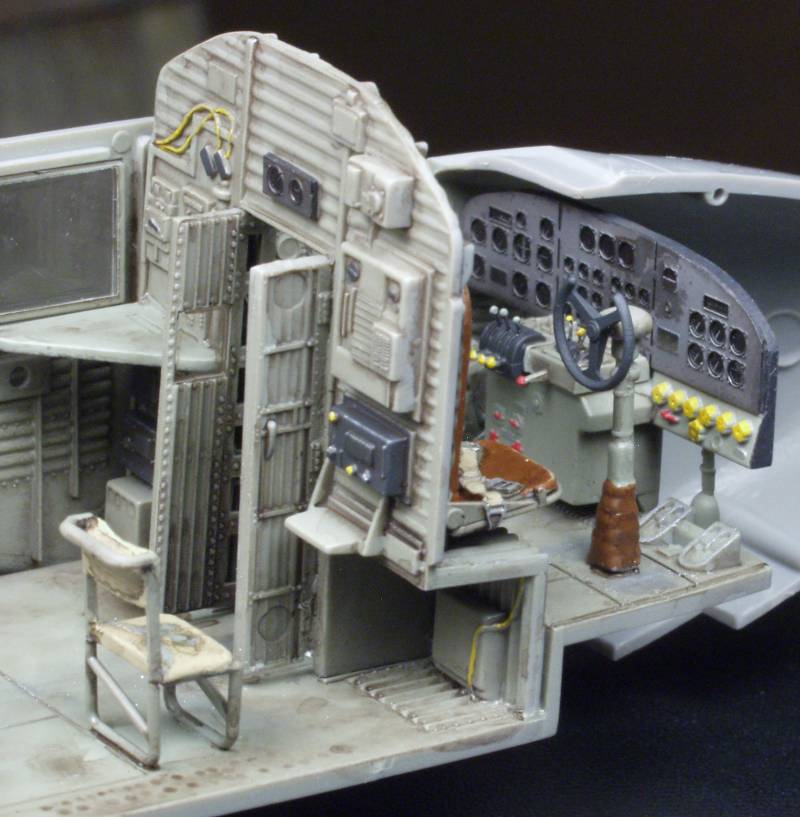
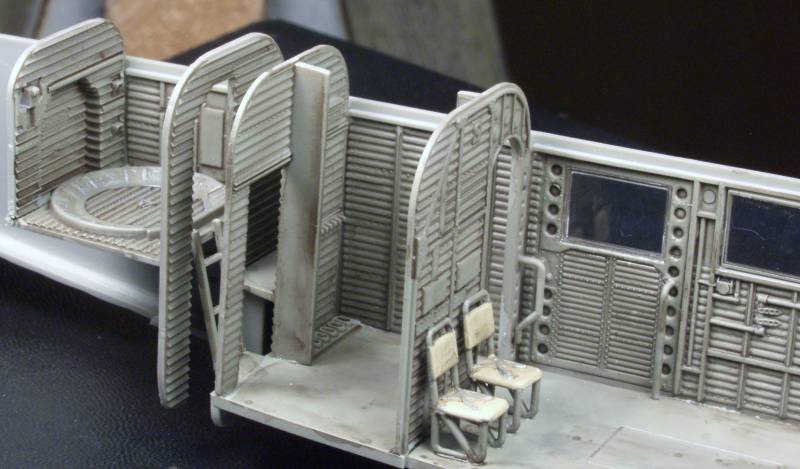
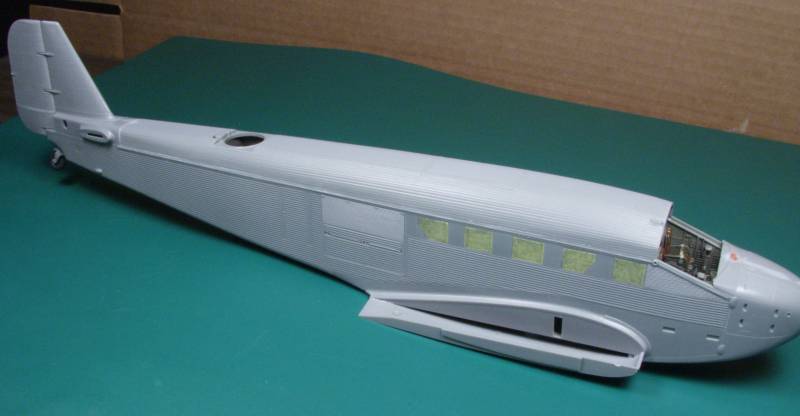
With the interior done the fuselage was glued together.
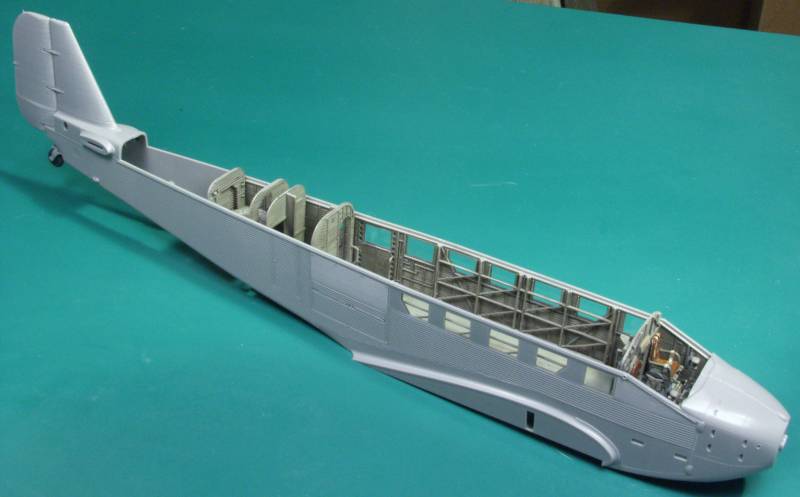
Even the upper fuselage had detail on it, some light fixtures and a winch frame.
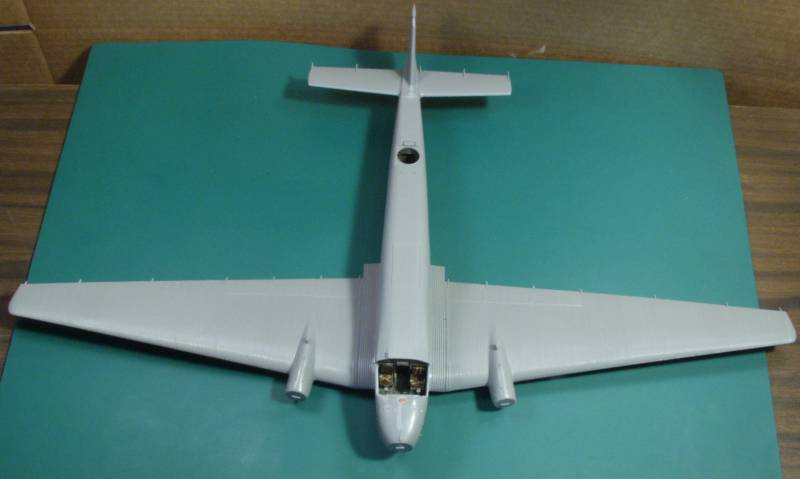
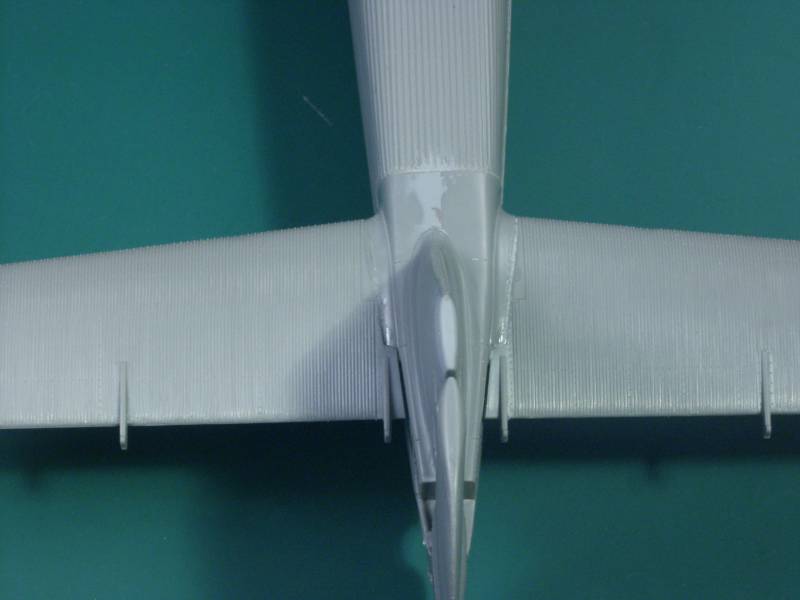
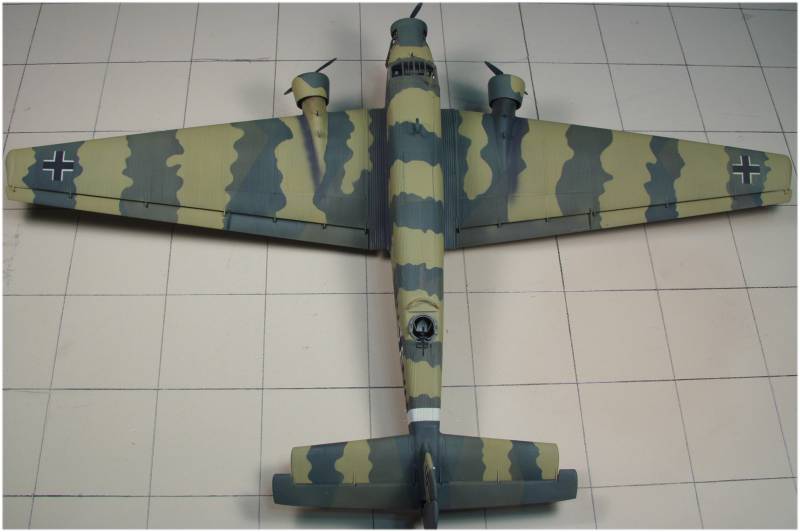
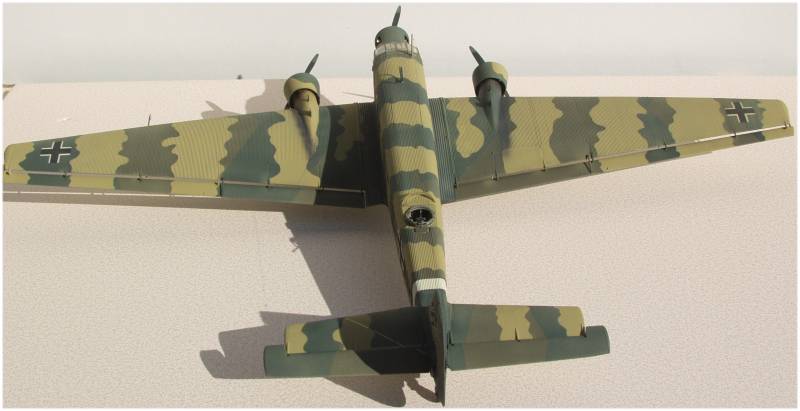
I used the tail braces at this point to insure that the tail planes were mounted correctly, they were not glued so they could be removed for painting, this would cause me grief later on.
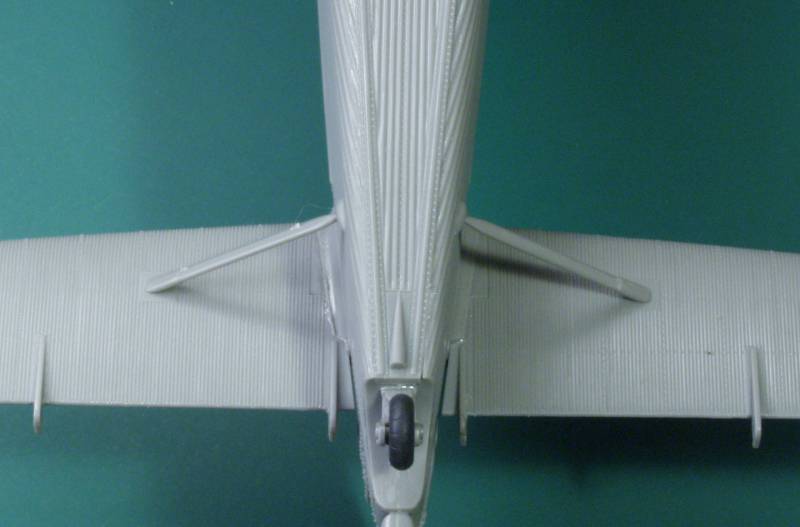
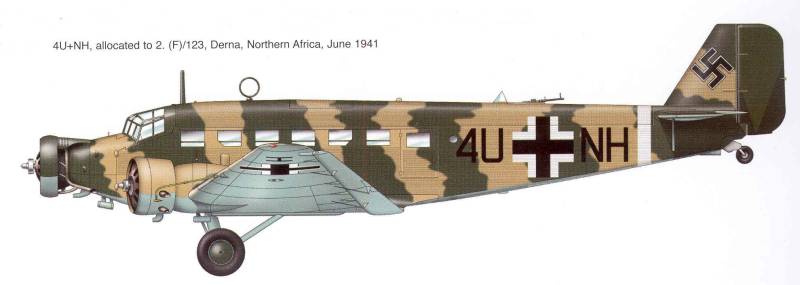
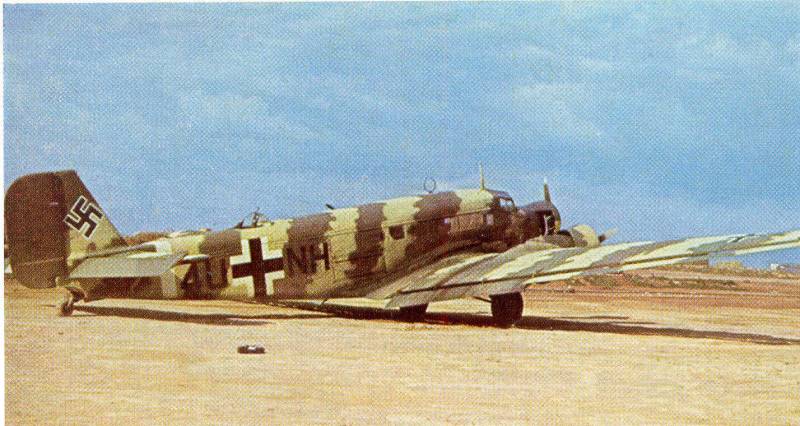
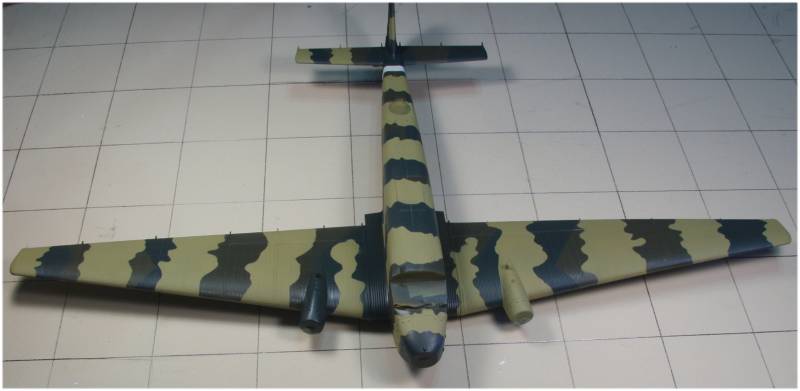
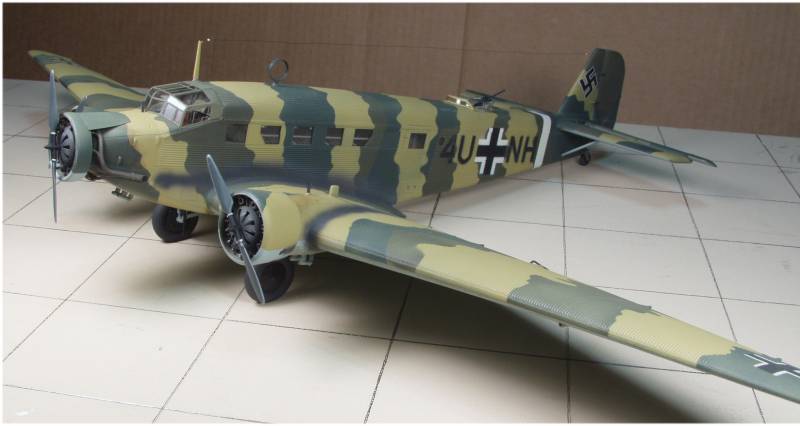
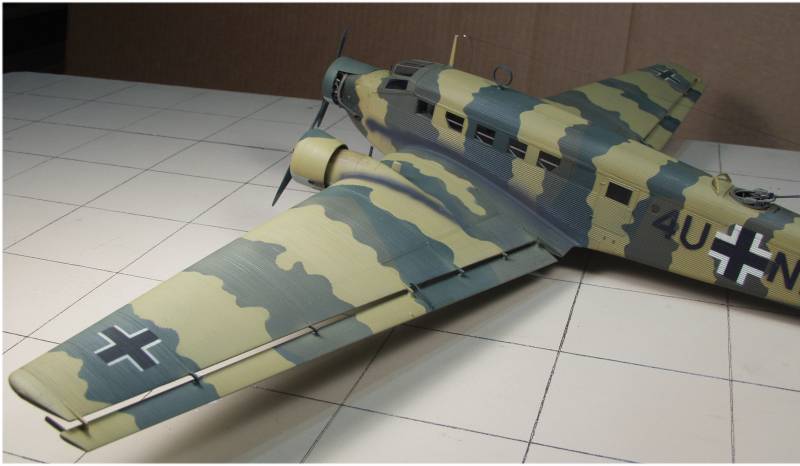
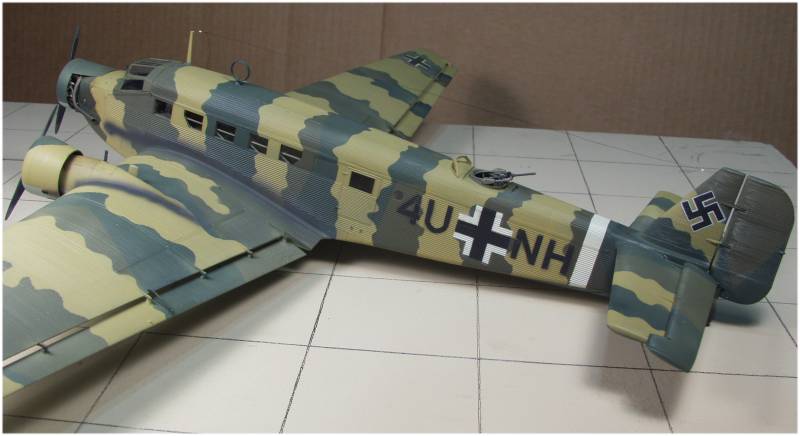
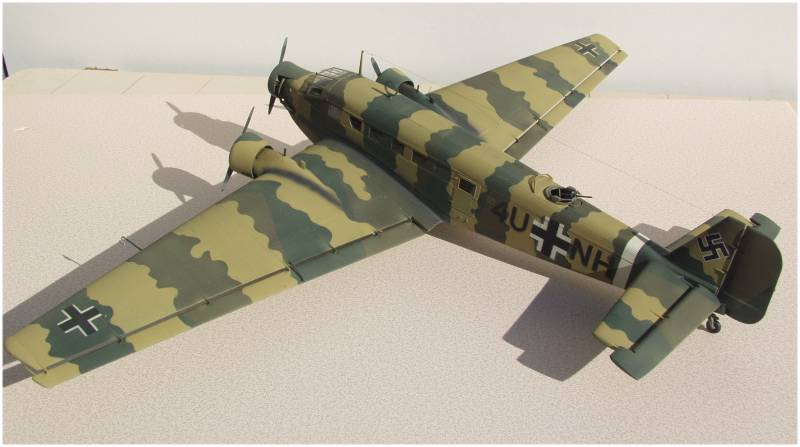
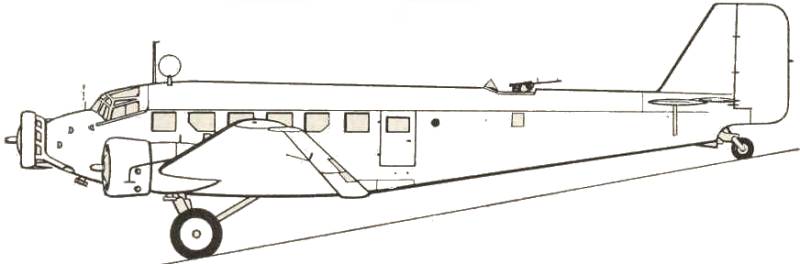
You will notice I didn't paint the one horizontal stabilizer as it wasn't shown painted on the profile and couldn't be seen on the photo of the actual plane but you could see paint on the other side and it didn't make sense to me that they would not have painted it too. The scheme on the profile had to be mostly made up anyway as to the best of my knowledge no photograph of that side exists anyway. It bothered me enough that I eventually went back and painted it as you will see in the final photos.
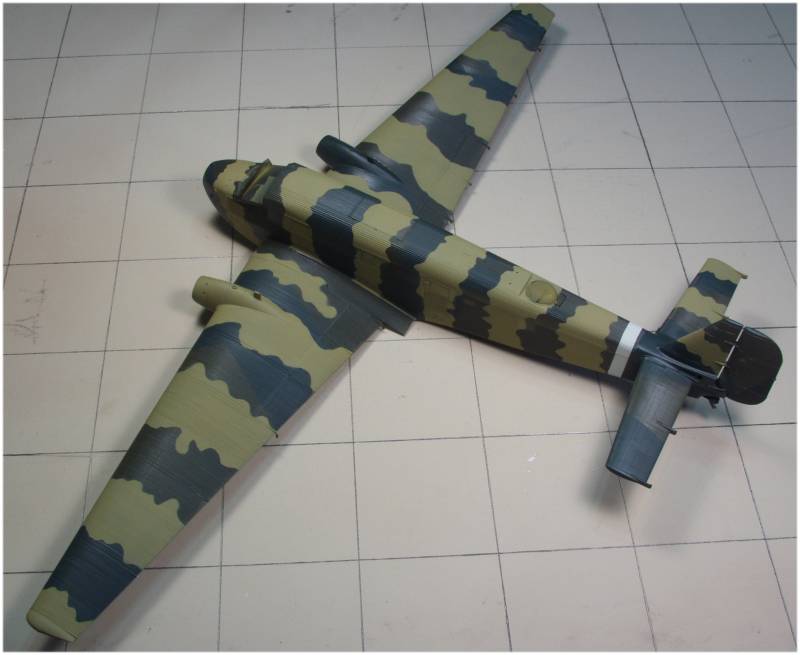
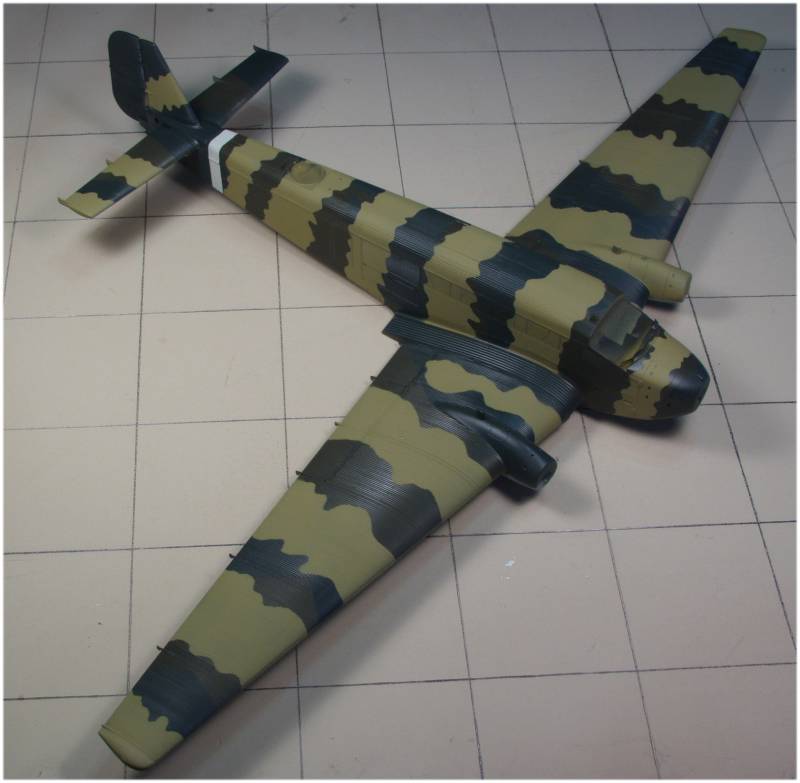
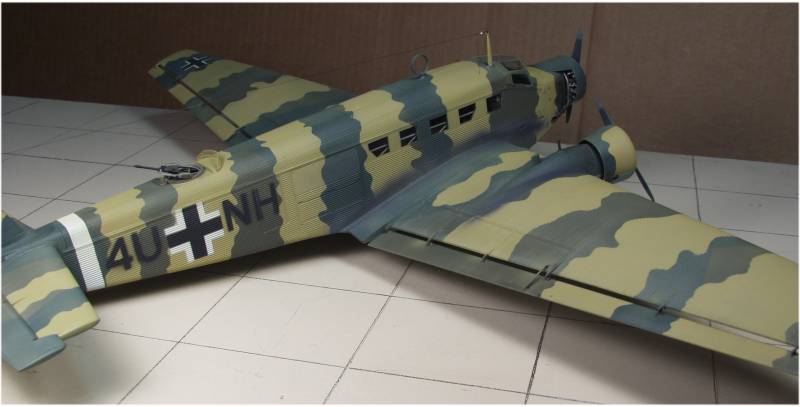
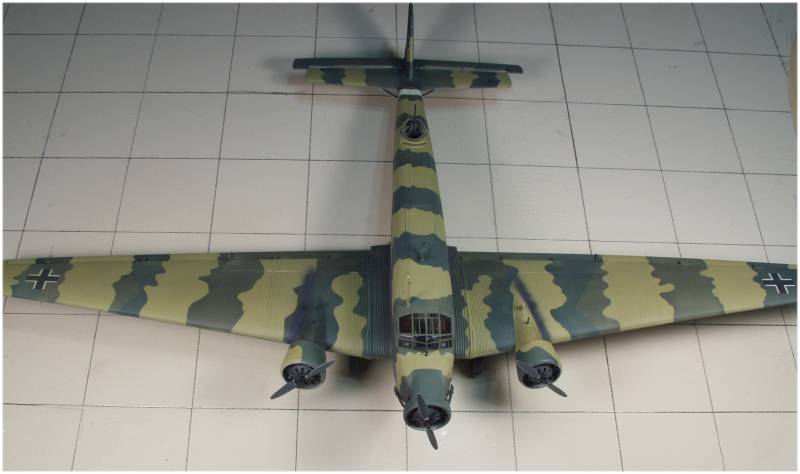
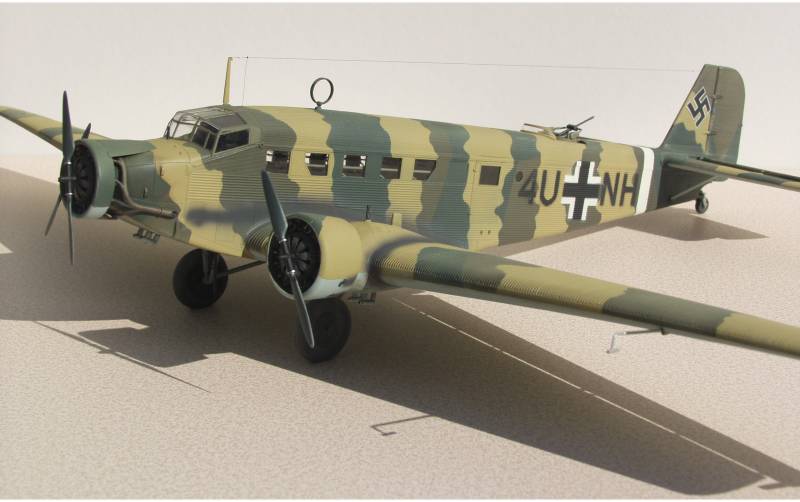
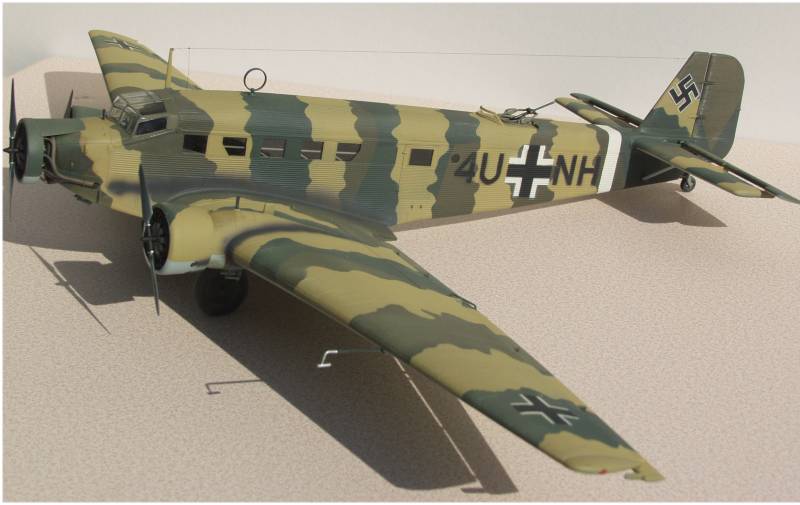
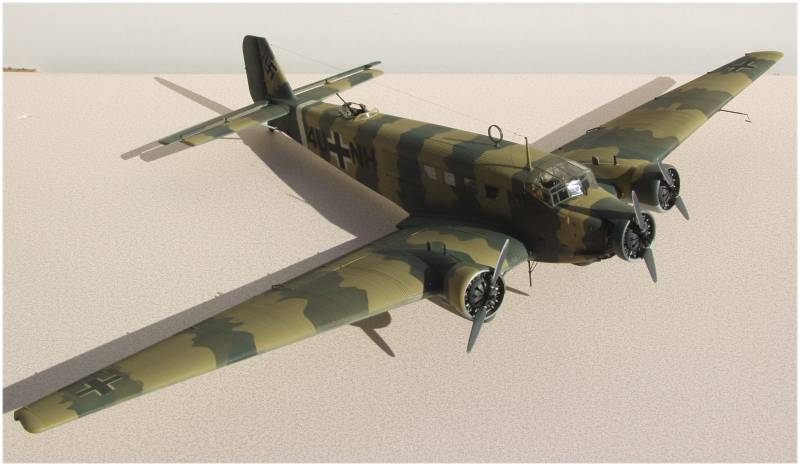
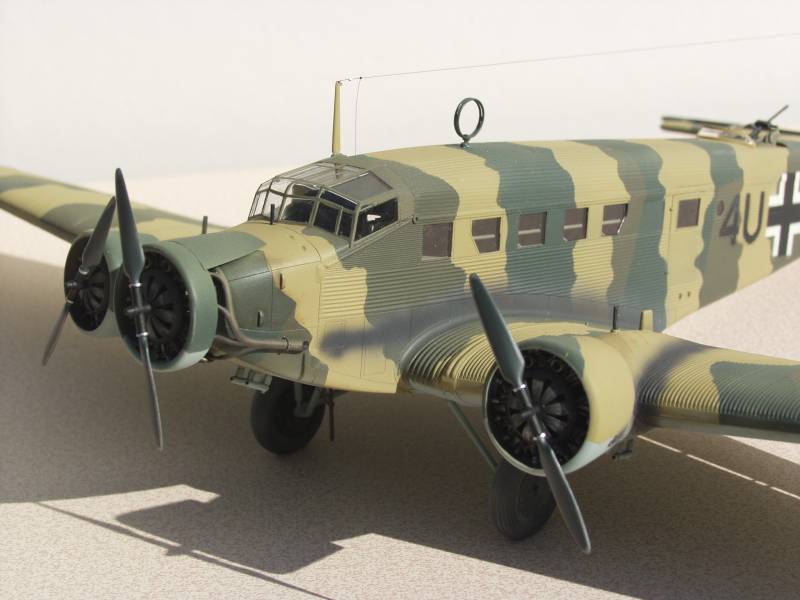
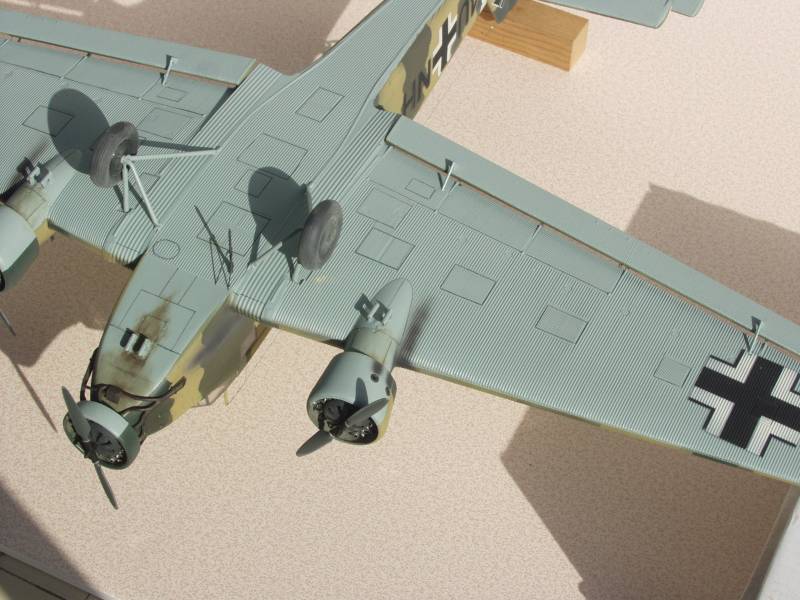
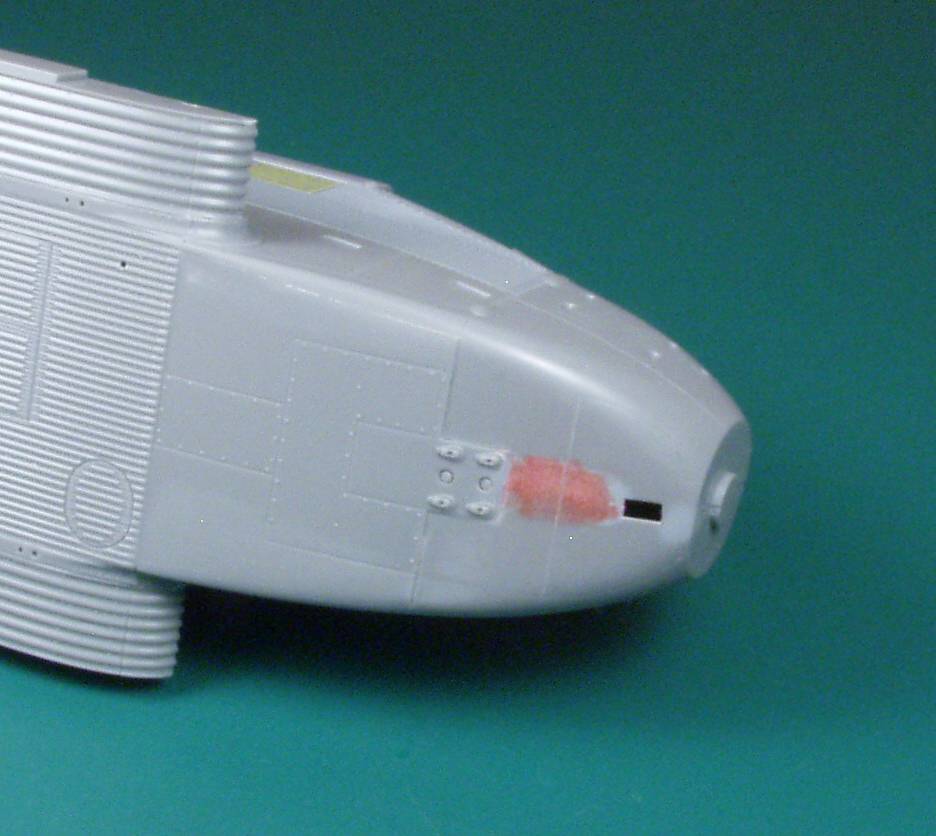
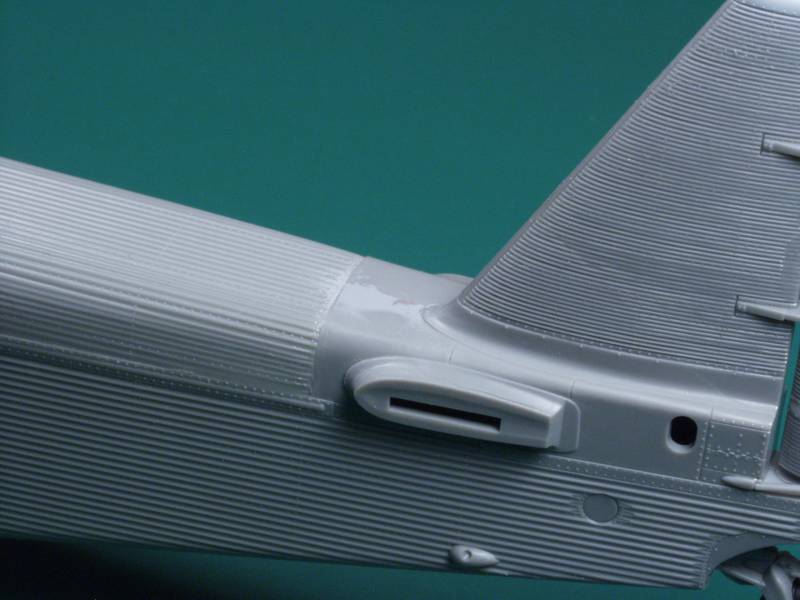
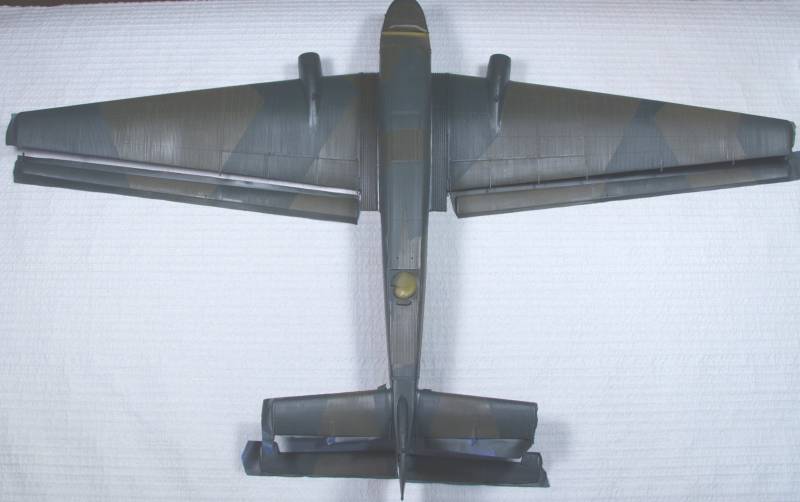
I was a bit pushed to finish this one and did not take and photos during the final assembly stage. I had Eduard masks to paint on all the national markings and these came out much better than expected. As a result I made my own masks for the radio codes and they worked well too. No decals were used at all and I was relieved that I didn't need to struggle to get decals to settle over the corrugations. As I mentioned earlier I screwed up on the center engine exhaust manifolds and had to remove them as they contained the mounting key to fit the fuselage. In the process I broke several of them off and ended up replacing all of them with solder which worked quite well and since they were already silver, required no paint. The plane I was building had a field installed oil spray guard behind the center engine to keep oil off of the windscreen. I made this from a piece of aluminum soda can. I also had to make 6 new replacement mounts for the flying surfaces, fortunately there were enough remaining to attach the surfaces to and I then made replacements for the missing ones out of some styrene strip. All in all I'm quite pleased with how it came out and the kit was a real pleasure to build as most everything fit as it should and I think I used less filler on this kit than any I have ever built.