
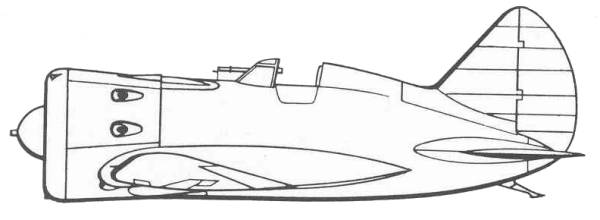
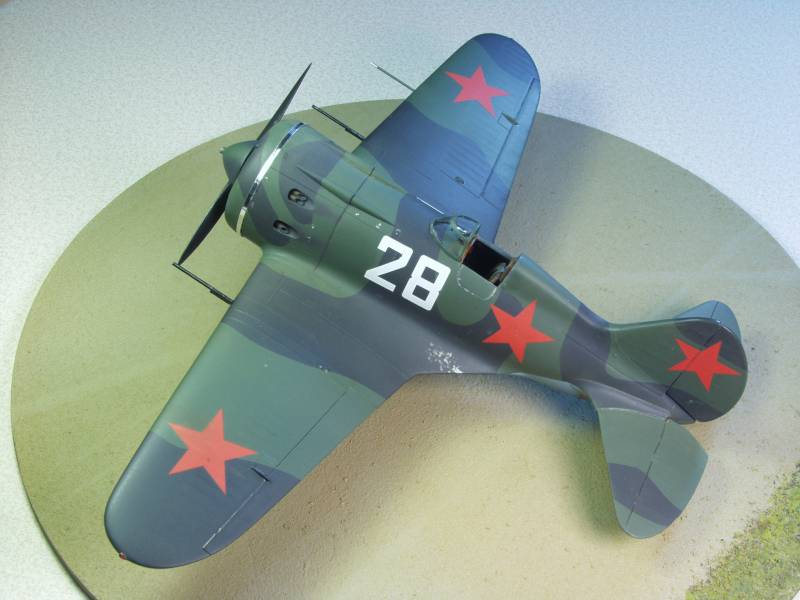
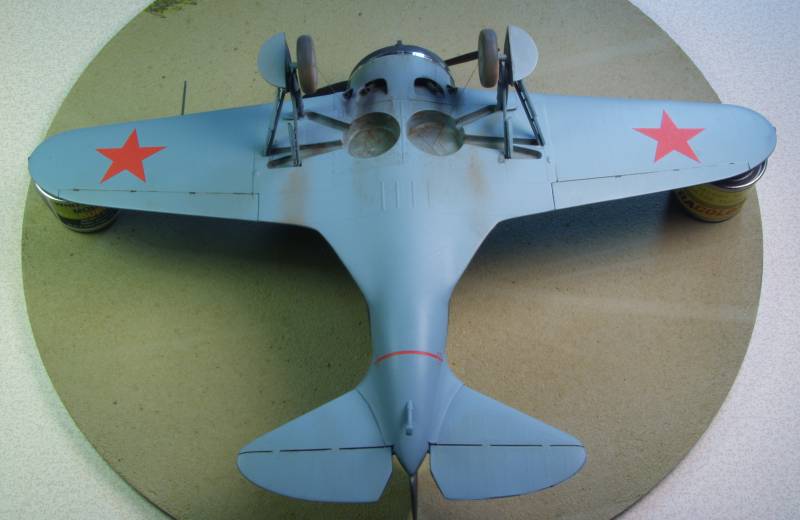
Polikarpov I-16 Type 17
During
the early 1930's the Russians were frequently
labeled as copyists. It was a claim made with some justification. In
their attempts to establish a modern industrialized state following the
revolution, the Russians discovered a natural aptitude for things
mechanical and a genius for copying the basic designs of others and
adapting them to their own requirements and primitive production
methods. Their aircraft industry in particular absorbed the foreign
influence more rapidly than other industries and by the late 1920's was
showing considerable creative ability. While other countries made the
transition from strutted and wire braced biplanes to the fully
cantilevered monoplane with retractable gear and enclosed cockpit in
stages, Russian design teams began working on such designs for fighters
as early as 1932. One single seat fighter first conceived in that year,
the I-16, was to gain the distinction of becoming the first low wing
interceptor with a fully retractable landing gear to enter service
anywhere in the world. In spite of some crude construction and
equipment by Western standards, it was a rugged and extremely
maneuverable fighter. It was faster than any of its contemporaries, it
was easily maintained in the field and offered some armor protection
for its pilot at a time when such luxuries were not generally
considered to be necessary. Although it has been claimed that the I-16
found its inspiration in the P-26, it was actually under going testing
before the first P-26 was delivered to the Army Air Corps. Built in
tens of thousands the I-16 did more to raise Russian combat aircraft
design to world standards than any other single type. Unfortunately the
I-16 reached it peak of development much earlier than its primary
opponent during the Luftwaffe's 1941-1942 offensive, the Bf 109F and
was outclassed in fighter versus fighter combat. Nevertheless it bore
the brunt of the early fighting on the Eastern Front and was not
completely supplanted in first line fighter units until mid 1943. The
Type 10 was an improved version that came about as a result of
experience gained in the Spanish Civil War. It entered production in
1937 and had two additional 7.65 mm. ShKAS guns mounted in the upper
decking firing through the propeller disk. Although it was initially
delivered with the tubular collimating gun site, later machines were
equipped with an early form of reflector sight. It was fitted with an
M-25V engine rated at 750 h.p. In Spain pilots invariably flew with
their cockpit canopies open as they had a tendency to jam shut during
forced landings and also impaired vision in combat so the canopy was
removed on the Type 10 and a fixed windscreen was introduced.
The Kit

The Special Hobby I-16 come in a dreaded end flap style of boxes made from rather thin cardboard. The front and back feature a relatively nice artwork (both the same). Inside the box one finds one large resealable bag containing all the parts. The decals are in a separate bag and some resin parts are in a small zip lock bag but the clear parts are just loose to rattle around inside the larger bag with all the other parts.
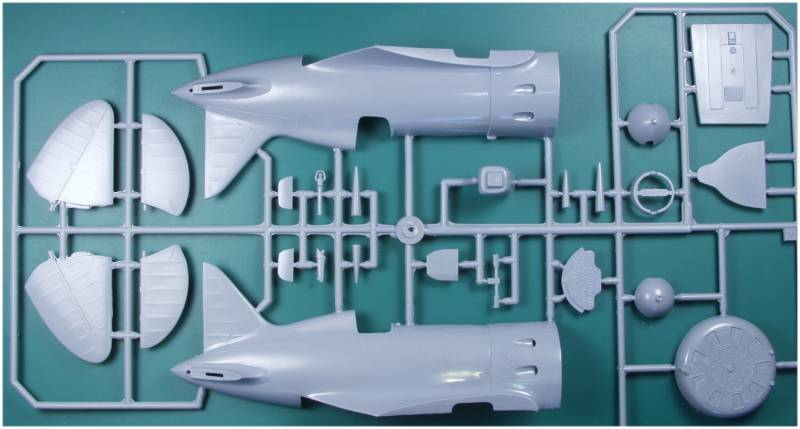
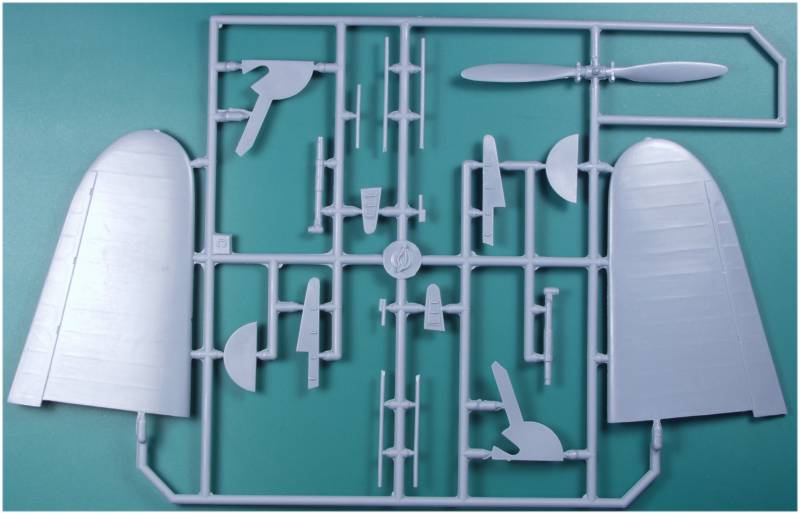
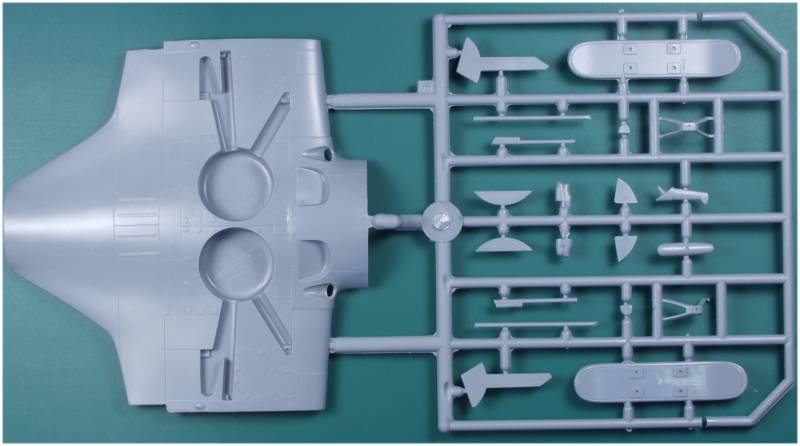
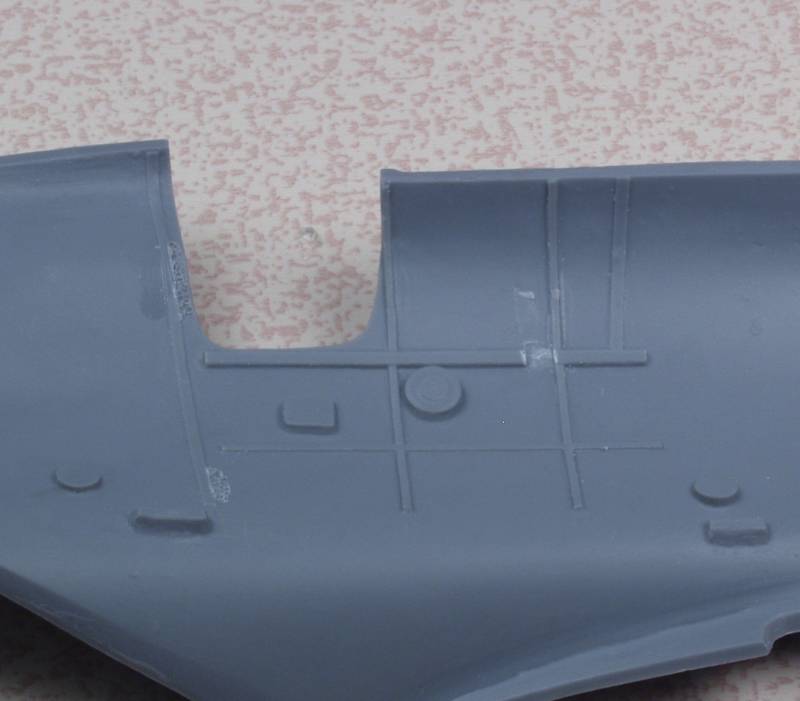
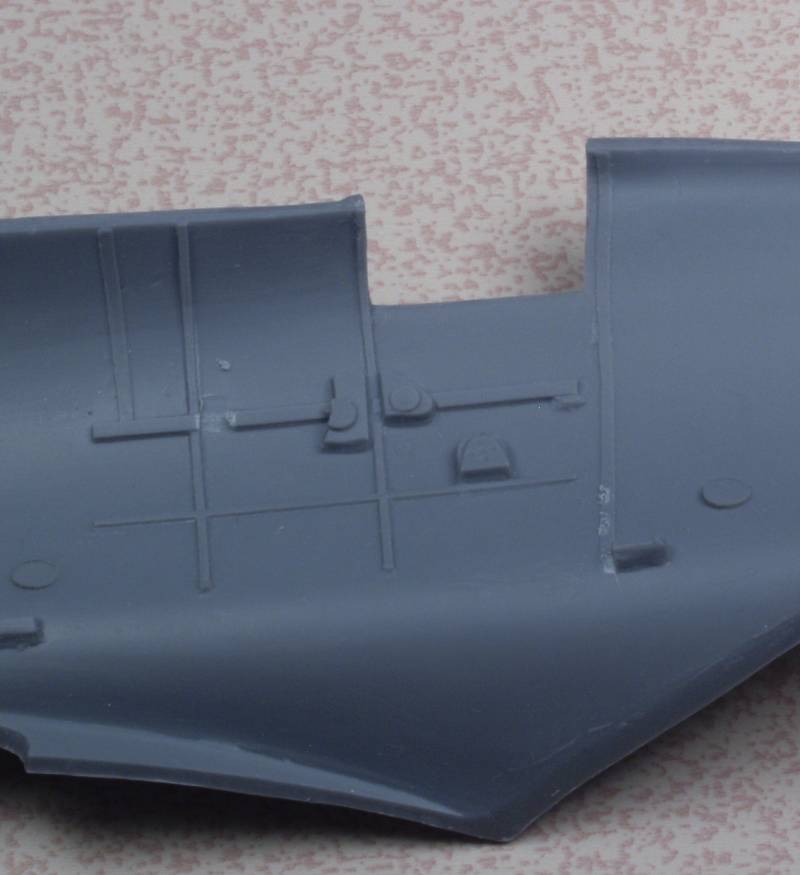
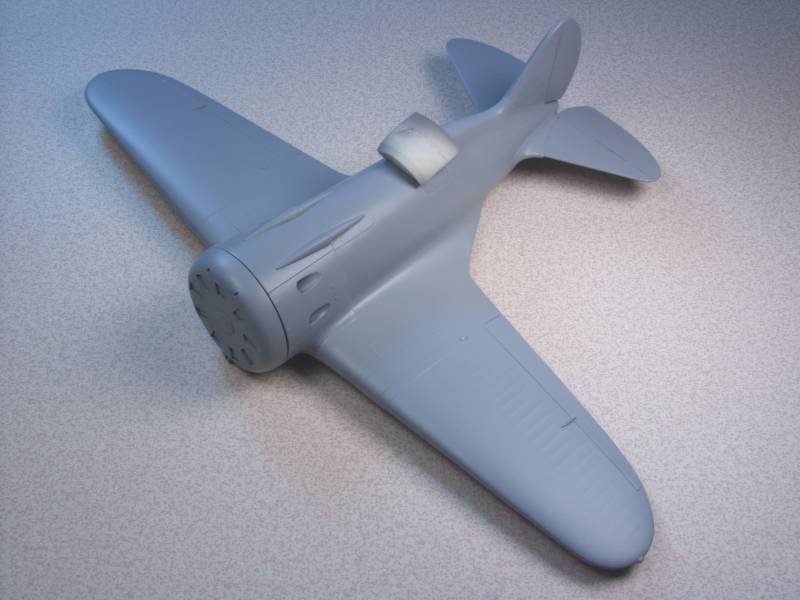
The parts are molded in a light gray color and are presented on four sprues. The surface detail consists of recessed panel lines although since most of the aircraft was covered in wood or fabric there aren't that many panel lines. There is also some recessed and raised fastener detail as applicable. The fabric areas are done very discretely as they should be. The ailerons and elevators are molded in the fixed position and the rudder is a separate piece. There is a little flash present here and there and the fuselage halves do have alignment pins although most of the parts do not. Mold parting lines are a little heavier and the sprue attachment points are as well as might be expected on a limited run kit. I did not find any surface defects on any of the exterior airframe parts. There are some ejector pin marks but they are located where they won't be seen after assembly. The horizontal stabilizers are a one piece molding and in my opinion the hinge lines on the molded control surfaces are a bit small and could stand to be scribed a bit deeper.
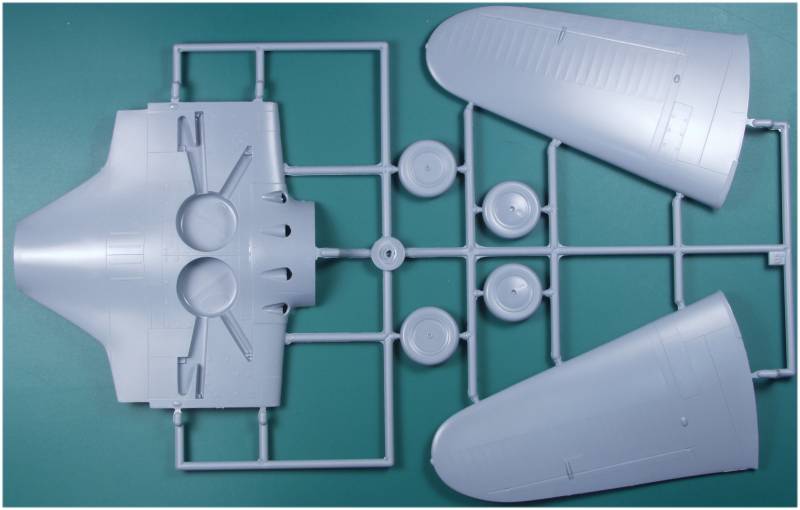
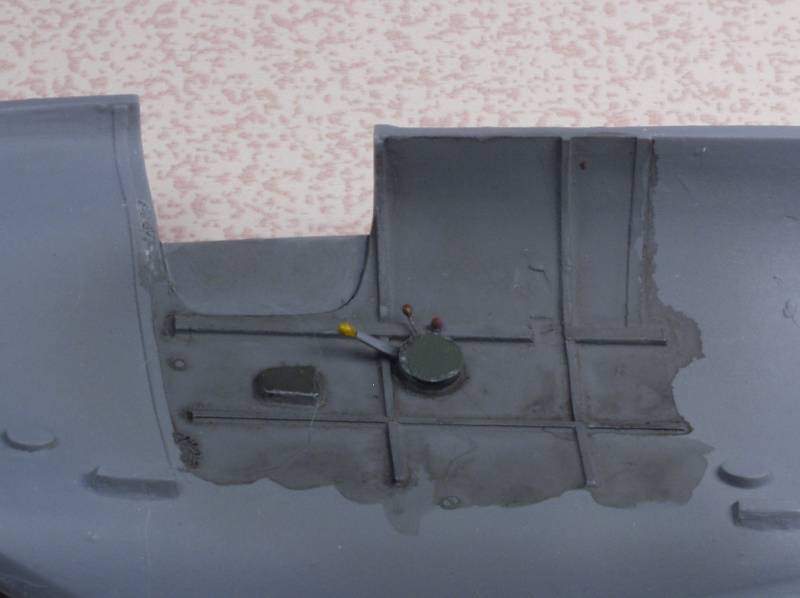
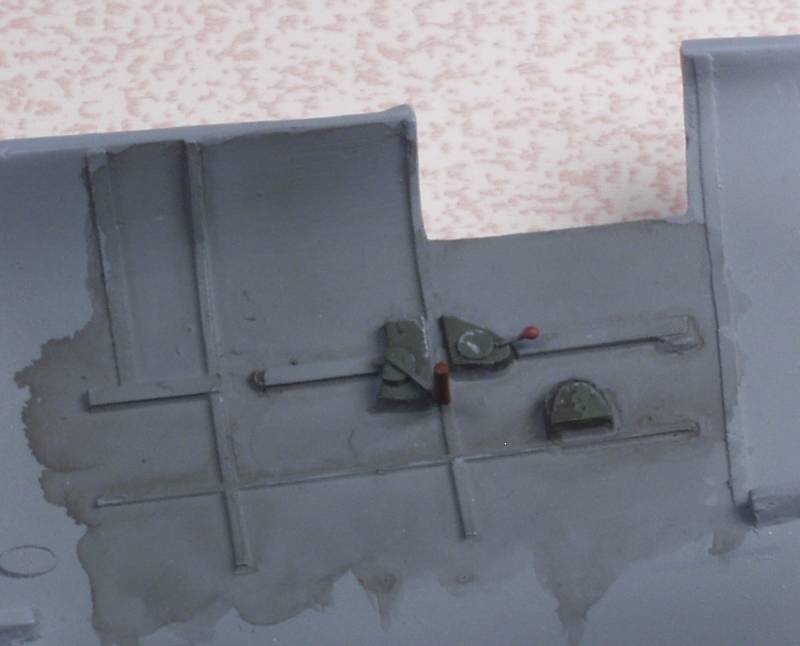
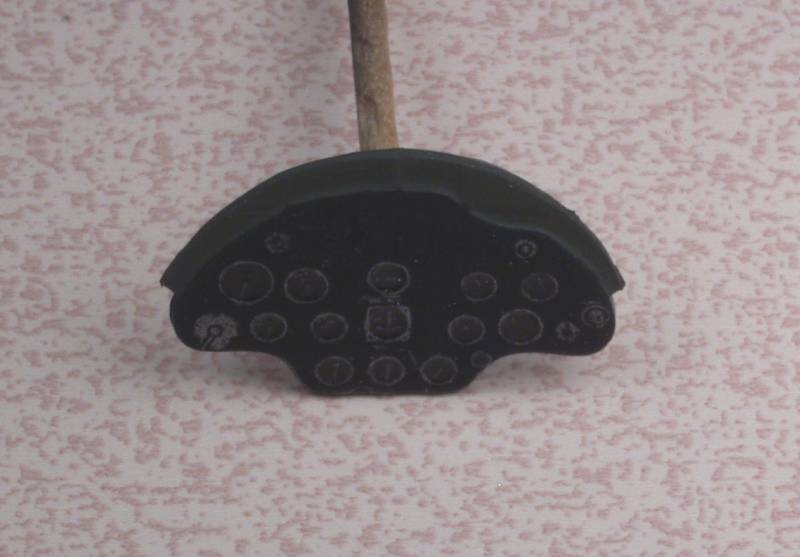
The cockpit detail is a bit sparse however there wasn't a lot in the actual aircraft either. There is some molded in detail on the sidewalls. There is a floor, rudder bar, joystick, seat with a separate back pad and a bulkhead with a head rest. Seat belts and a harness are supplied as PE parts. The instrument panel is nicely molded with raised bezels and instrument detail. Since the kit can be built as either a type 10 or type 17 there are some different parts to be used. The bottom wing center section is different for each version and as depicted in the instructions the type 10 is to be built with skis but there were plenty of type 10 with normal landing gear so that is another option. There is not any detail in the landing gear wells but I don't thing the actual aircraft had much there either. Retraction was done manually and a cable connected to each of the wheel hubs. This is show in the instructions but you will need to supply your own cable material. Both a telescopic and a reflector type gun sight is supplied as are different wing guns depending on version. There is no engine supplied with the kit and the radiator shutters on the cowling are molded shut. The propeller is a single piece molding. Different spinners are provided depending on version. The wheels are molded in halves an are not weighted. OK, lets look at the plastic.
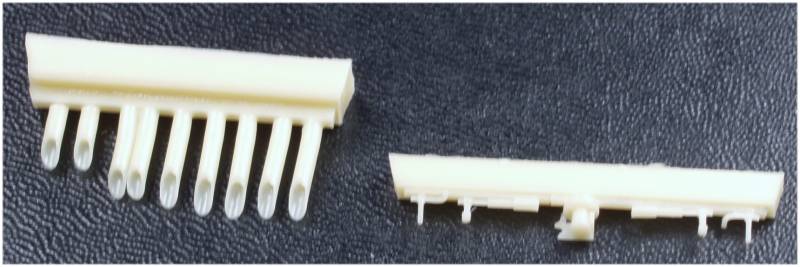
A small amount of resin parts are supplied, exhaust stacks and the gun sight parts of which there are extras. This is nice as the parts are quite small.
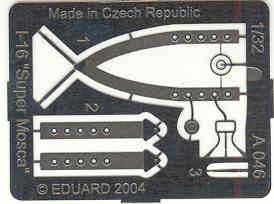
A small fret of PE has the seat belts and shoulder harness.
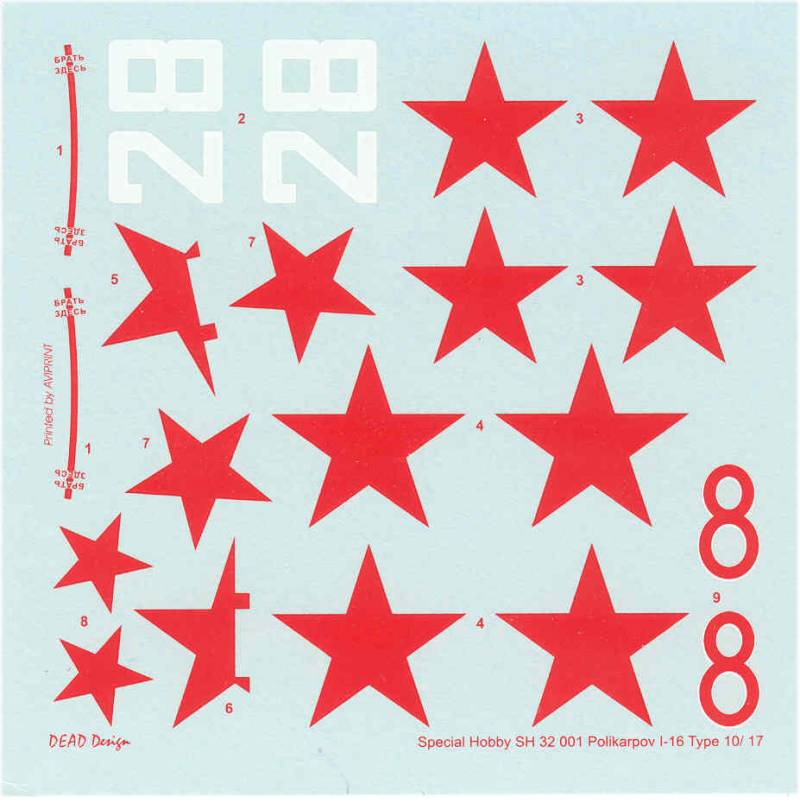
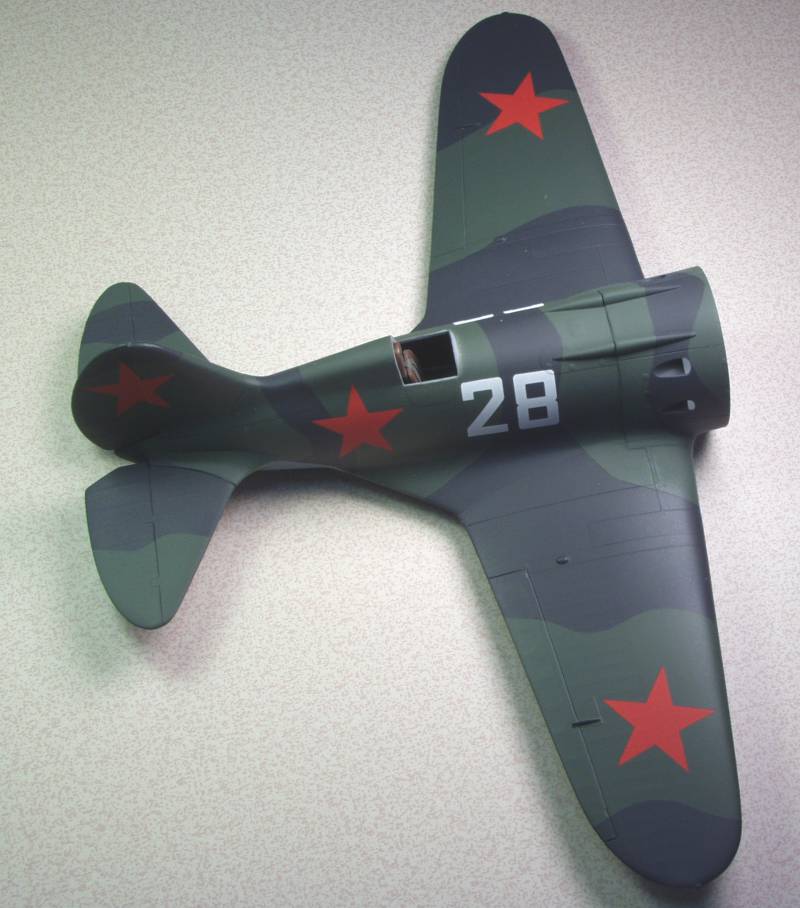
The decals provide markings for three aircraft, two type 17's and one type 10. The decals look thin but most of the stars have a lot of extra film that I would trim away before using. The white letters don't look all that opaque. The only registration is the white outline on the two red 8s and it is off. The decals are printed by Aviprint and I've had mostly good luck with their decals.
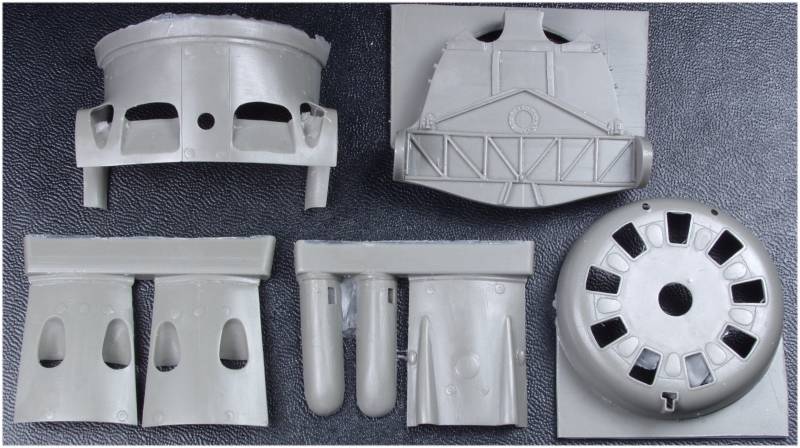
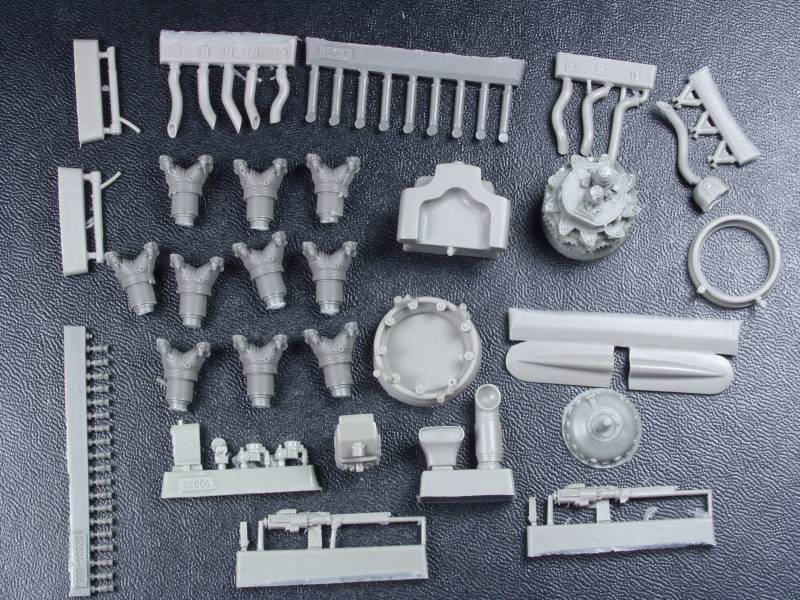
After Market Goodies
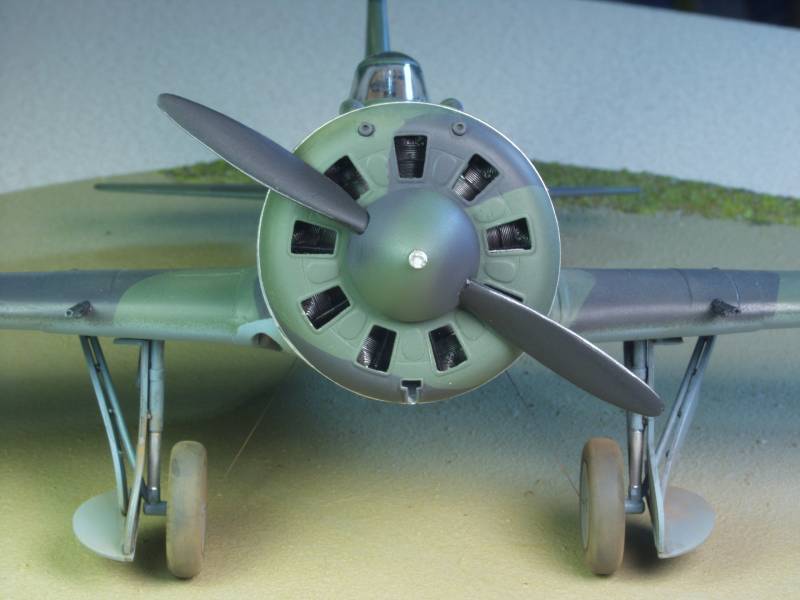
OK, I was a bit disappointed that they didn't leave the radiator shutters open as they normally would be on the ground so I shucked out some green for the lovely Vector detail set, VDS-32001. Parts supplied consist of most everything ahead of the firewall including the firewall. A complete engine with separate cylinders, crankcase, accessory section, intake and exhaust pipes, new front cowl, and top and side cowl pieces and nose guns. I'm not big on displaying models with the cowl open but this one is very tempting. The parts are molded in a grayish green color and are typical of the flawless parts that Vector is known for. The instruction sheet is a rather small 1/4 of an A4 size sheet printed on one side. While brief if you look carefully everything you need to know is there. Well almost, you will need some material to make struts that connect from a ring that mounts to the back of the engine to mounting points on the engine fire wall. These can be seen in white (styrene maybe) on the photo which is on the label but no where else and it will be up to you to determine the length on all of them. Another issue I ran into when trying to use this is that you will need to remove material from the front portion of the rocker covers on the cylinders if you want them to fit properly into the cowl. One other warning. This set is designed to be built with the covers off, to get them to fit will require more material removal from the cylinder heads and removal of some other detail as well and I'm still not convinced they will fit all that well. Fore warned is fore armed.
Links to kit build or reviews
A build / review can be found here, and here.
References
Famous Fighters of the Second World War by William Green
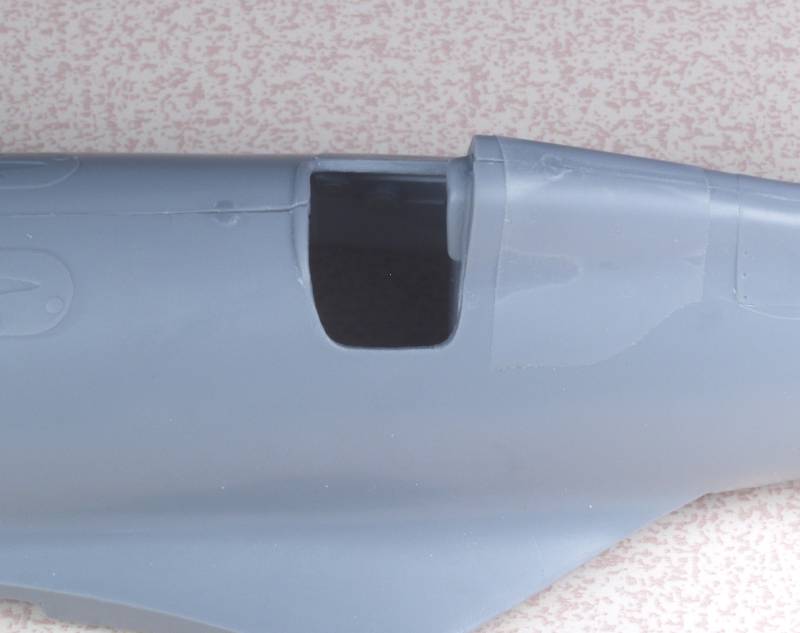
The Build
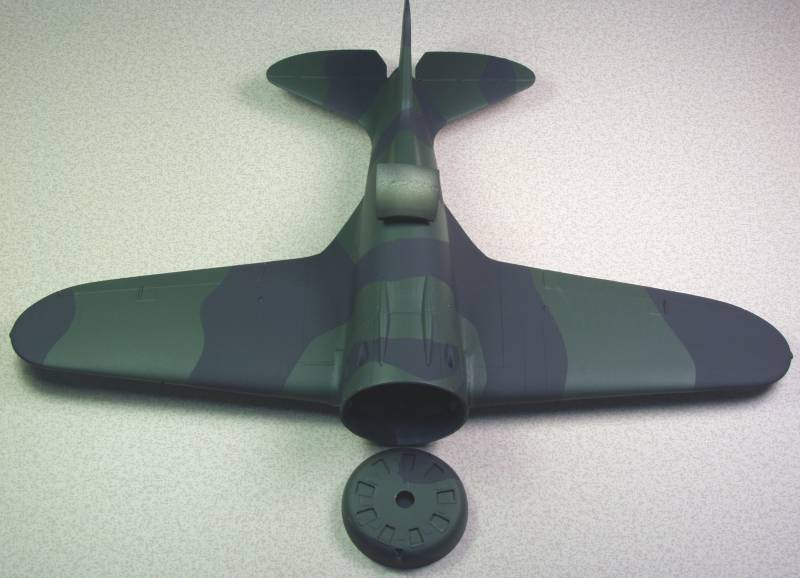
Before beginning a note about the Vector detailing set shown in the review. My primary reason for acquiring it was to be able to use the engine and open cowl. I had no intension of building it with all the panels open. However after cleaning up all the parts and doing some test fitting I found that getting all the panels to fit in the closed position was going to be quite fiddly and in the end decided to save myself some grief. The instructions provided with the set are quite brief and leaves a lot up to the build to determine how everything fits together. In the end I decided to use only the engine and front cowling and modifying the openings for the exhausts and cooling vents on the kit parts to closely resemble the Vector parts and photos of the real thing. Even that turned out to provide some difficulties as the engine didn't fit the front cowling and required grinding of the upper portion on the cylinders. I'm not saying not to buy the set just be aware it will require some work and skill to get it all together. If I had to do it over I would not have bothered.
.

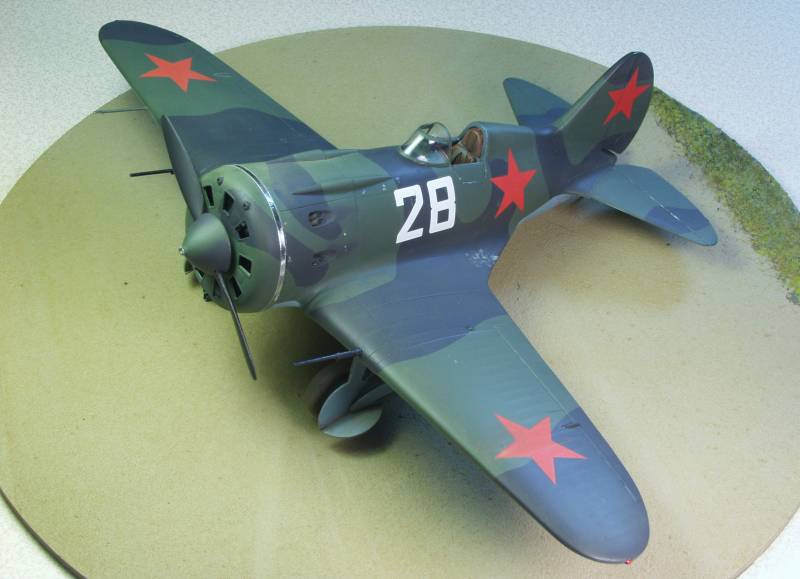
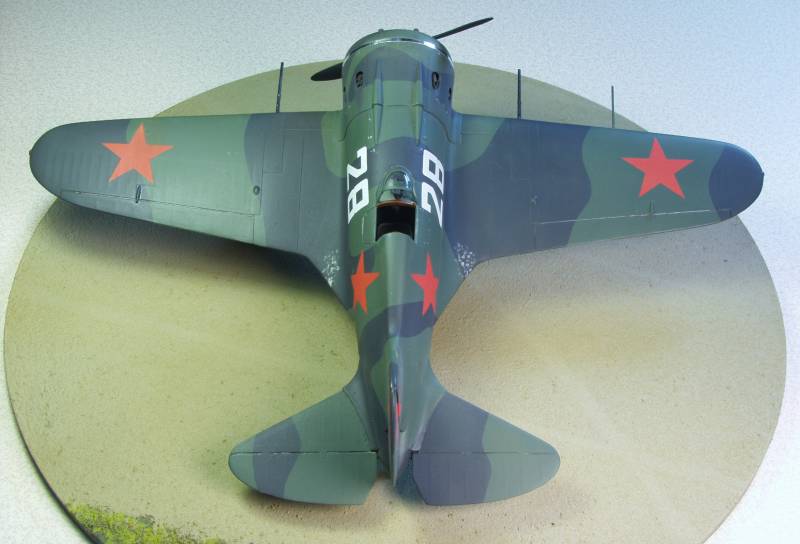


All in all a fairly straight forward build with minimal issues and would be a good started for someone with no limited run kit experience.
Back to the 1/32 Scale Russian Aircraft Page
Updated 8/6/15