
Il-4

In 1938, the Ilyushin design bureau redesigned the Ilyushin DB-3 to ease production and improve its performance, the revised version receiving the designation DB-3F. The aircraft's internal structure, particularly the wings, was extensively changed, eliminating the need for hand finishing of the structure, and with Duralumin replacing the large scale use of steel in the earlier version. The aircraft's fuel system was redesigned, increasing its internal capacity while reducing the number of fuel tanks. The fuselage nose was lengthened to give more room for the navigator/bombardier while reducing drag. The prototype DB-3F was powered by the same 949 hp Tumansky M-87B engines of the DB-3M. It made its maiden flight on 21 May 1939. It successfully passed through state acceptance tests and entered production in January 1940, with the 1,100 hp Tumansky M-88 quickly replacing the M-87. The DB-3F was redesignated Il-4 in March 1942. Some series had wooden outer wings and front fuselage to conserve metals, and throughout the production engines and fuel tanks were upgraded for more performance while keeping the same range. However the most notable change was the addition of larger defensive guns in the turret, using the 12.7 mm UBT machine gun in place of the earlier 7.62 mm weapons. In addition it was found that the gunners were attacked first, so blocks of armor were placed around the gunner positions. All this extra weight wasn't offset by the newer engines however, and the Il-4 proved to be slower than the earlier versions at only 251 mph.
Although the Il-4 was only a medium bomber, it had the range to be used on strategic missions. The use of the bombers in this role was not a priority for the VVS, but nevertheless the Il-4 was used on several long-range bombing raids against Berlin in 1941. They were the mainstays of the VVS Long Range Aviation and the Soviet Naval Aviation branches. The VVS used them to perform long range missions for bombing supply lines and strategic targets. The Naval Aviation arm used them on tradition bombing missions. The Il-4T, the torpedo variant was used to attack targets at sea. It was considered to be one of the best bombers of the VVS and they took part in the air war over the Eastern Front from the beginning to the end. Production was halted in 1944 with a total of 5,265 being produced. It continued in service with the Soviet Naval Aviation until 1949.
The Kit
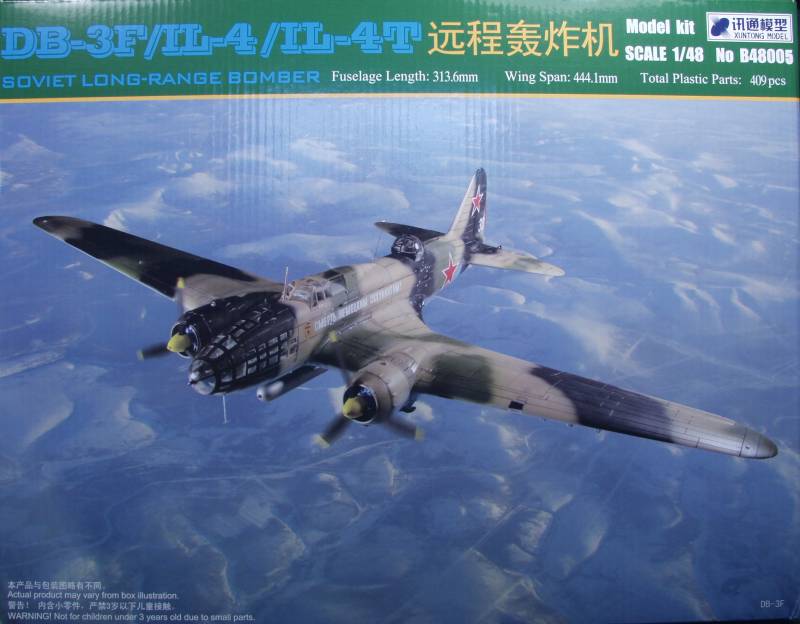
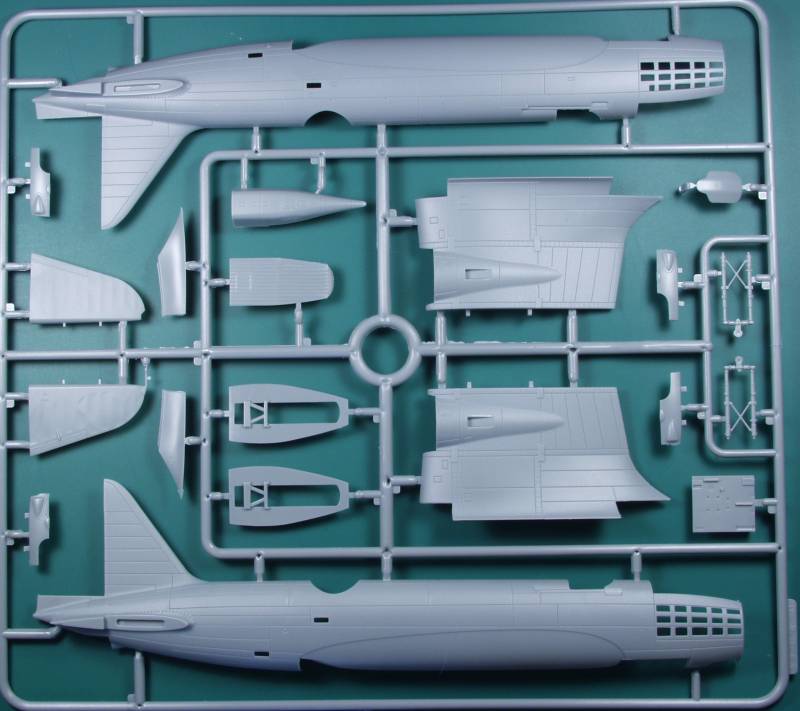
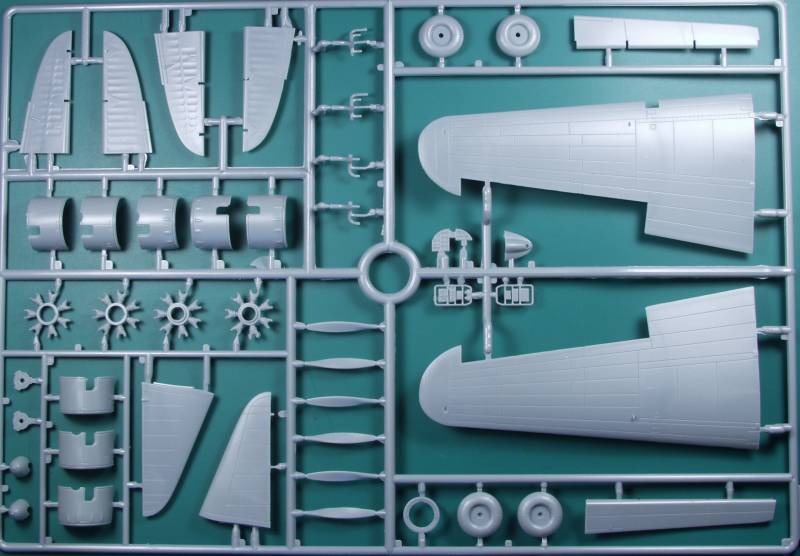
The Xuntong Il-4 comes in a large top open tray type box that has both a corrugated top and bottom. The artwork on the top is a photo of an assembled kit superimposed on on a generic landscape. Inside the box the kit is presented on five sprues in light gray and one in clear, each in its own cellophane bag. According to the box the kit contains 409 parts but a number of those won't be used. The molding is crisp with only traces of flash here and there. The surface has a slight texture to it but not so much as to be an issue. The surface detail consists of recessed panel lines and some rivet and fastener detail. The panel lines are OK for the scale by my criteria and the fabric surfaces, though a bit overdone, are better than most. The sprue attachment points are about average for the norm these days. I did not find any sink marks or other surface irregularities other than a few flow lines in the plastic and these should disappear under a coat of paint. The kit does have alignment pins for those who can't live without them.
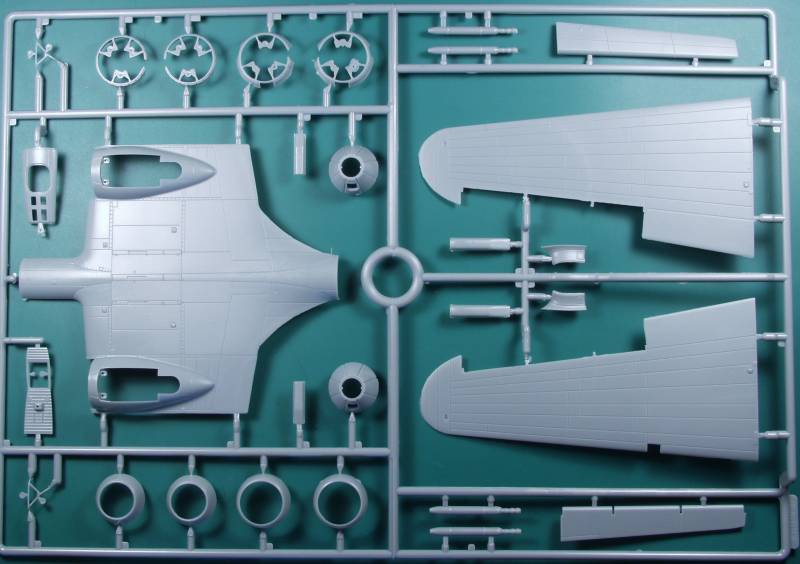
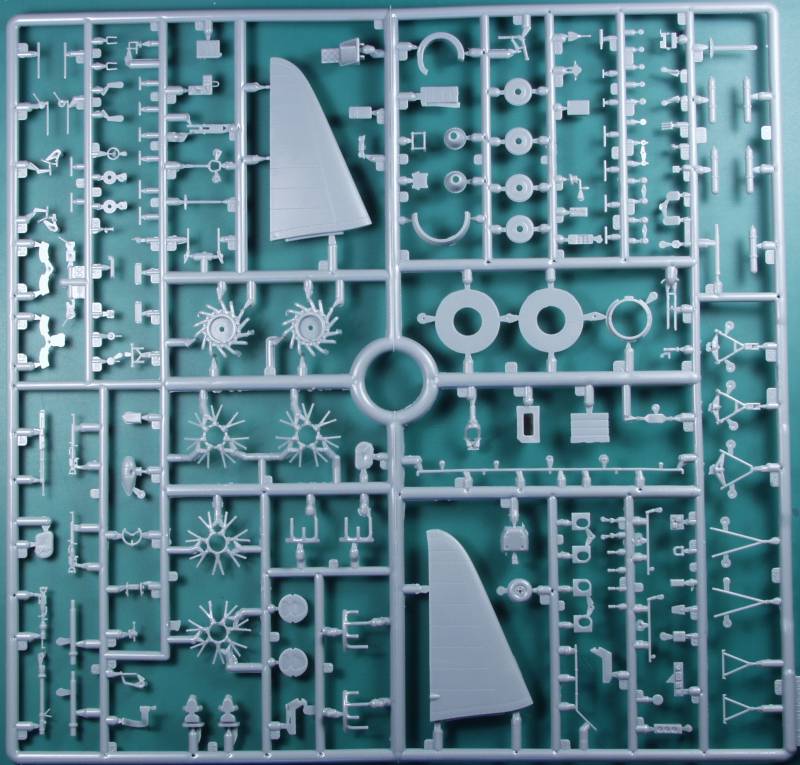
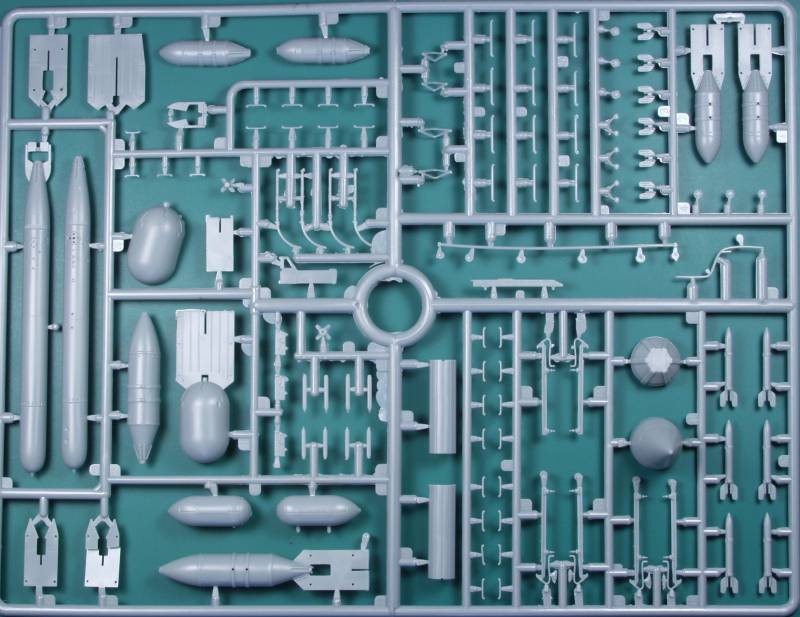
There is some structural detail modeled on the inside of the fuselage and there are a few ejector pin marks that may show in the crew section. The interior features a good level of detail with a lot of bits to be added and what is there should satisfy the majority of builders. The instrument panel features recessed faces with some dial detail. There are no belts or harnesses supplied or molded in so you are on your own there. There appears to be some options for the turret assembly but no notes as to where or when they are used so some good references may be handy. There is also a well detailed lower gun assembly. The engines are nicely detailed including the accessory section and include most everything except a wiring harness. Not much will be seen once in the cowling though and if you use the optional engine cooling fan, nothing will be seen. The propellers have separate blades and have keying pins to set the pitch. The kit includes two different sets of cowlings depending on which version you want. The landing gear and gear bays are well detailed. The wheels are not weighted. The main control surfaces are molded separate. There is a good supply of external ordinance supplied. There is a part supplied that can be installed for use with a display stand, but no stand is supplied. OK, lets look at the sprues.
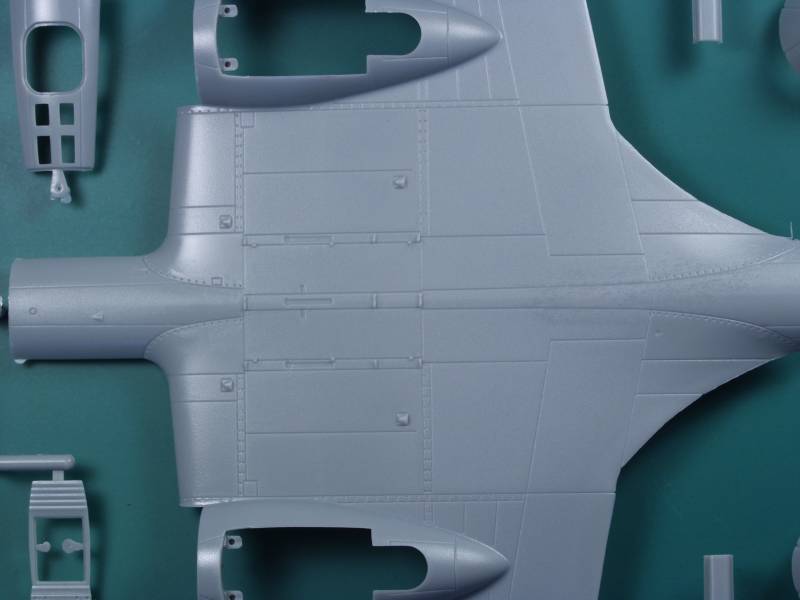
This is a close up to give an idea of the surface detail.
The clear parts are relatively thin and the frame line well defined with the exception being some of the sections behind the nose cap on the forward part of the fuselage. The glass is reasonably clear and not optically showing a lot of distortion.
![]()
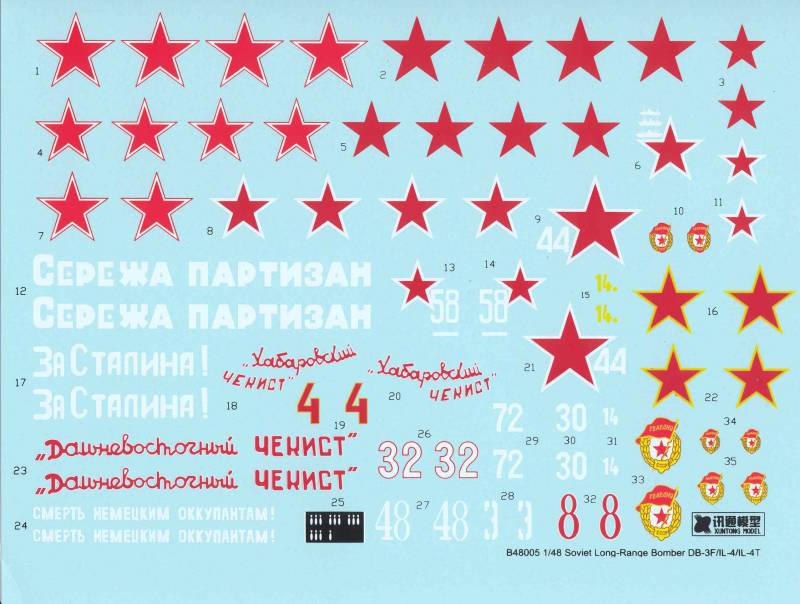
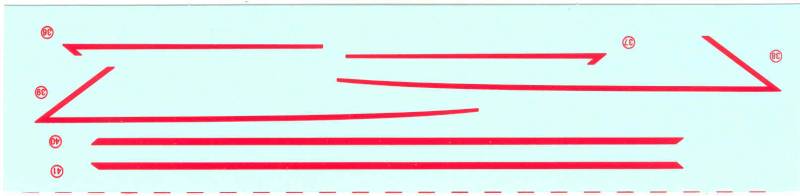
The decals consist of a large sheet about 8 1/2" x 11" plus a smaller sheet and includes markings for 11 different aircraft. The decals appear thin and have a glossy finish and are reasonably well registered but I have some doubts about the opacity of the white. In places where it was applied over the red stars one can see a bit of bleed through. The stars and badges have minimal excess film but as expected this is not possible with the large lettering. I have no experience with Xutong decals so I can't comment on how well they go on and lay down.
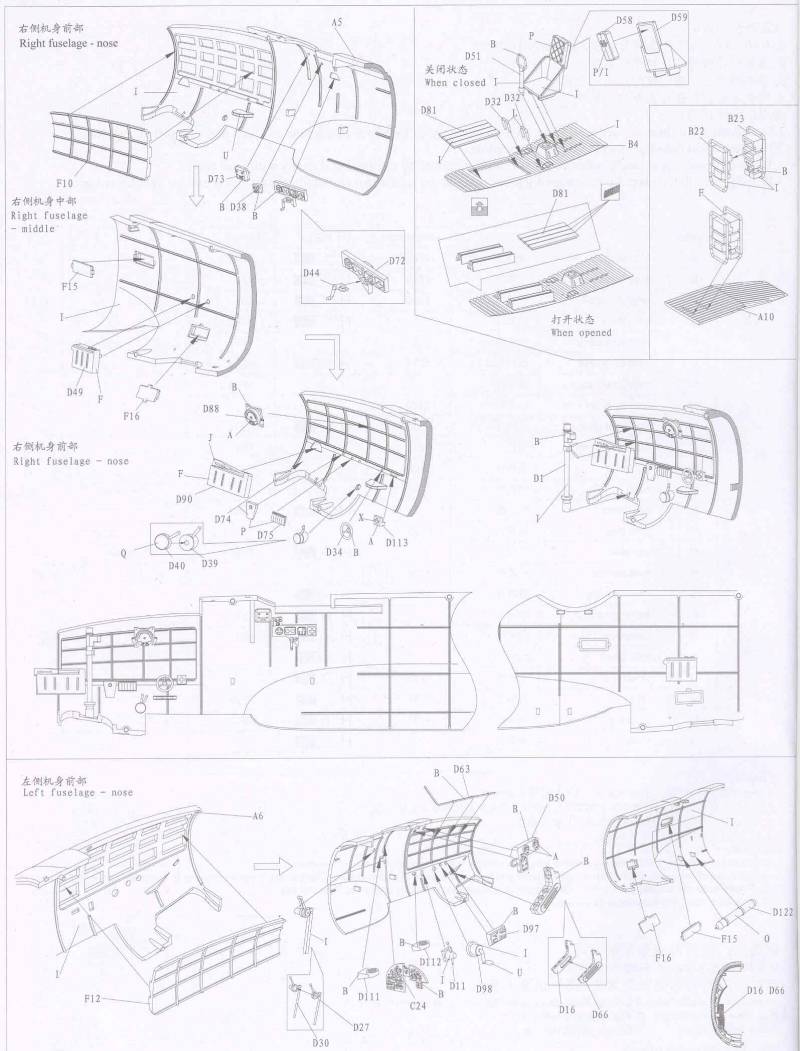
The instructions appear to be quite complete although as mentioned earlier there seem to be some information lacking concerning the turret situation. The instructions are a 32 page booklet. It includes some brief history, a parts map, an icon chart, the usual safety warnings, a color chart with generic color names, and references to Model Master, Mr. Hobby and Tamiya paints. There are color call outs throughout the instructions but there are some items that do not have call outs. The assembly instructions start on page 4 and continue through page 25, the balance of the booklet is painting and marking details. The instructions do include a lot of useful diagrams showing how things should fit from different angles which can be most helpful. The scan below gives a look at one page and shows some of the level of interior detail.
After Market Goodies
Eduard has a Zoom color set # 49700 which can be viewed here and a masking set # EX 442.
Conclusions
This looks like a very nice kit of a long neglected subject, fit tests that I did on their earlier kits, the Tu-2 series, looked very encouraging so I hope it is the same with this one. Due to the large number of parts I would be hesitant to recommend this one to beginners but it should be fine for those with a bit of experience.
Links to kit build or reviews
A nice in box review can be found here.
References
Back to the Russians are Coming
page.