
A-36A
The A-36 came about as a result of North American's president pressing the Army Air Forces for a fighter contract for an aircraft essentially similar to the 47 RAF aircraft that they had received as a result of Lend-Lease funds running out. Unfortunately no funds were available for new fighter contracts in fiscal year 1942. General Oliver P. Echols and Fighter Project Officer Benjamin S. Kelsey wanted to ensure that the P-51 remained in production. Since there were funds available for an attack aircraft, Echols specified modifications to turn the P-51 into a dive bomber. The contract for 500 A-36A aircraft fitted with bomb racks and and dive brakes was signed by Kelsey on 16 April 1942 even before the first first flight of the production P-51 in May 1942. With orders on the books, North American began modifying the P-51 to accept bomb shackles which had already been tested in a long range ferry program the RF had stipulated. Engineering studies and wind tunnel testing with a 1/8 scale model was completed in in June 1942. Utilizing the basic P-51 airframe and Allison engine, they structurally reinforced several high stress areas and a set of hydraulically operated dive brakes were installed in each wing. Due to the slightly inboard placement of the bomb racks and the unique installation of the four cast aluminum dive brakes, a complete redesign of the P-51 wing was required.
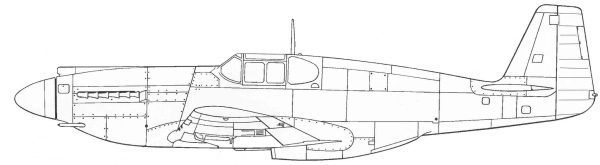
The first A-36A was rolled out in September 1942, rapidly going through flight testing with the first flight in October and deliveries starting shorty after the first production machines were completed. The A-36A continued to use the two nose mounted 50 caliber machine guns along with a wing armament of four 50 caliber machine guns. The USAAF envisioned that the dive bomber would operate mainly at low altitudes and specified the use of a sea level rated Allison V-1710-87, driving a three bladed Curtiss Electric propeller and delivering 1,325 h.p. at 3,000 feet. The main air inlet scoop was redesigned with a larger fixed opening replacing the earlier scoop which could be lowered into the air stream. In addition the carburetor air intake was later fitted with a tropical air filter to stop sand and grit from being ingested into the engine.
The A-36A received the official name "Apache" although the name was rarely used. The A-36A proved to be a potent weapon, it could be put into a vertical dive from 12,000 feet, deploying its dive brakes, limiting its dive speed to 390 mph. Depending on the target and defenses, the bomb release took place between 2,000 and 4,000 feet. The dive brakes gave the A-36A greater stability in a dive, however, a myth has arisen that they were useless due to malfunctions or because of the danger of deploying them and that they were ordered to wired closed. Captain Charles E. Dills, 27th Fighter Bomber Group, emphatically stated in a post war interview that he had flow the A-36 for 39 of his 94 missions and they were never wired shut in Italy in combat. This 'wired shut' story apparently came from the training group at Harding Field in Baton Rouge, Louisiana. The A-36A was used with great success as a dive bomber, acquiring a reputation for precision, sturdiness and silence.
Besides
dive bombing, the A-36A racked up aerial victories totaling 84 enemy
aircraft downed and creating an "ace", Lieutenant Michael T. Russo from
the 27th Fighter Bomber Group and ultimately the only ace using the
Allison engined Mustang. By June 1944, A-36A's in Europe were replaced
by Curtiss P-40's and Republic P-47's. The types relatively short
service life should not camouflage the fact that it made a major
contribution to the Allied war effort, especially in the Mediterranean
and it amounted to the first USAAF combat use of a Mustang variant.
The Kit
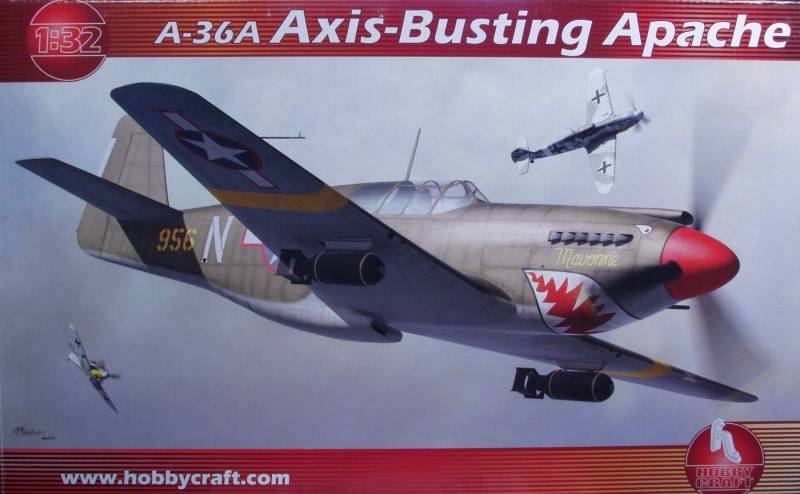
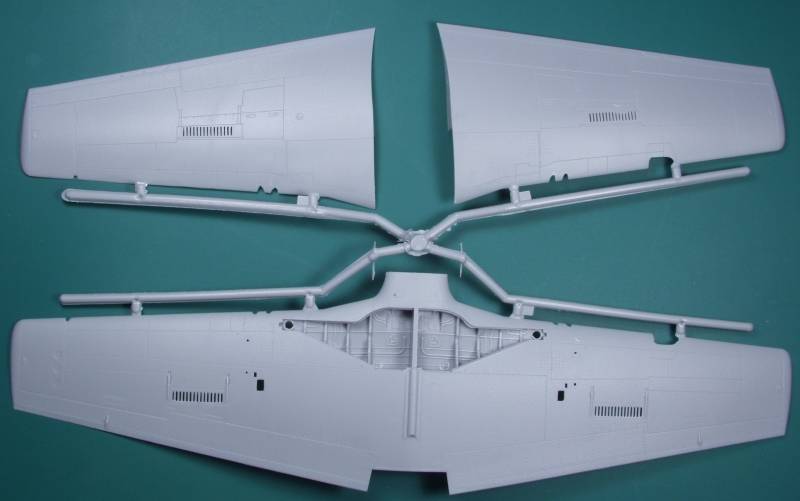
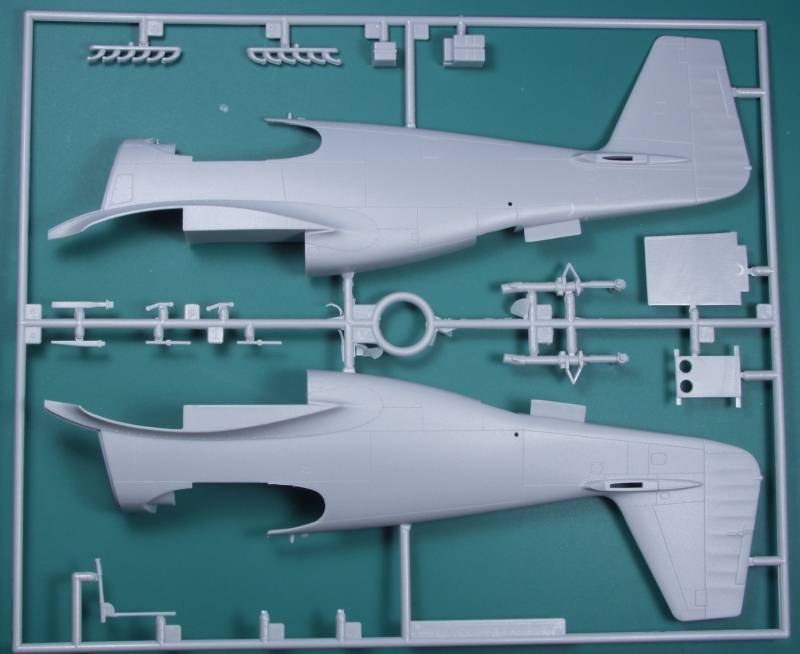
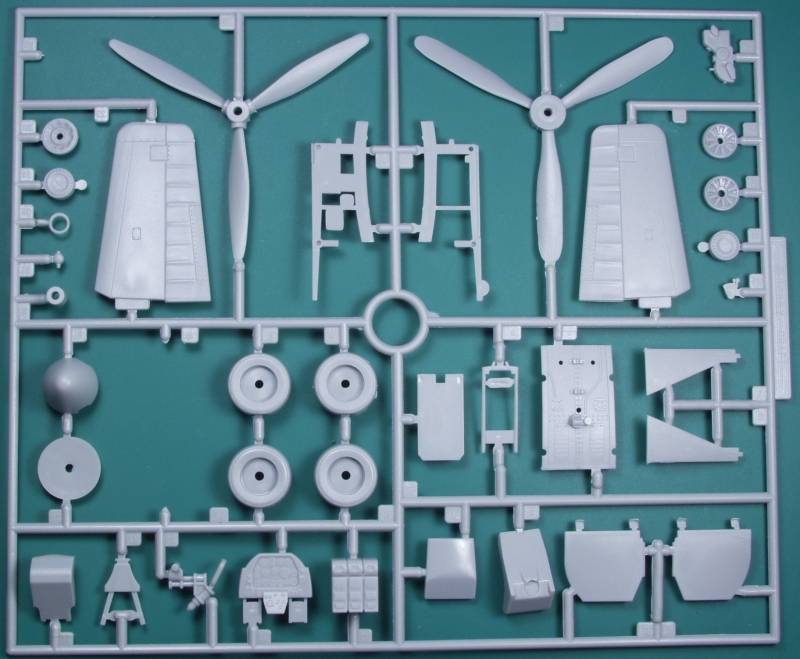
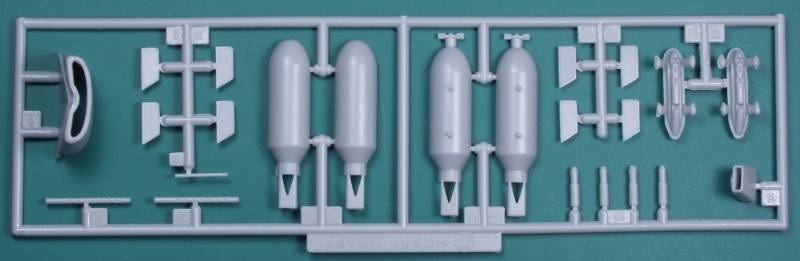
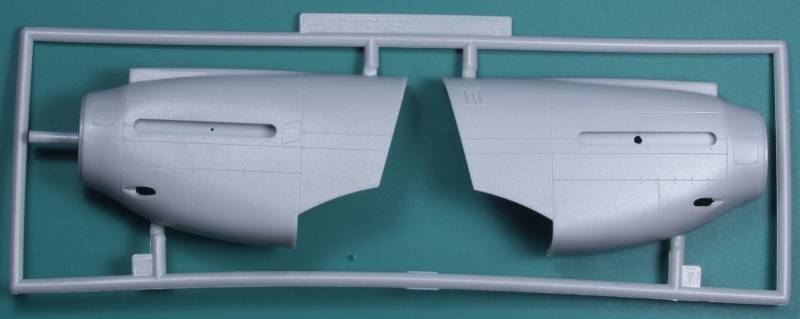
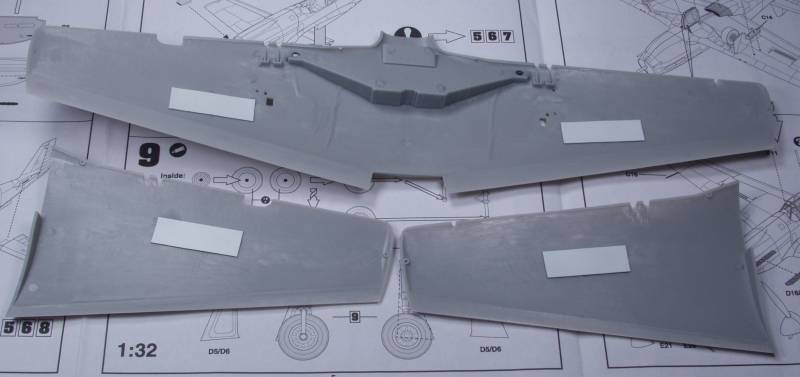
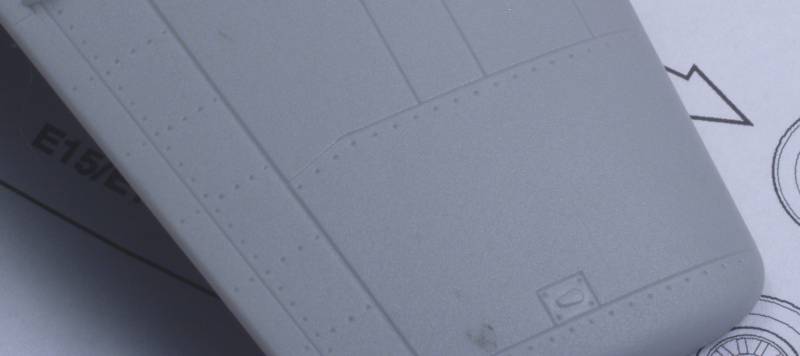
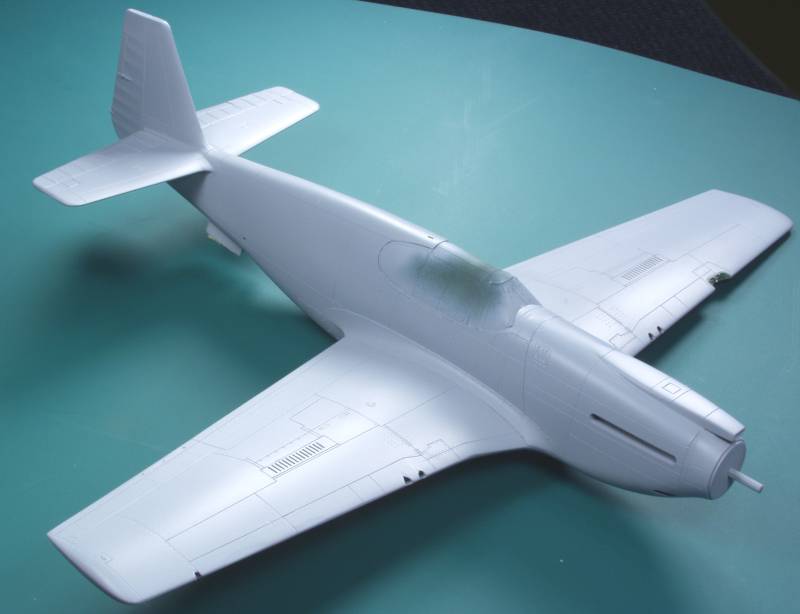
The Hobby Craft kit comes in a rather large, for the contents, and annoying end flap box and features reasonably good artwork of an A-36 going about its business while being pursued by a couple Bf 109's, not an enviable position to be in. On the back of the box are color marking and painting instructions. Inside the box there are six sprues, each individually bagged. Five are parts molded in light gray and one is the clear parts. The plastic has a matte, almost pebbly appearance but feels smooth to the touch and should look OK under a coat of paint.The surface detail, panel lines and fastener detail is recessed except for a few fasteners that are raised where appropriate. One sprue has the wings, the gear bay is relatively well detailed with some piping and structural details. The rear portion of the fuselage along with the landing gear struts, radios, exhaust stacks, radio shelf, antennas and a couple other parts is on a second sprue. The two nose halves are on a third. The radiator scoop, guns, bombs and racks and the front of the carburetor intake are on a fourth and the balance of the parts are on the fifth. The cockpit has a minimal amount of detail, the instrument panel has raised instrument bezels and interior markings for those talented at dry brushing. There are two sets of tires supplied, regular and weighted and the weighting is not over done, in fact it is so subtle I missed it when looking at it them the first time. This basic kit is used for several iterations of early Mustangs so there are some parts not used such as a spare propeller and its the reason the wings and nose sections are on separate sprues. I did not find any surface defects on my kit. The fuselage has some structure detail molded inside and there are some ejector pin marks there but they are located where they should not be visible when closed up. The parts are relatively flash free and the mold parting lines don't look too bad. The wheels are separate from the tires which always makes painting easier. The kit is an upscaled version of the 1/48 scale Accurite Miniatures kit which is a nice kit but in the process no attempt was made to enhance the detail therefore it a 1/32 scale kit featuring 1/48 scale level detailing. See photos below
The clear parts are reasonably thin and clear with some distortion. Mine had what appears to be mold release on them which made them look initially cloudy as in the photo below but this wiped off so I would recommend washing them well before dipping them in Future. Parts are supplied to display the canopy open or closed. See below.
![]()
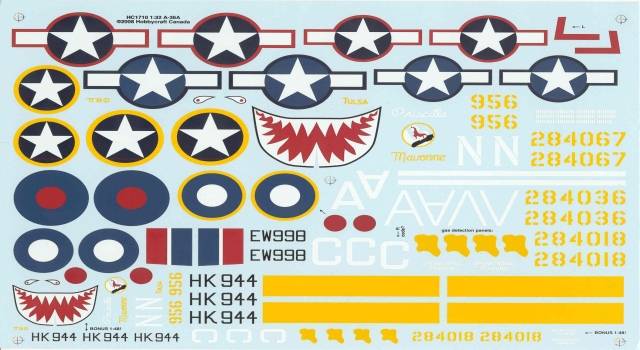
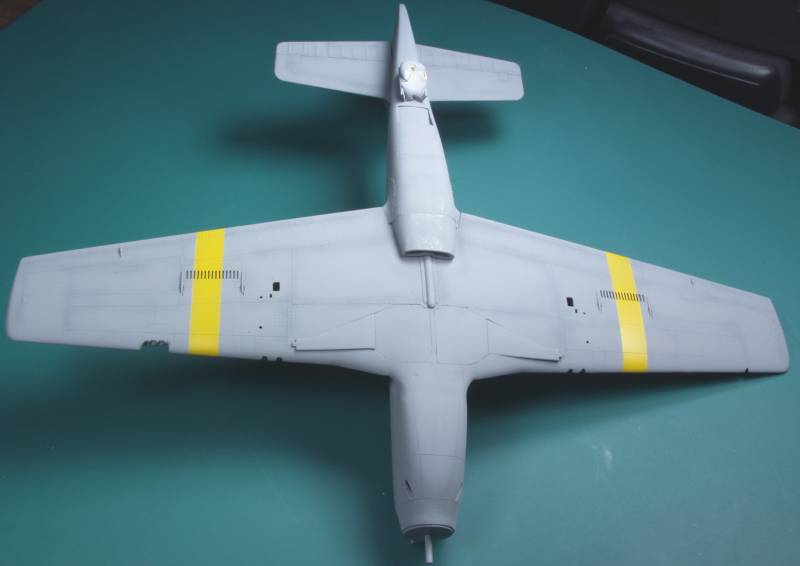
The decals look to be a tad thick but probably no worse than Tamiya decals. They are in register but do require that the assembler align the red center dots on the British roundels. Hobby Craft decals don't have the best reputation but the author of the review listed at the bottom used the yellow band decals without any issues. Markings are supplied for six aircraft however only five are show on the box, one set on the sheet is marked "bonus" but you are on your own for placement. See below.
The instructions are printed on a sheet folded accordion style creating 6 pages. the first page lists the kits features in five languages, has a color chart for the exterior colors and cockpit with Floquil/Polly scale, Humbrol and Testors/Model Master references. There are some additional color references on the back of the box which reference FS numbers where applicable. Also on the page is the usual assembly icon chart. Pages two through six have the assembly diagrams which are divided into twelve steps.
After Market Goodies
None that I'm aware of however any sets designed for early Mustangs could probably be modified to work.
Conclusions
While not overly detailed this appears to be a nice and has been reported to be on of the most accurately shaped Mustang kits on the market in this scale. There is a minor shape issue in the nose area which is dealt with in the build/review listed below. Treat it like a limited run kit and you shouldn't have any problems. recommended for most modelers with a bit of experience.
Links to kit build or reviews
A review / build can be found here.
References
Squadron /Signal Walk Around Number 13, Allison Engined Mustangs
Back to the 1/32 U.S. Aircraft Page
The Build
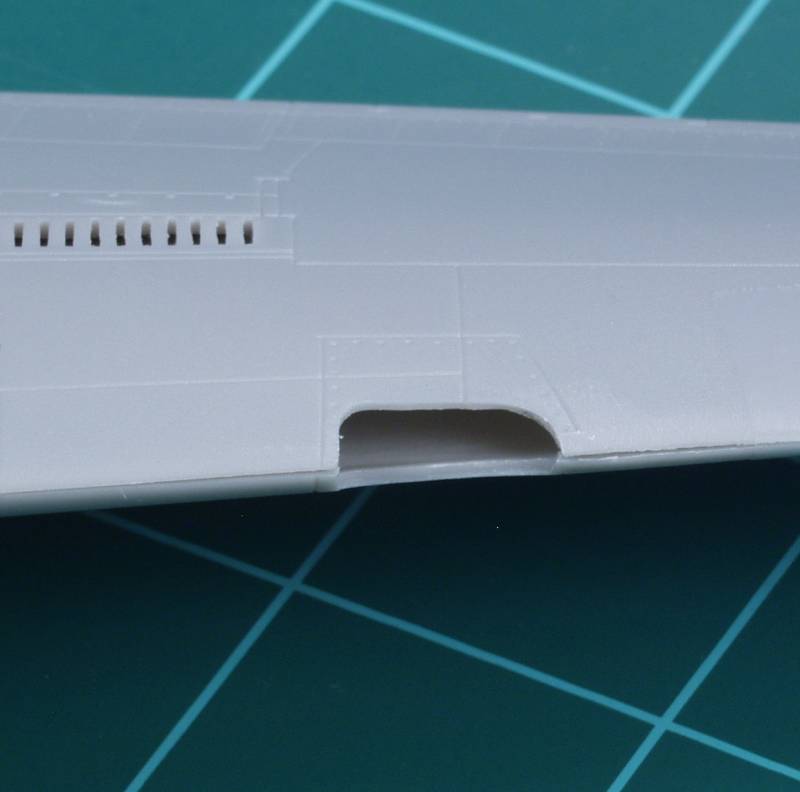
In a slight departure from the norm, I started with the wings. The dive brakes were blocked off on the inside with some styrene to prevent one from being able to look right through the wing. The styrene was first painted with the appropriate top and bottom color before being glued in place.
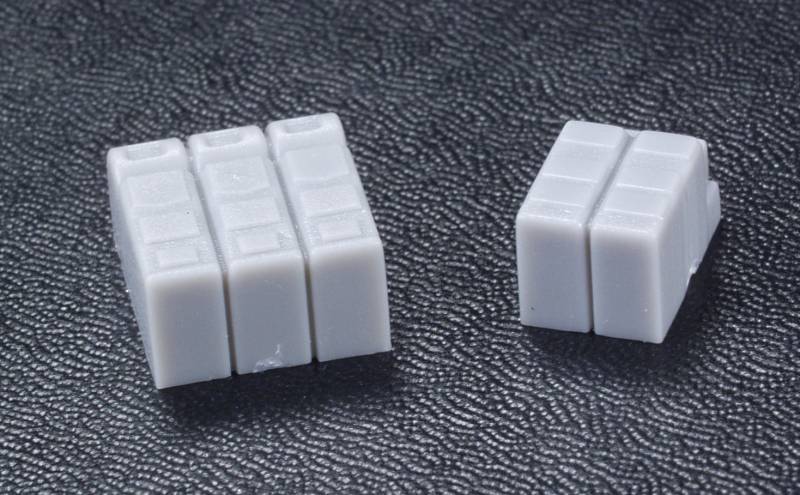
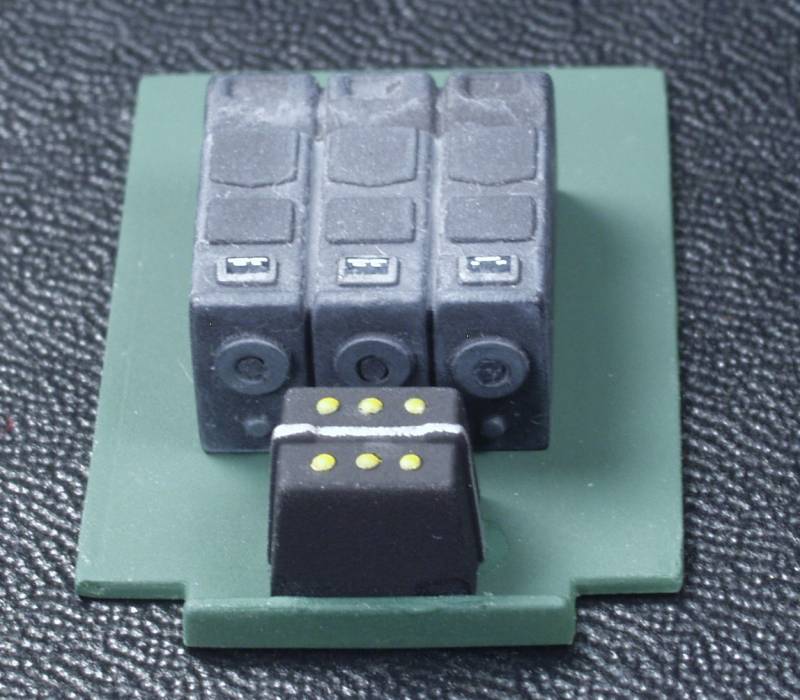
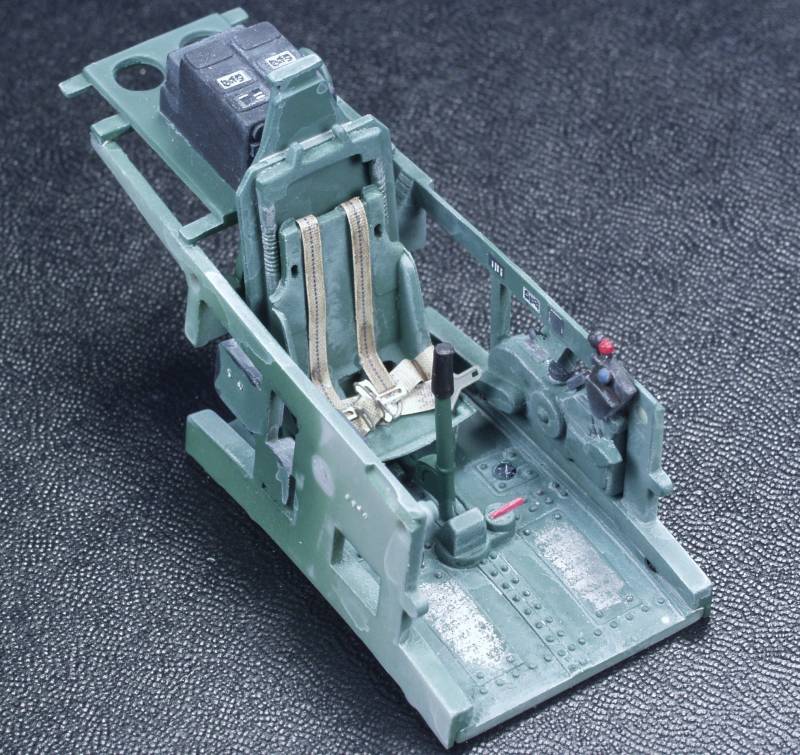
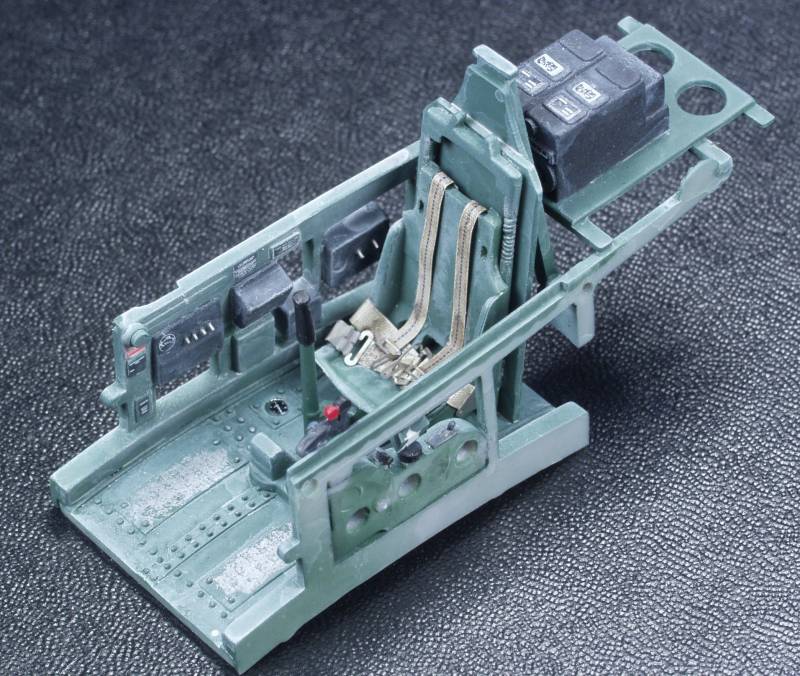
Next I tackled the cockpit. The radio sets supplied with the kit were rather lifeless looking lumps.
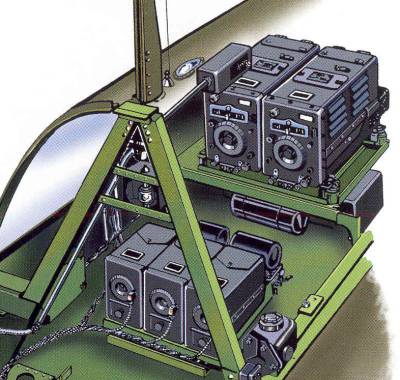
They should have looked something like this.
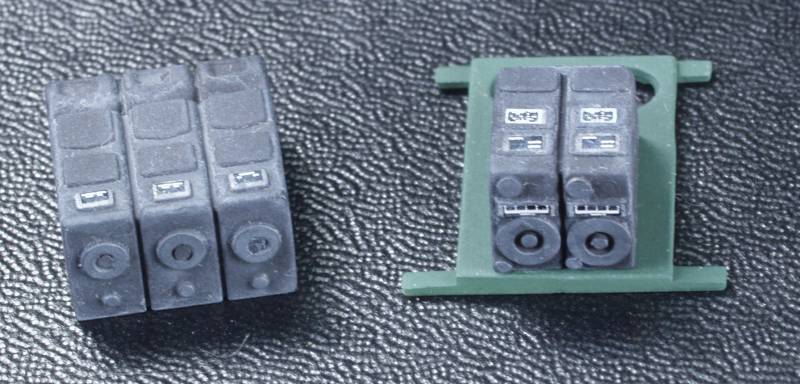
So with some added dials punched out of styrene and some placard and manufacturer plates and a bit of paint and wash, they begin to look a bit more like the real thing.
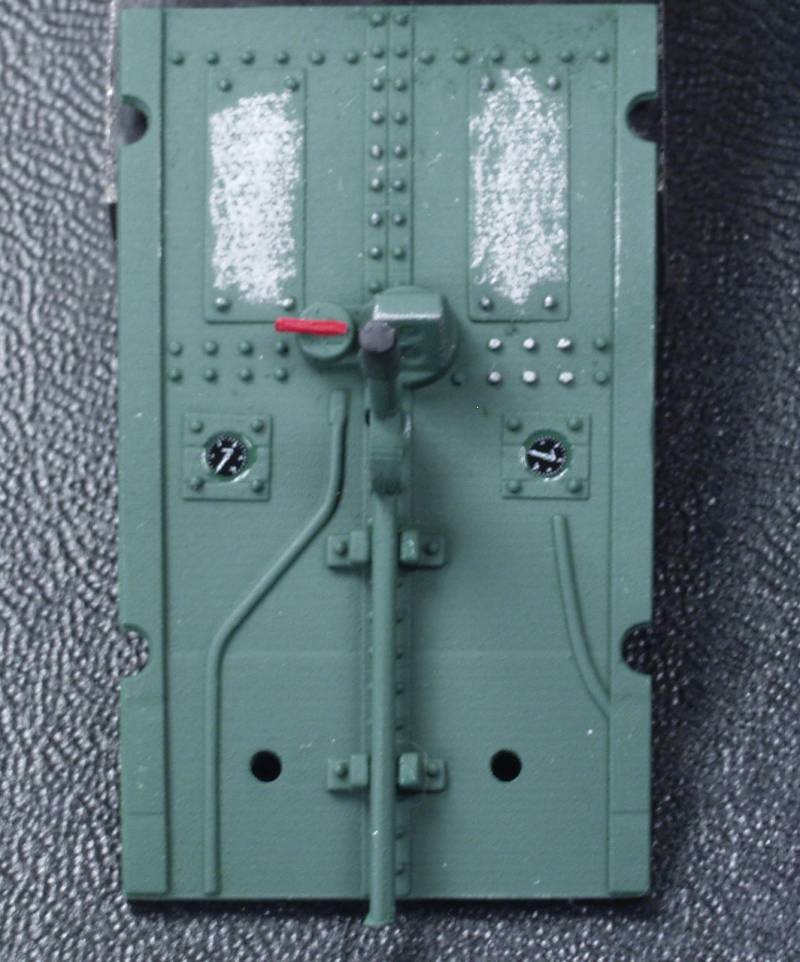
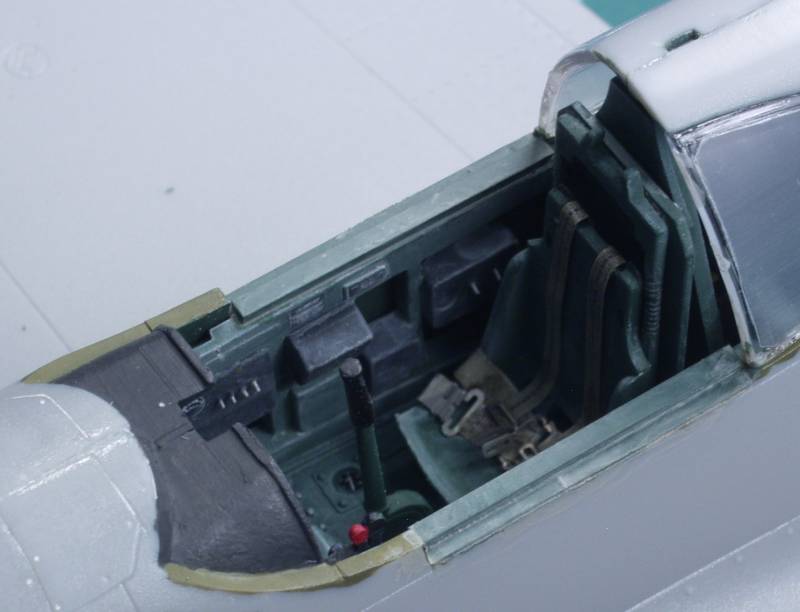
The floor was painted, gauge dials added, the prominent red fuel selector knob added and the scuff plates scuffed up.
Radios mounted on the lower rack with the aircraft battery.
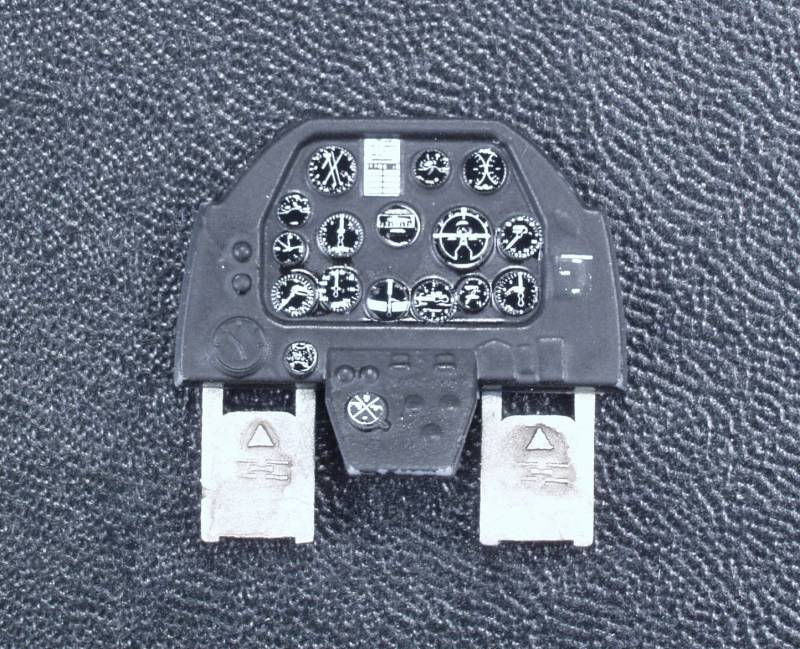
The instrument panel was dressed up with some Airscale instrument decals and placard
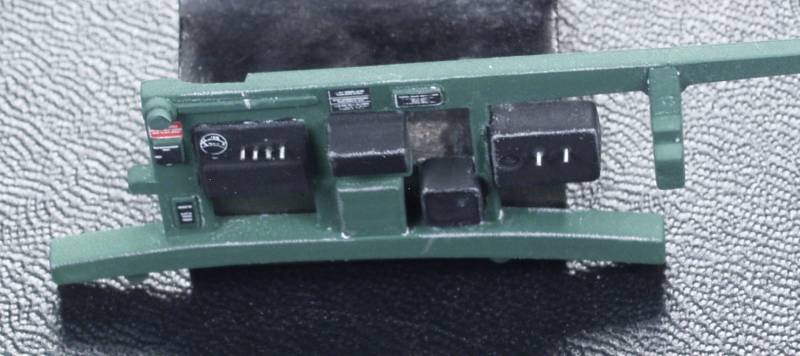
The port side panel had a dive brake selector lever and box added along with some more placard decals.

The starboard side got some toggle switch handles a dial decal and some more placard decals
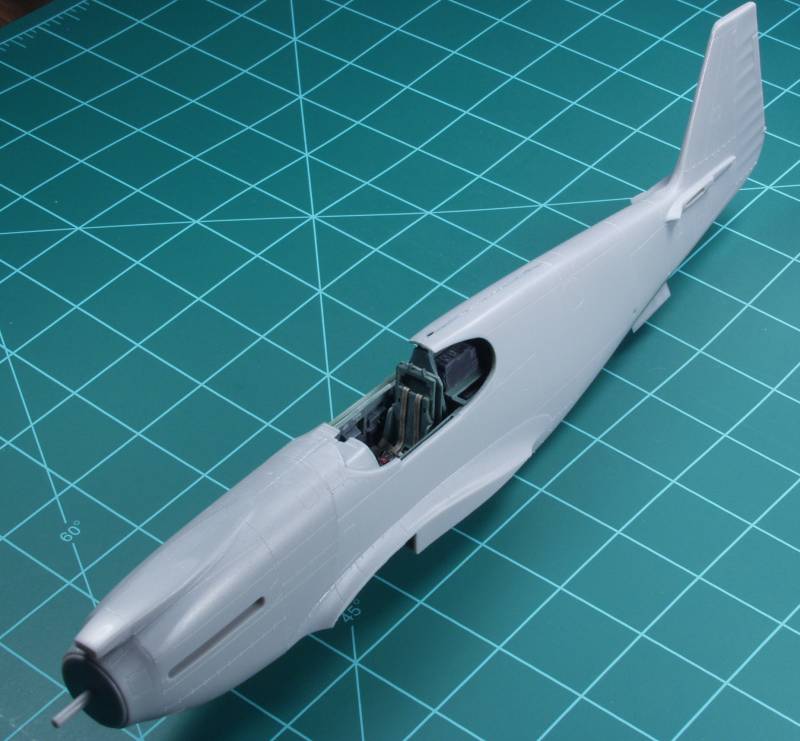
The pit assembled with the upper radio rack, harness and belts were from Eduard.
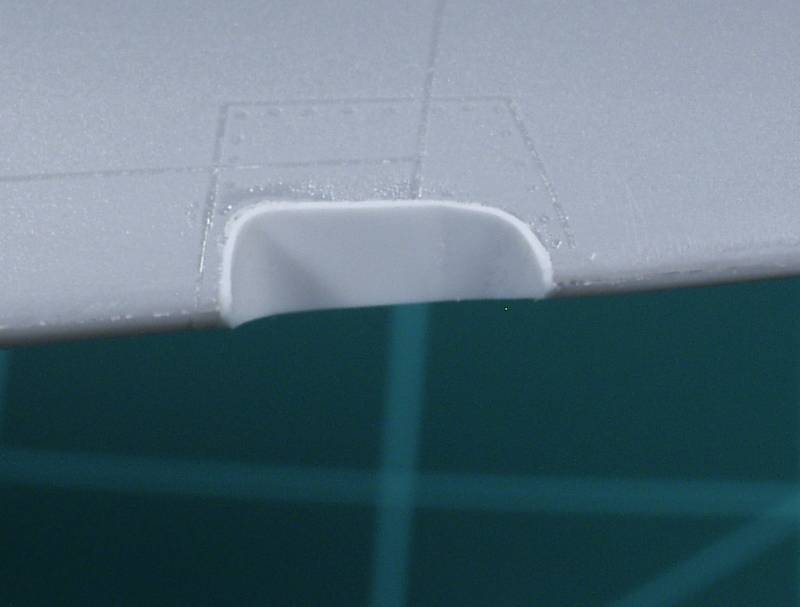
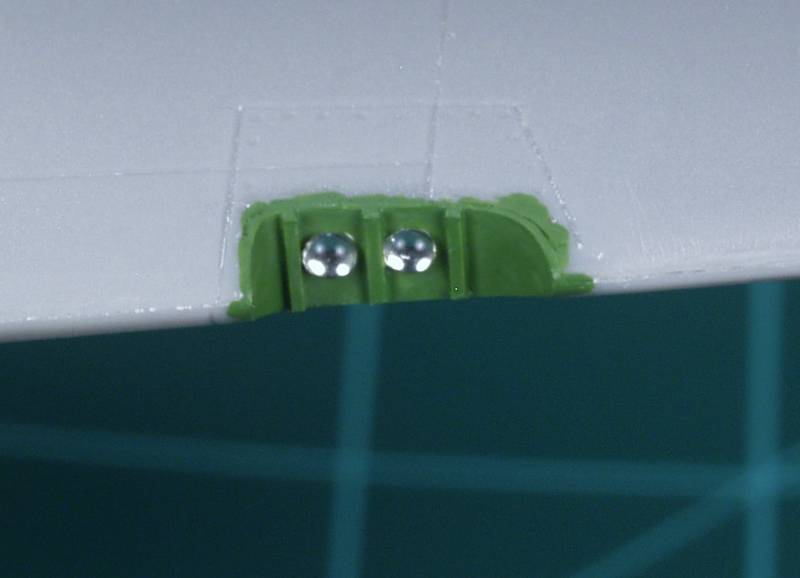
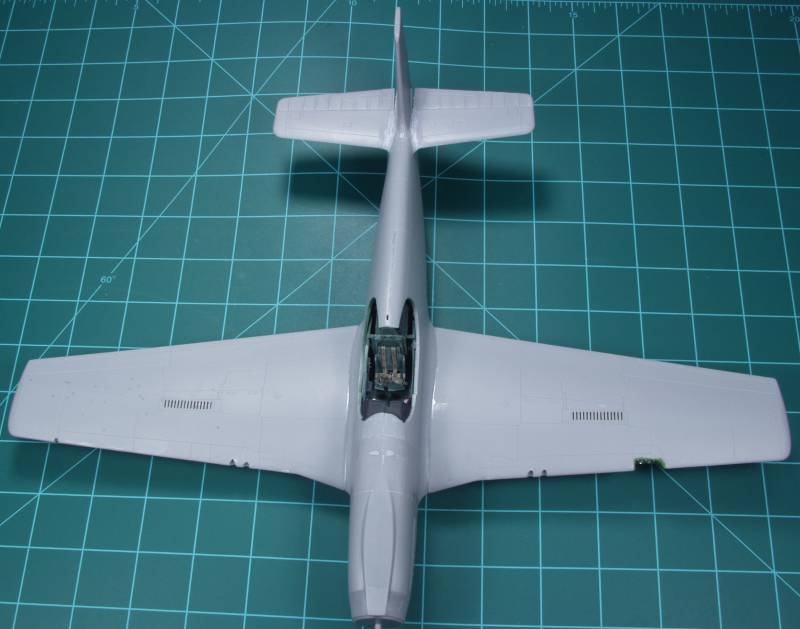

The bottom side parts were installed before the top weathering was done, the three formation light lenses came from MV products and I felt they looked better than just painting as the kit suggested.
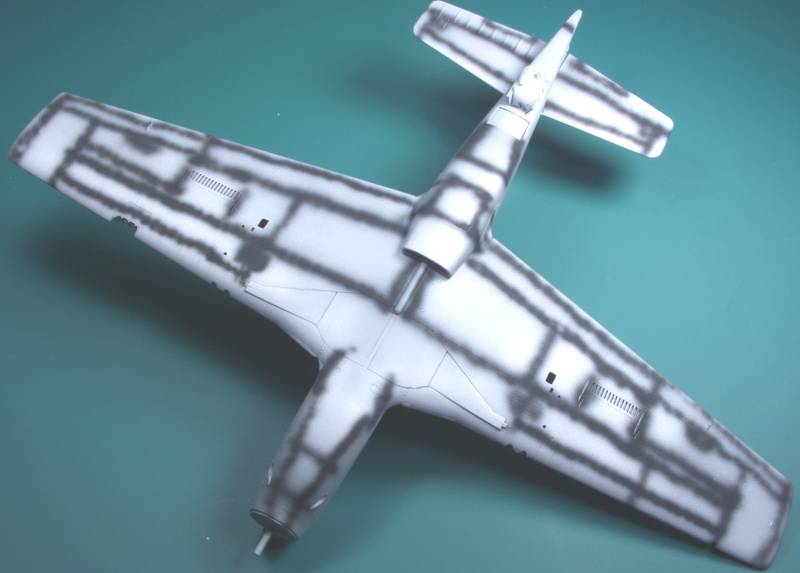
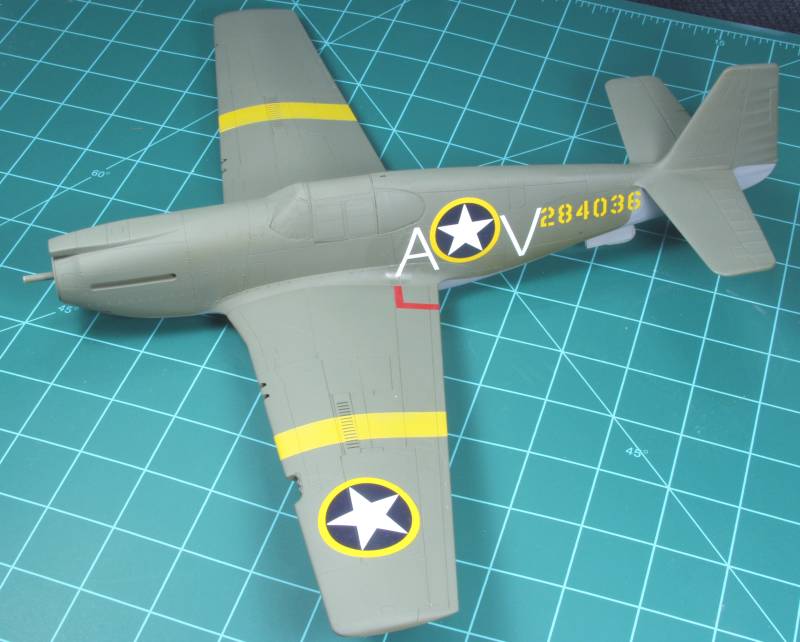
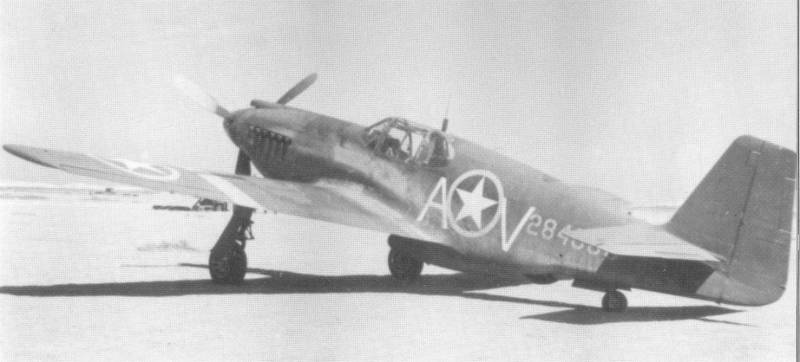
From the beginning my goal was to finish the aircraft with the sand blasted appearance so common to aircraft that were subjected to the sun and ever pervasive dust of the desert. I used the next photo as inspiration.
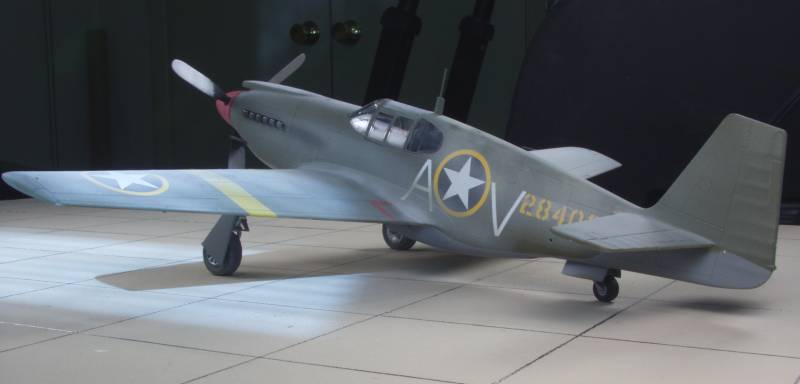

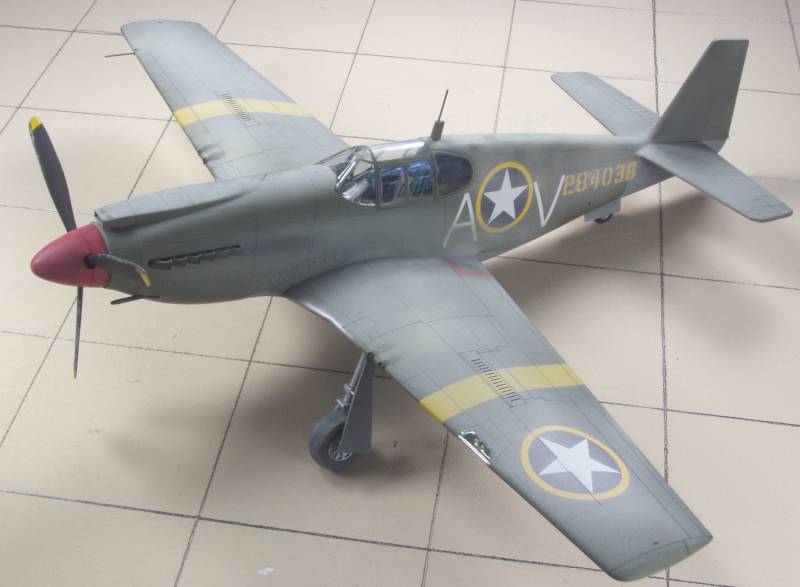
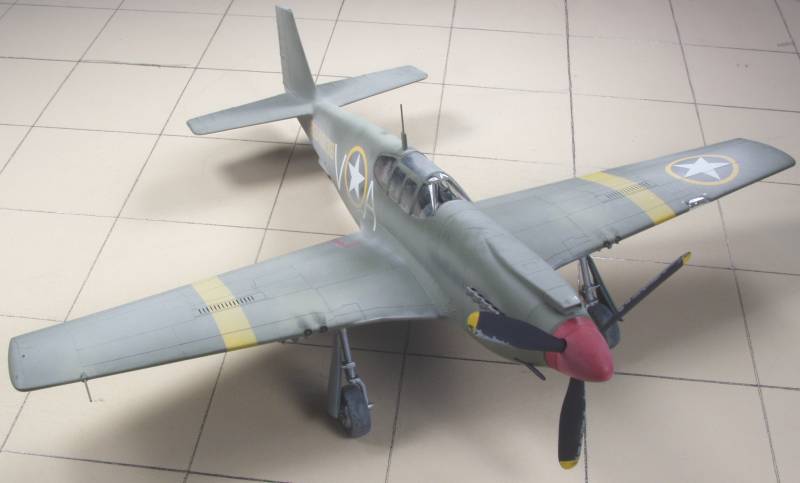
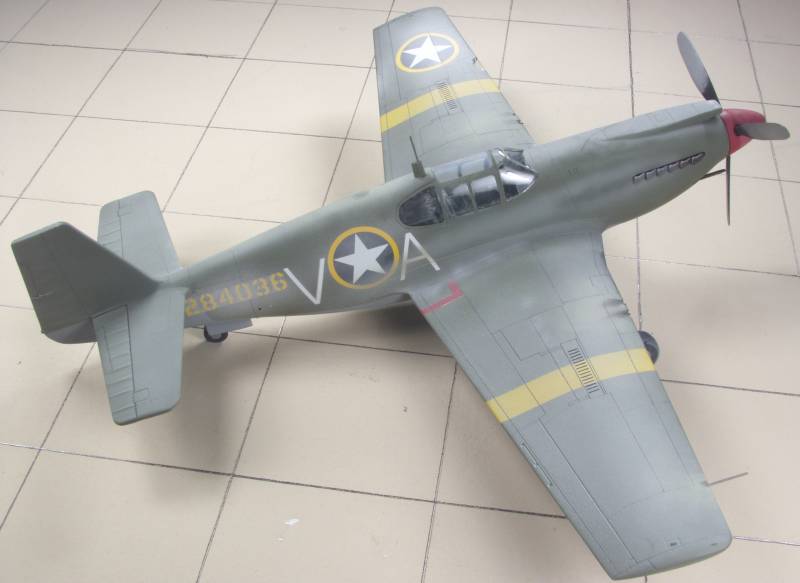

All in all this was a fun kit. While not possessing the level of detail of the newer kits, it builds into a nice looking early Mustang. The worst fitting part of the kit was the air scoop on the bottom which required a fairly substancial shim on one side to get it to set level but the area in question can't really be seen when it's complete. For a contest level build one would want to thin the trailing edges of the wings and tail parts but they suited my purposes just fine. I like these early Mustang kits from Hobbycraft and plan on building more in the future.
Back to the 1/32 U.S. Aircraft Page