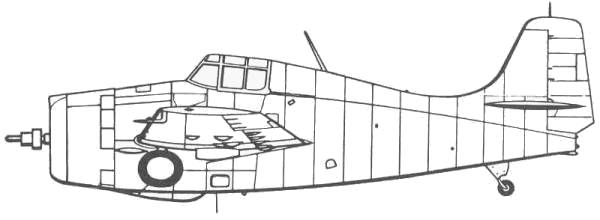
F4F-4 Wildcat
Grumman fighter development began with the two-seat Grumman FF biplane. The FF was the first U.S. naval fighter with a retractable landing gear. The wheels retracted into the fuselage, leaving the tires visibly exposed, flush with sides of the fuselage. Two single-seat biplane designs followed, the F2F and F3F, which established the general fuselage outlines of what would become the F4F Wildcat. In 1935, while the F3F was still undergoing flight testing, Grumman started work on its next biplane fighter, the G-16. At the time, the U.S. Navy favored a monoplane design, the Brewster F2A-1, ordering production early in 1936. However, an order was also placed for Grumman's G-16 (given the navy designation XF4F-1) as a backup in case the Brewster monoplane proved to be unsatisfactory.
It was clear to Grumman that the XF4F-1 would be inferior to the Brewster monoplane, so Grumman abandoned the XF4F-1, designing instead a new monoplane fighter, the XF4F-2. The XF4F-2 would retain the same, fuselage-mounted, hand-cranked main landing gear as the F3F, with its relatively narrow track. The unusual manually-retractable main landing gear design for all of Grumman's U.S. Navy fighters up to and through the F4F, as well as for the amphibious Grumman J2F utility biplane, was originally created in the 1920s by Leroy Grumman for Grover Loening. Landing accidents caused by failure of the main gear to fully lock into place were distressingly common. The overall performance of Grumman's new monoplane was felt to be inferior to that of the Brewster Buffalo. The XF4F-2 was marginally faster, but the Buffalo was more maneuverable. It was judged superior and was chosen for production. After losing out to Brewster, Grumman completely rebuilt the prototype as the XF4F-3 with new wings and tail and a supercharged version of the Pratt & Whitney R-1830 "Twin Wasp" radial engine. Testing of the new XF4F-3 led to an order for F4F-3 production models, the first of which was completed in February 1940,
A new version, the F4F-4, entered service in 1941 with six machine guns and the Grumman-patented Sto-Wing folding wing system, which allowed more aircraft to be stored on an aircraft carrier, increasing the number of fighters that could be parked on a surface by more than a factor of 2. The F4F-4 was the definitive version that saw the most combat service in the early war years, including the Battle of Midway. The F4F-3 was replaced by the F4F-4 in June 1942, during the Battle of Midway; only VMF-221 still used them at that time.
This version was less popular with American pilots because the same amount of ammunition was spread over two additional guns, decreasing firing time. With the F4F-3's four .50 in guns and 450 rpg, pilots had 34 seconds of firing time; six guns decreased ammunition to 240 rpg, which could be expended in less than 20 seconds. The increase to six guns was attributed to the Royal Navy, who wanted greater firepower to deal with German and Italian foes. Jimmy Thach is quoted as saying, Extra guns and folding wings meant extra weight, and reduced performance: the F4F-4 was capable of only about 318 mph at 19,400 ft. Rate of climb was noticeably worse in the F4F-4; while Grumman optimistically claimed the F4F-4 could climb at a modest 1,950 ft per minute, in combat conditions, pilots found their F4F-4s capable of ascending at only 500 to 1,000 ft per minute. Moreover, the F4F-4's folding wing was intended to allow five F4F-4s to be stowed in the space required by two F4F-3s. In practice, the folding wings allowed an increase of about 50% in the number of Wildcats carried aboard U.S. fleet aircraft carriers.
The Kit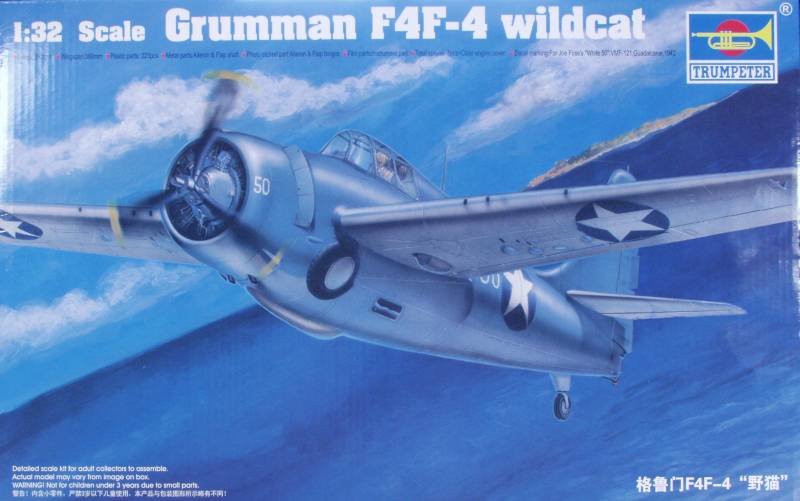
The
Trumpeter kit has a bit of a checkered
past. When it was first released back in 2003 there arose such an
outcry from modelers concerning shape and accuracy issues that Squadron
Mail Order canceled their order for the kit and refunded preorders.
To their credit,
Trumpeter heard all these criticisms and recalled the kit.
They then spent over six months re-working the molds to correct
the
outline faults of the airframe. While not all of the issues were
corrected enough of them were to get the kit to the point that
it was
acceptable to most of the modeling community. The few remaining
issues
were resolved when they released their -3 kit. So if you are a
stickler
for shapes and details you either need to settle for a -3 kit or
buy
both and replace the fuselage in the -4 kit with those from the
-3.
Although now that Trumpeter is selling replacement part you
might be
able to get just the sprue with the fuselage halves on it. That
said I
have seen models built from this kit and they look enough like
Wildcats
that I'm not going to lose sleep over it.
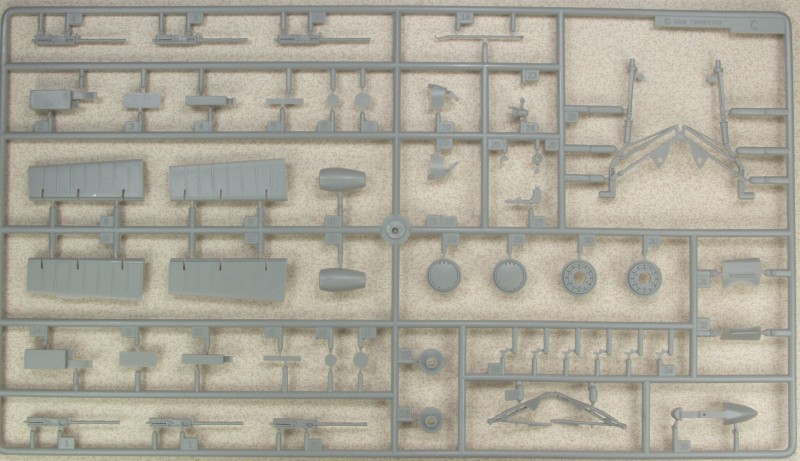
The kit comes in a large tray type top open box with a heavy
card stock
top and the bottom made from thin corrugated cardboard. Inside
the box
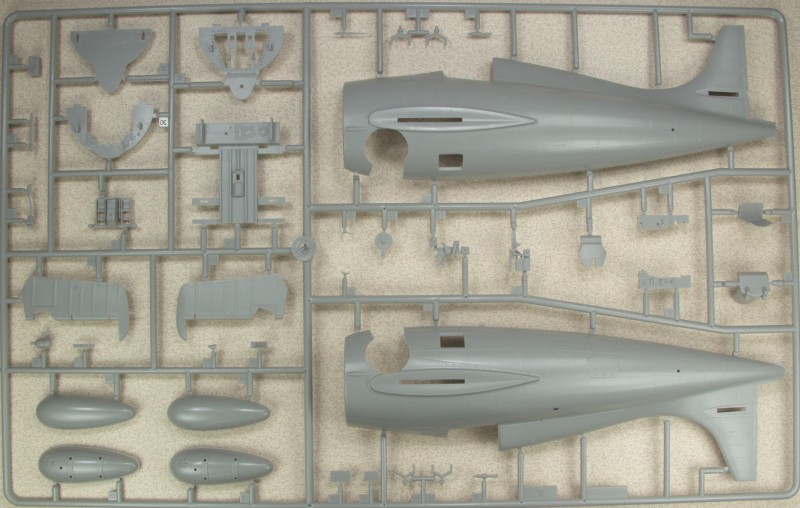
there are six sprues molded in light gray, each in its own bag.
At one
end of the box is an area that is partitioned off that contains
a sprue
of clear parts, the clear cowling, the vinyl tires and pins for
the
control surface pivots. The parts are cleanly molded with only a
few
hints of flash found. The mold alignment was pretty good but
some of
the round parts had a bit more mold parting seams than I like to
see.
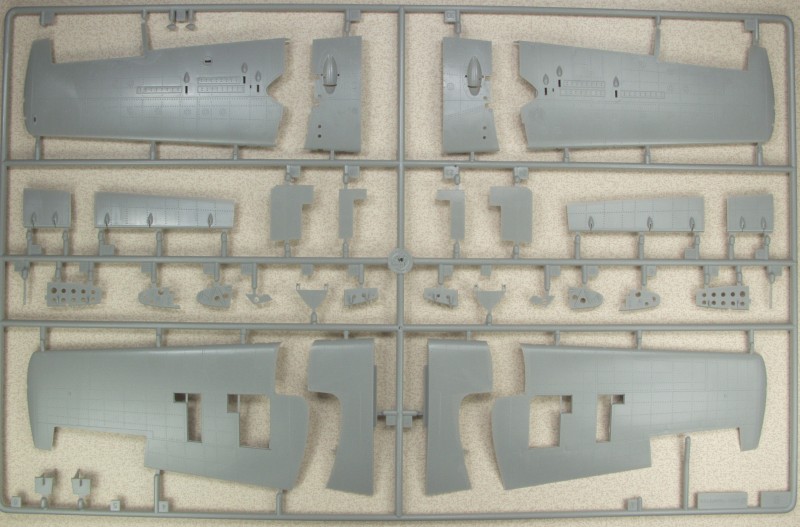
The surface finish is glossy and surface detail consists of fine
recessed panel lines, rivets and fasteners. Some raised detail
is used
where appropriate. The wings in my kit had some oily residue on
them so
a good washing is in order before building. Looking over the
airframe
parts I found sink marks on the trailing edge of both the upper
and
lower surfaces of the wing where internally the mounts for the
ailerons
were placed. Some of these were light and could be passed off as
oil
canning but some will require some filler. I found ejector pin
marks on
the inside of the fuselage in the cockpit area, on the inside of
the
flaps, which will only be an issue if left in the dropped
position and
on one side of the landing gear struts.
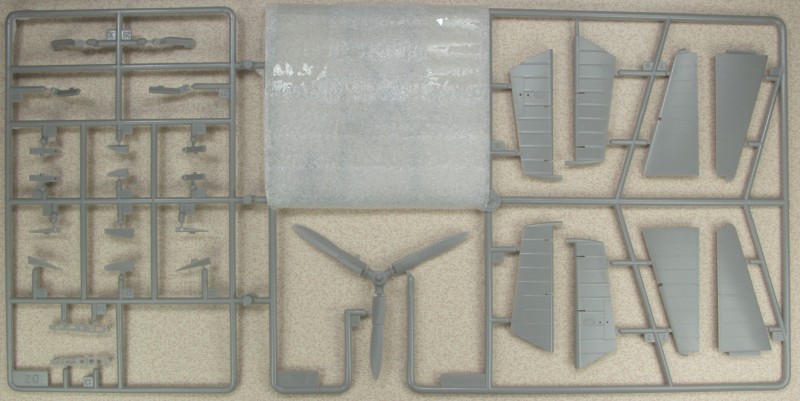
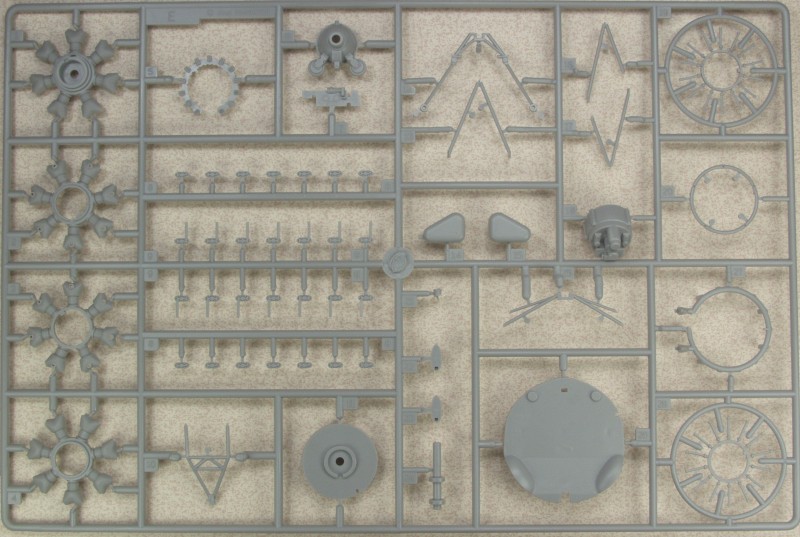
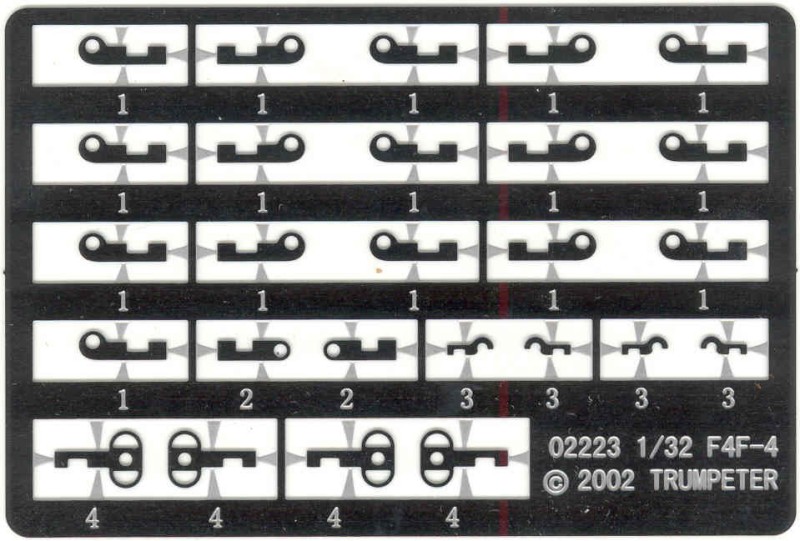
Detail wise this kit includes the dreaded photo etch and hinge pin method for attaching all of the control surfaces. While an interesting idea, having struggled through one kit with these, my advice would be to just glue the control surfaces in place and save yourself a lot of grief. The fabric surfaces are represented by rib tapes which are a little over done but could be sanded down if they offend. To my mind the cockpit is a little spartan but all the basics are there and the cockpit opening is so small that a lot of detail would not be seen anyway. The instrument panel is molded clear with a film that goes between it and the dashboard but to my eyes it makes the dial look set too deep. Like most Trumpeter kits with radial engines, the engine is pretty well detailed although having individual rocker covers seems a bit like busy work. The cowling is supplied as a clear part for those wishing to show off the engine. The firewall that the engine bearers mount to also has molded in detail of the chain drive that operates the landing gear. The landing gear assembly looks pretty complete. The wings are made to be displayed either extended or folded. reports indicate that in the extend position the wings are weak and I would recommend if you are planning on building that way that you glue the inner and outer sections together before joining the wing halves and reinforce the inside of the joint with some styrene. The wing have detailed gun bays with guns and ammo boxes. I have no information on how well the access panels over these fit. The kit comes with two underling drop tanks. Lets look at the parts...
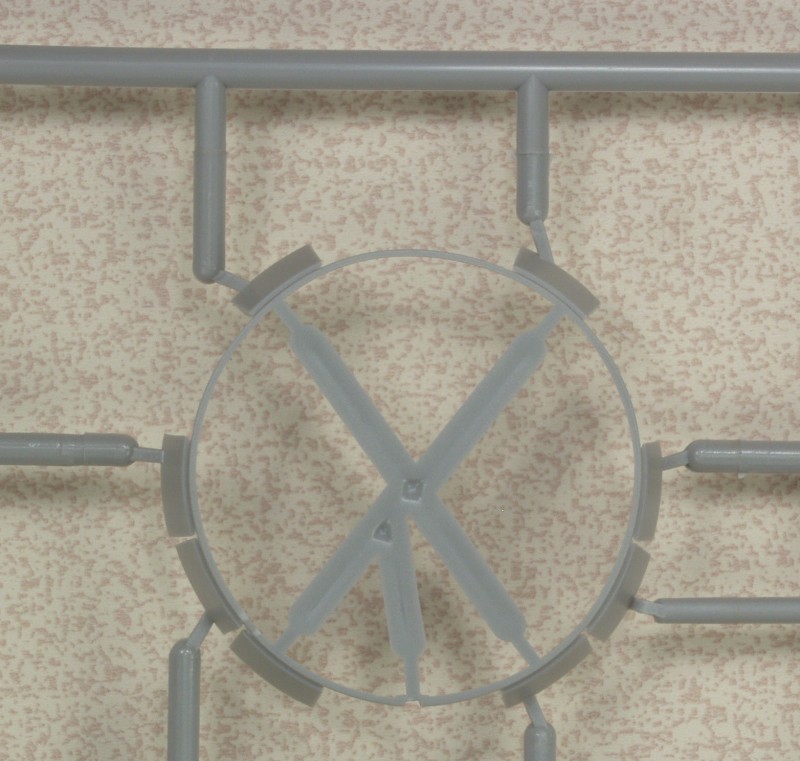
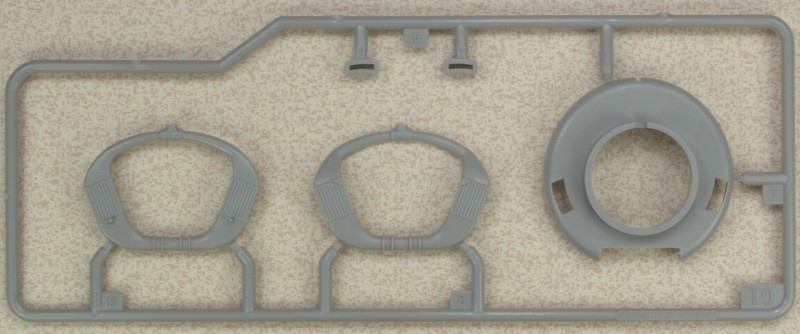
The part covered in foam are the delicate cowl flaps shown below.
The photo etch sheet is nothing but control surface hinges.
The clear parts are crystal clear with little optical distortion and well defined frame lines. The canopy can be posed open or closed.
![]()
And the clear cowling which is not as clear as the canopy.
![]()
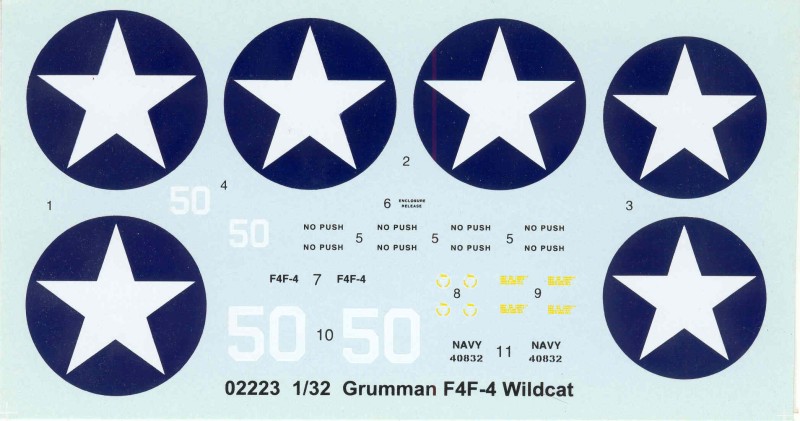
The decals are thin, glossy and in register and a bit lack luster providing markings for only one aircraft for which no information is given. In reality unless you want to do one in prewar yellow wing markings, most of them were pretty simply marked. There are after market decals available from Yellow Wings and Wolfpack Designs.
The instructions are an A4 sized booklet in landscape format 20 pages long and stapled at the spine. The front page has an icon chart and a very basic color chart, the next two pages are a parts map, the next sixteen pages are assembly drawings in 24 steps, the last page is a painting and marking diagram. Color numbers used are Gunze numbers. Color call out are made throughout the assembly but some of them are suspect so it is wise to check references.
After
Market
Goodies
I currently only
have an Eduard canopy masking set and at this time have no plans
on
getting anything else.
Conclusions
This kit got off to a rocky start and even after Trumpeter corrected its main issues I suspect there are those who still feel it's a flawed kit. From my perspective is looks like a Wildcat and that's all I really want from it. Kit wise it is pretty nicely detailed and near as I know has no major assembly issues other than the frustrating photo etch control surface hinges which even Trumpeter eventually gave up on. I would because of this issue alone recommend the kit to primarily more experienced modelers.
Links
to kit build
or reviews
A build can be found here
and here.
References
History courtesy of Wikipedia
Back to the 1/32 U.S. Aircraft Page