
Mitsubishi
G4M1 'Betty'
The
Mitsubishi Betty was built to a "range at all cost" specification. In
order to compensate for their inferior fleet strength restricted by the
London and Washington Treaties, the imperial Japanese Navy intended to
support their naval operations with shore based aircraft. Bombers with
extremely long range were in dire need for such missions. This could
only be achieved by designing the entire wing as an integral fuel tanks
and keeping the structure as light as possible, without any armor or
self sealing protection. Defensive weapons and armor protection for the
crew were also kept to a minimum. To reduce the drag, bombs and
torpedoes were housed internally in a thick cigar like fuselage. The
thin, wide wing contributed to obtain excellent stability and
maneuverability during flight. Powered by two Mitsubishi "Kasei" type 11
radial engines of 1530 hp, the G4M1 achieved a maximum speed of 420Km/h
and an outstanding range of 4,200 Km of range. However the 5000 liters
of fuel in unprotected tanks made the bomber extremely vulnerable and
it soon became know to U.S. gunners as the "one shot lighter". With
several improvements the Betty served throughout the Pacific War and
including all variants more than 2,400 units were produced. They were
part of the attacking force which sank the British battleship HMS
Prince of Wales and the battle cruiser HMS Repulse at the beginning of
the conflict and in 1945 carried the Japanese surrender delegation to
the ceremony to end the war.
The Kit
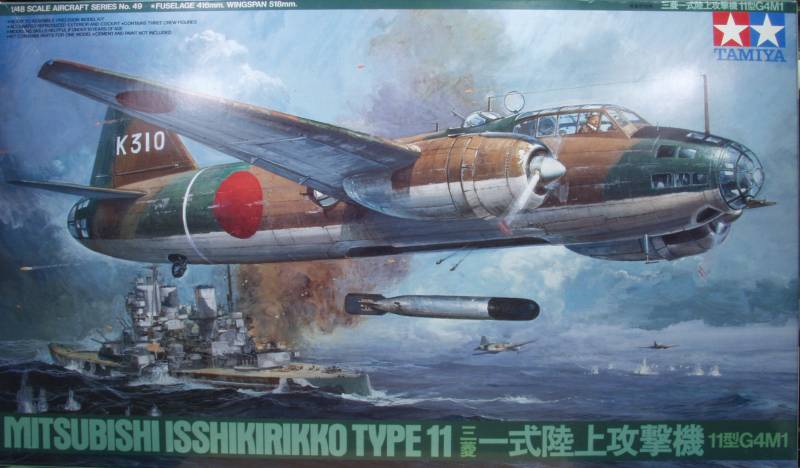
The Tamiya kit has been around for a decade now but is still an impressive kit both from a detail standpoint and size. It comes in a large top open two part box with artwork depicting the sinking of the two British ship at the start of the war. Inside the box the sprues with the larger parts are individually bagged, two or three of the smaller sprues are sealed in one bag. The clear parts are in a bag by themselves. The box is large because it needs to be as this is a sizable aircraft.
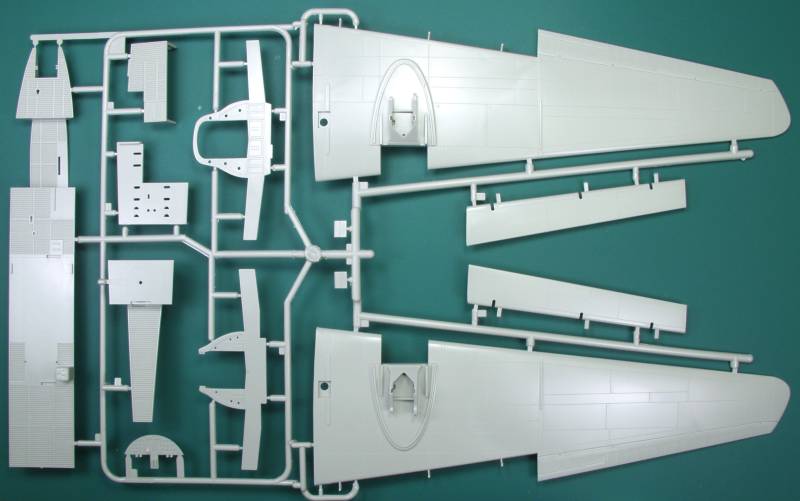
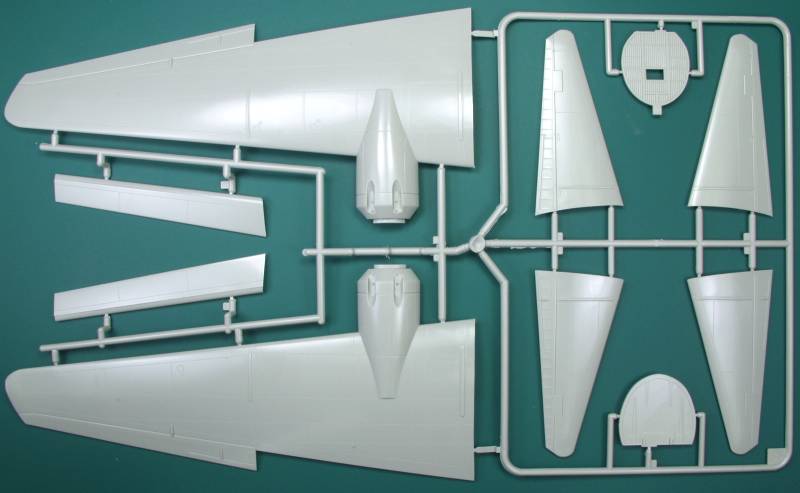
The parts are molded in a light gray plastic. The parts feature recessed panel lines and other surface detail and the lines are all uniform and nicely done. The fabric areas are nicely done as well. All of the control surfaces are fixed but the flaps are separate and can be posed in the lowered position. The fuselage features structural detail where it might be seen and there are some ejector pin marks in this area but they are very light and should be easy to fix if you are so inclined. The wheel wells have some detail but are not totally closed in. The mounting for the landing gear struts are very solid and should provide excellent support for the gear.
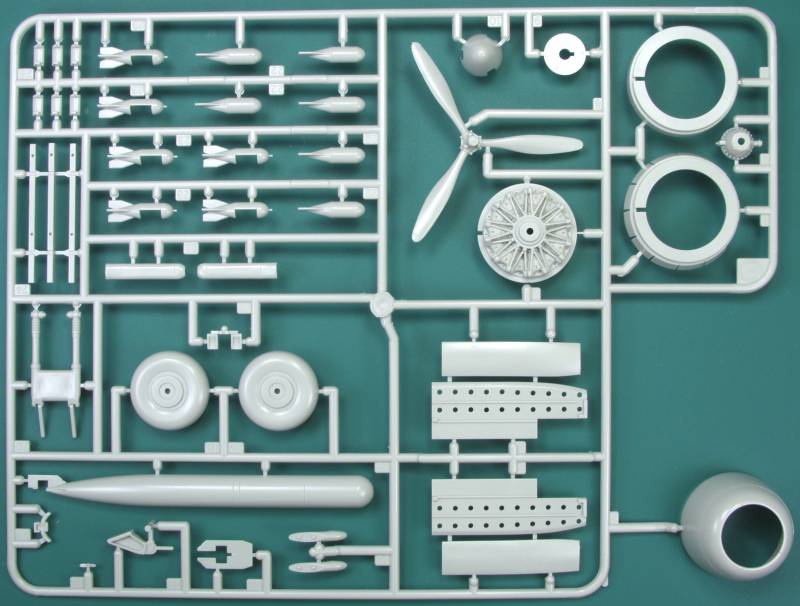
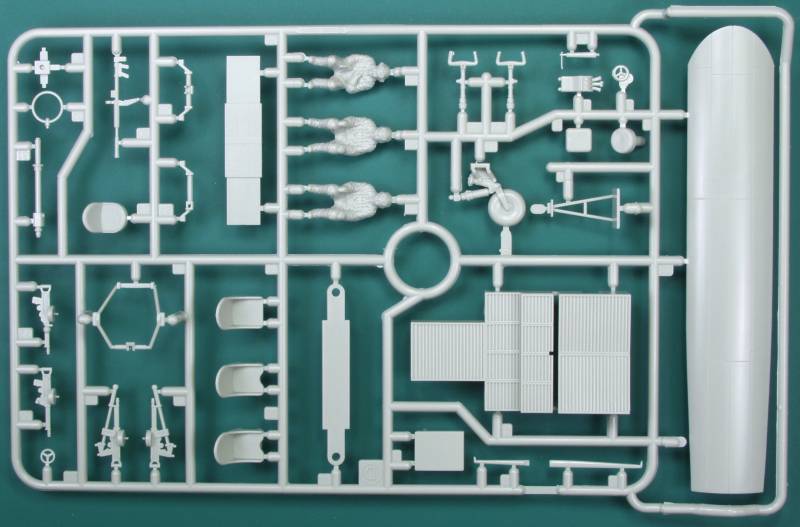
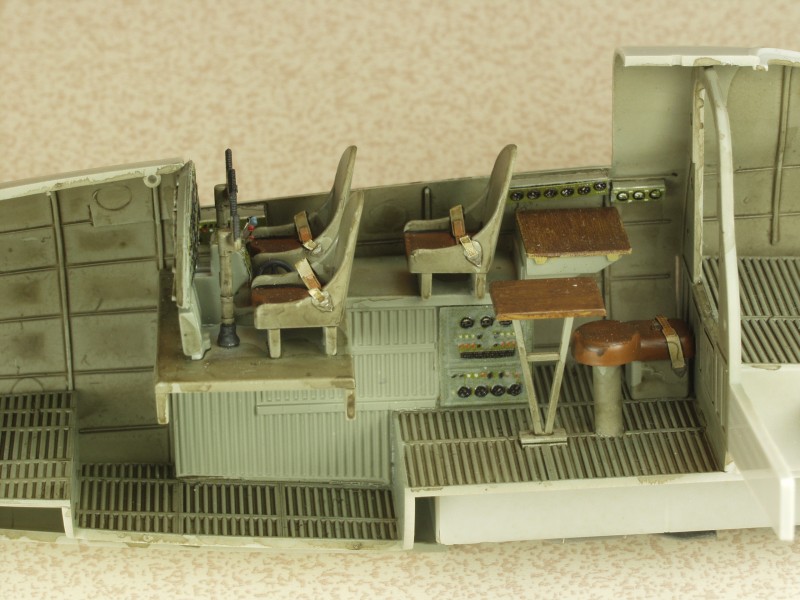
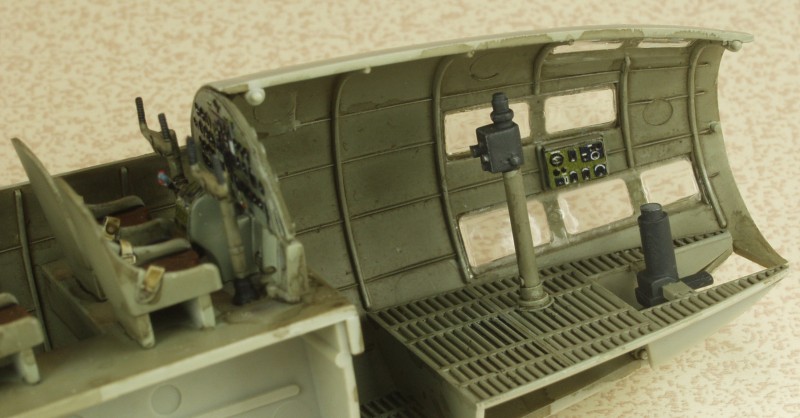
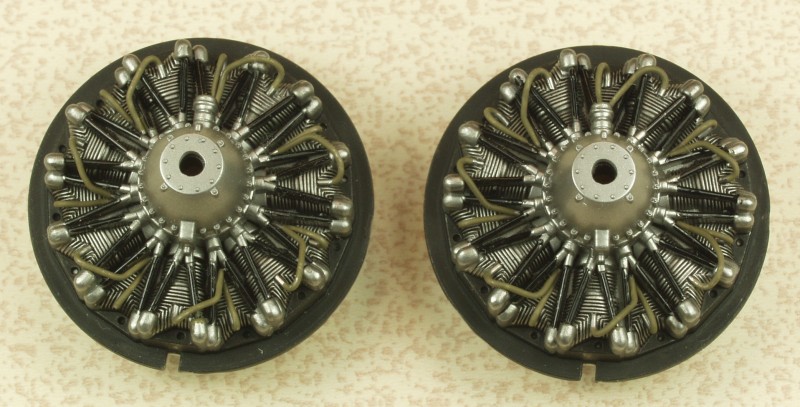
The kit features a very complete interior and includes three figures which are nicely done. The machine guns are not the most detailed I've seen but should be adequate with some careful painting. The upper portion of the bomb bay is molded on the bottom of the cockpit floor and features some structural detail and wiring. The engines are nicely done though only two dimensional. They should look good painted up as they sit deep in the cowlings. Cowl flaps are provided in both the open and closed positions. The main gear doors are molded integral to the gear bay side walls eliminating the necessity to add them later and providing a more solid assembly than separate doors would provide. A supply of bombs is provided as well as a torpedo.
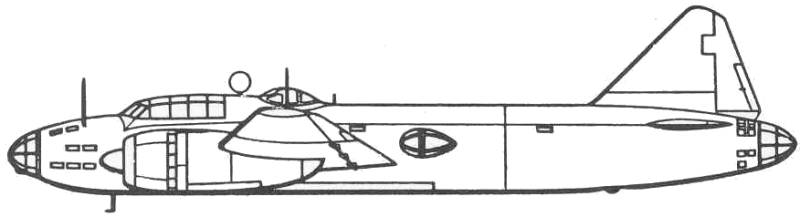
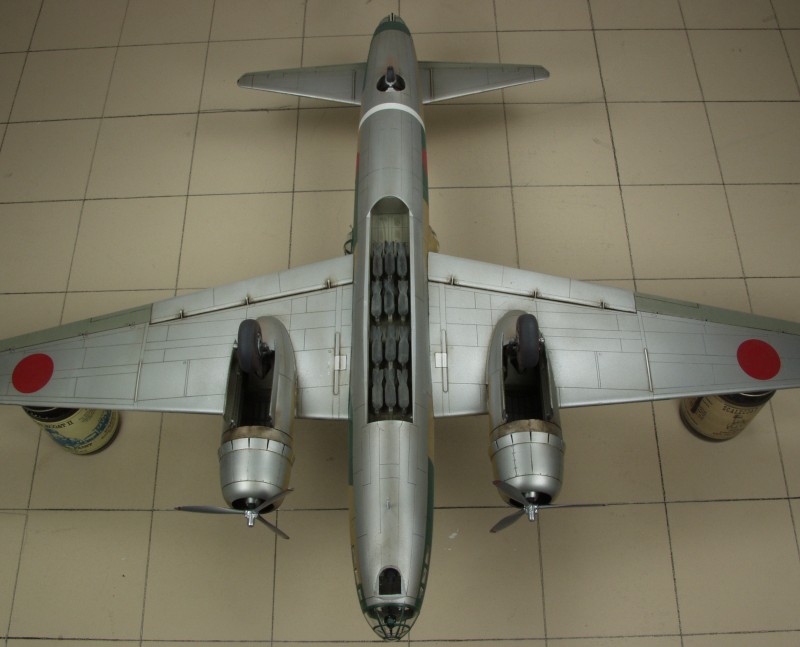
One thing unusual about the Betty was it had no bomb bay doors as such. If bombs or a torpedo was carried a cover was removed. It would usually only be installed during ferry moves or when the aircraft was used for reconnaissance. The wheels do not feature weighted tires. Other than the usual ejector pin marks on the inside of gear doors, gear bay side walls, gear struts and a few on the interior, I found no defects on any of the major airframe parts. There is a spar assembly included that should make the wing to fuselage join solid as well as providing the correct dihedral. By my count there are 158 parts in gray, see photos below. Note duplicate sprues are not shown.

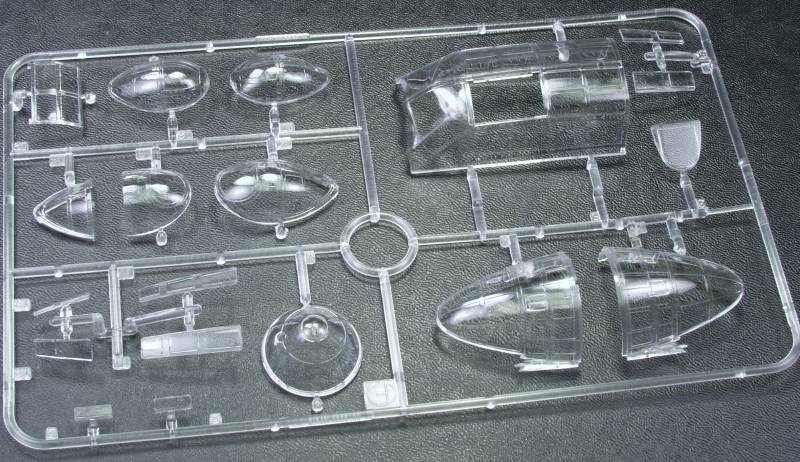
The clear parts are just that and there a lot of them. although clear they are a bit thicker than contemporary standards. The cockpit features a separate hatch that may be posed open if desired. All together there are 17 clear parts.
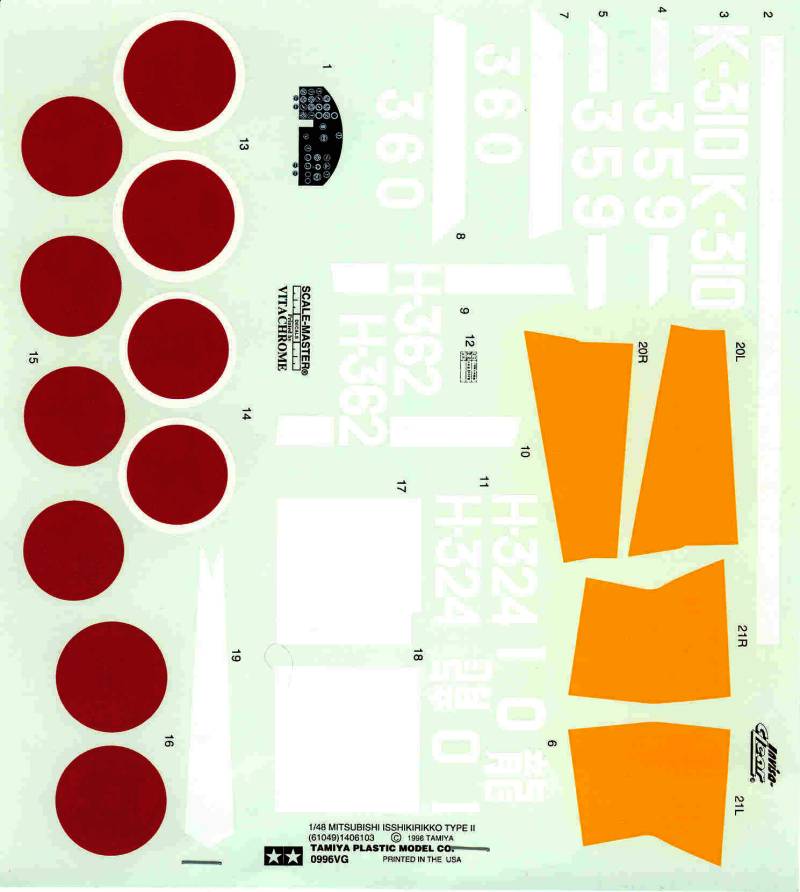
The decals are printed by Invisa-clear and look to be a little thinner than the usual Tamiya fair. The white surrounds on the hinomaru are not in register and that is the only place it would be noticed. Other than the builders plate no other stenciling in provided. The decals provide markings for three aircraft. Note that the color has been shifted a bit to show the white lettering. see below.
The instructions are a large sized sheet folded to create eight pages. Page one has multilingual history, page two the paint chart, tool list and usual safety warnings and the first assembly step, the balance of the pages are the rest of the assembly steps. A separate A4 sized sheet is provided for the painting and markings.
After Market Goodies
Eduard made a photo etch set for the interior. I haven't found it yet so I don't know the number but you can look it up at Eduards website. The reviews below seem to be mixed on whether the Eduard set add anything useful to the interior so I guess it's your call on that.
Conclusions
This is a large kit but not
necessarily a difficult one. While it is over ten years old and may not
feature quite the sophistication of the latest and greatest kits it has
certainly held up well and was most likely ahead of the state of the
art at the time it was released. Most reviews give it high marks on fit
and there seem to be no major assembly issues so I will give it a high
recommendation to modelers of all skill levels.
Links to kit build or reviews
Build / reviews can be found here, here, here and here.
References
Japanese Aircraft of the Pacific War by R.J. Francillion
Mitsubishi Type 1 Rikko 'Betty' Units of World War 2 by Osamu Tagaya
The Build
As with most kits assembly starts with the interior. Interior detail supplied is a bit light, I used the Eduard Zoom set. One could add a lot if inspired but I wasn't. The smaller windows are a bit thick and not that clear so a lot wouldn't be seen so I let it ride as it is.

The kit supplied engines were pretty nice for a one piece molding and they sit pretty deep in the cowlings so I only added ignition wiring and paint.
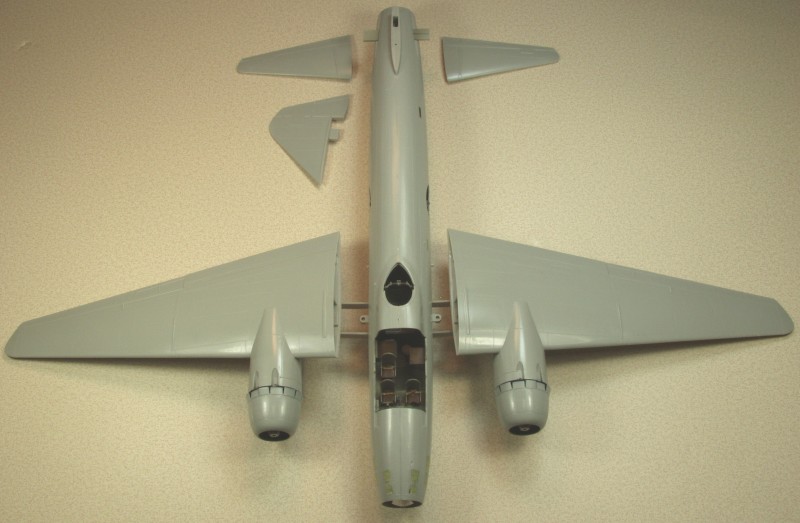
All of the major pieces ready for assembly. Fit of the tail pieces is very good and the wing fit is excellent. So good in fact that they can be left loose for painting which makes that task much easier considering the size of the model. Tamiya uses pins that press in from the bottom to secure the wings and as a result I never did use any glue on them and they are still quite solid once in place and pinned.
Tail parts glued on, wings in place and clear parts masked. I plan to use the open parts for the upper gun position so I used the closed piece to keep paint out of the fuselage.
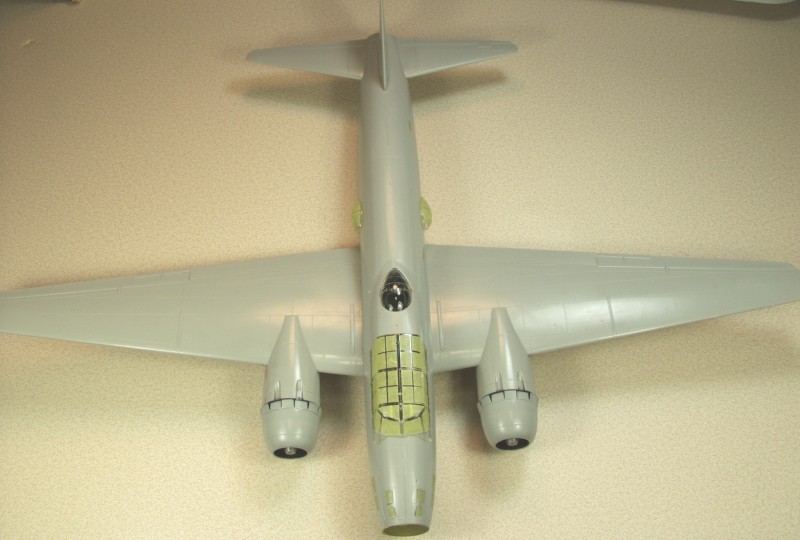
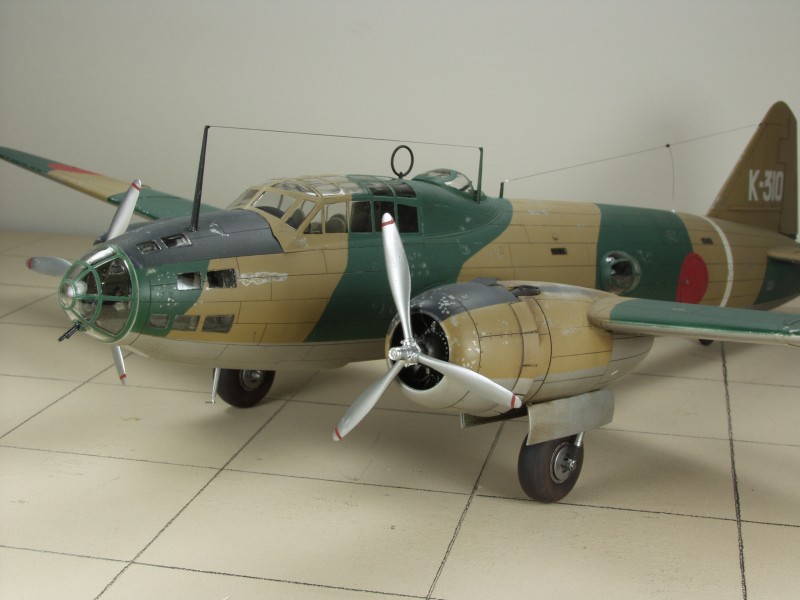
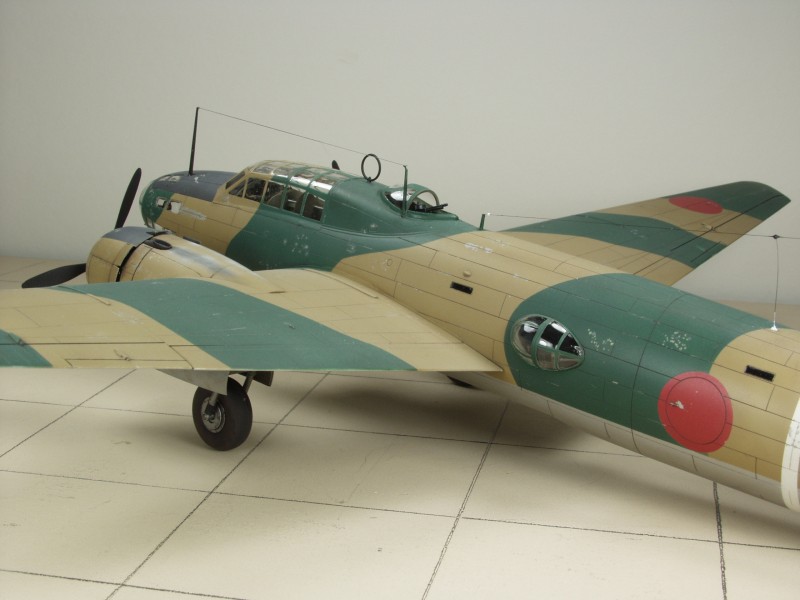
The fuselage was painted overall with Alclad semi matte aluminum. The bottom would remain that color. I used mostly salt chipping to produce the peeling paint effects. I could have gone heavier but the aircraft being modeled is from December of 1941 so I didn't go real crazy with it. The colors uses were from White Ensign Models. I found that even after it cured it was possible to scrape some of it off using a tooth pick and did so along so along some of the panel lines to provide some additional paint defects. The fuselage stripe and the national markings were all painted on. The only decals to be used were the tail numbers and data plate. These went on without any issues and settled in with no silvering with the use of Microsol.
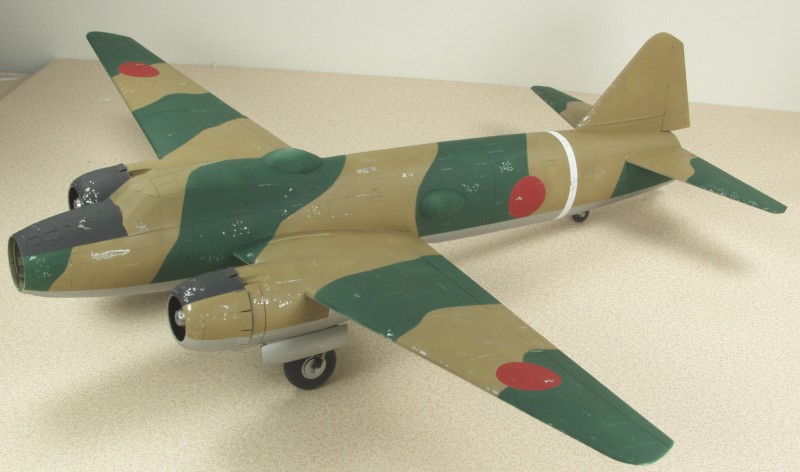
A coat of Alclad aqua gloss clear was applied to the upper surfaces and when cured the decals were installed. I then used oils for most of the panel line high lighting. The exhaust effects were done with a combination of paint and chalks. After the oils had cured a final coat of Model Master flat clear acryl was applied, again only on the upper surfaces. The natural metal under surfaces were weather with oils but no clear or flat coats were applied. Final photos follow...
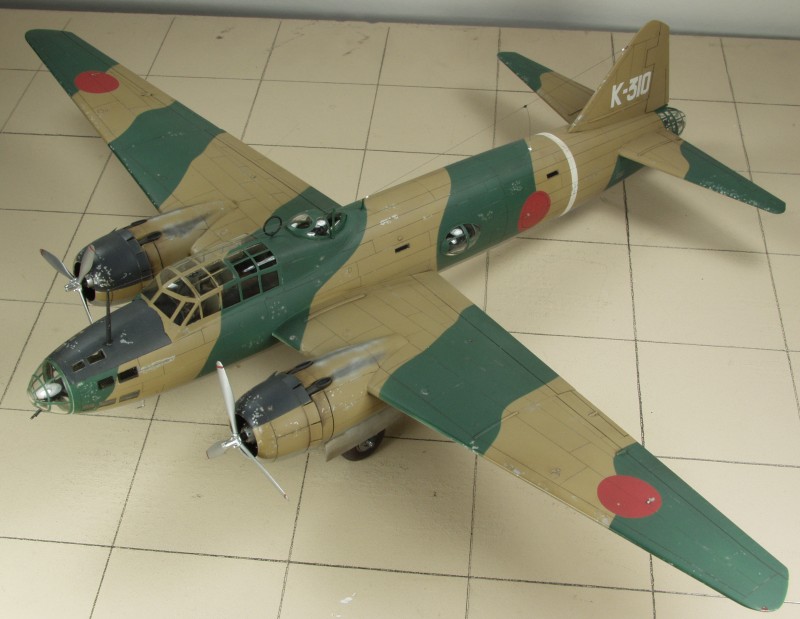
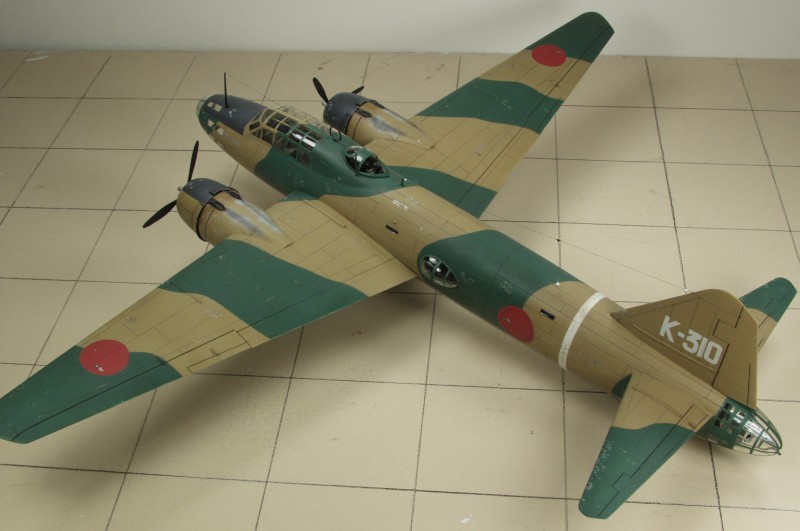
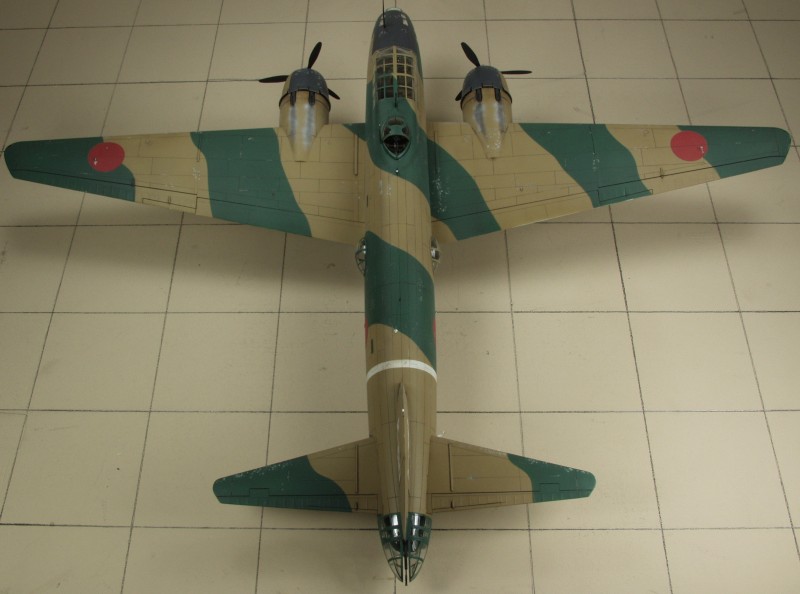
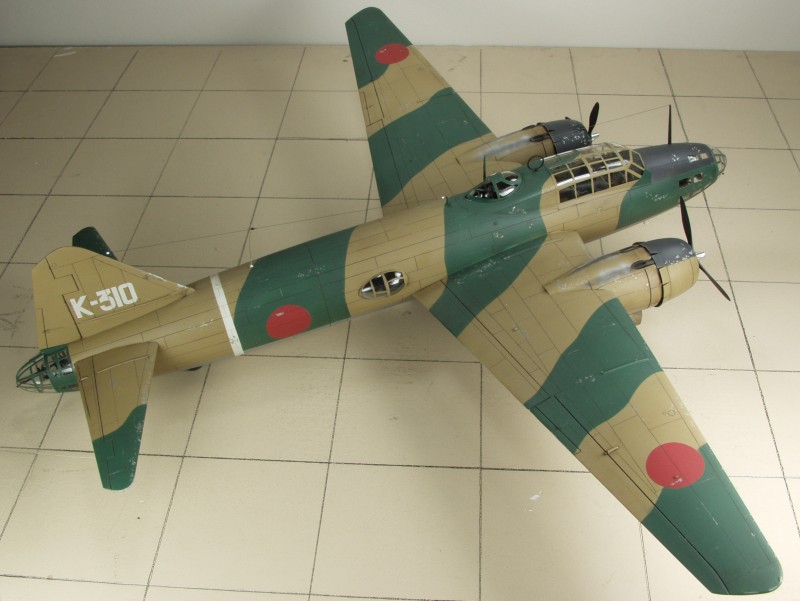
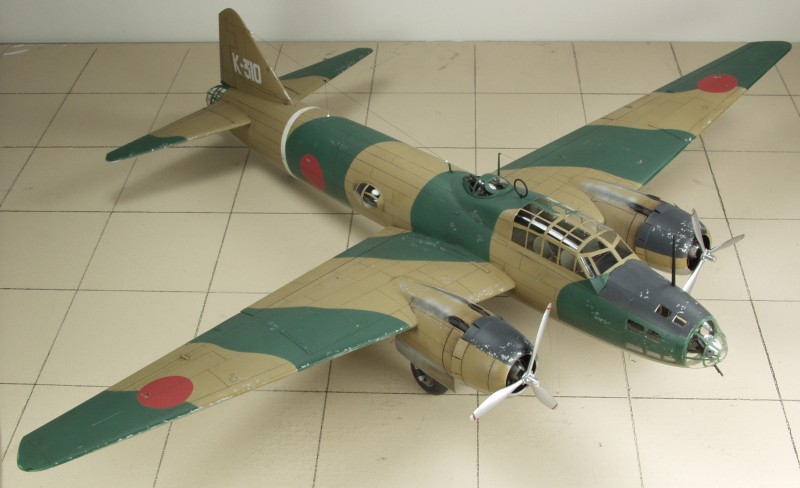
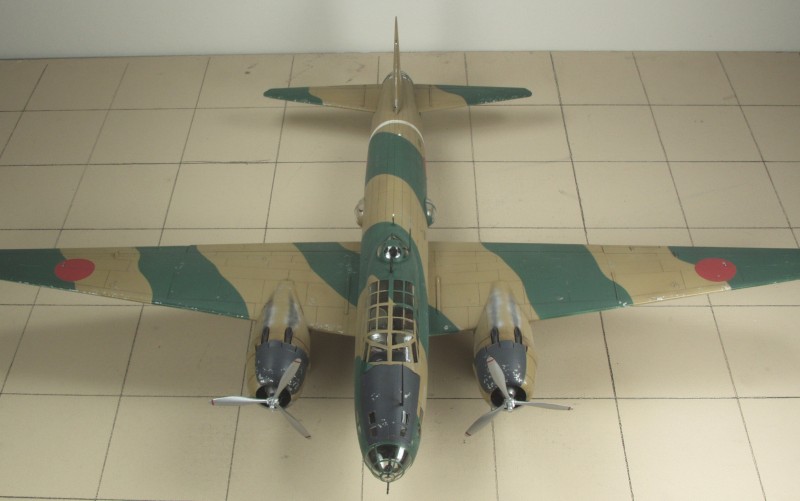
My after build conclusions pretty much match the before build ones. This was a most enjoyable kit to build. A couple of the small windows were hard to fit but overall the fit was excellent and I used very little filler. As mentioned above the wing to fuselage fit was among the best I have ever encountered. So if you have a desire to build a big Japanese bomber, you can't go wrong with this one. Highly recommended !
Back to the MISC JAPANESE page