Halifax Mk II
Halifax Mk II
The Handley Page Halifax played
second fiddle to the Lancaster much as the B-24 did to the
B-17. Four out of every ten four engine bombers built in
England during the Second World War were Halifaxes. Although
not considered as shapely as its Avro contemporary, its
deeper, slab sided fuselage rendered it suitable for a wider
variety of roles and unlike the Lancaster, which was used
almost exclusively as a bomber during the war years, the
Halifax achieved an enviable reputation as a freighter,
personnel transport, ambulance, glider tug and maritime
reconnaissance aircraft. Its initial design was based on the
same specification that would also eventually produce the
Lancaster. Failure of the Rolls-Royce Vulture engines to reach
production status required Handley Page to redesign to a four
engine layout much the same as was done with the Manchester
design at Avro. The prototype flew in the fall of 1939. By the
time the second prototype had flown the bomber had already
been ordered into production. The first production Halifax
flew in October of 1940. The initial production batch was
designated Mk.I Series I and they were followed by Series
II which had increases in fuel capacity and were
stressed to be operated at higher loads and the Series III
which had higher horsepower rated Merlin engines. The Halifax
had the distinction of being the first RAF four engine bombers
to drop bombs on German soil.
Operational
experience had indicated the desirability of a power operated
dorsal turret which led to the Mk.II with a bulbous Boulton
Paul turret similar to the one used on the Lockheed
Hudson. The prototype of this version flew in July of 1941 and
by September the first production Mk.II was flown. Entry into
service use however was not without difficulties as the
Halifax had always been slightly under powered and the
increased weight and drag of the turrets seriously affected
performance. Fully loaded aircraft developed a tendency to
spin uncontrollably and losses mounted. To address this issue
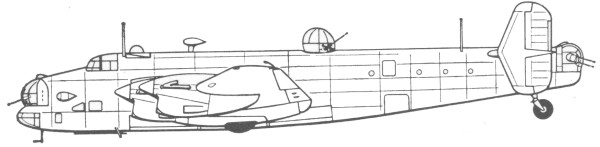
a program was mounted to reduce weight and drag and this
resulted in the Mk.II Series IA, which saw the deletion of the
nose turret, this being replaced by a streamlined glazed nose,
removal of the dorsal turret, the tail wheel was made
semi-retractable, use of a shallower astrodome, the removal of
the under wing fuel dumping pipes, removal of the asbestos
shrouds on the exhausts, removal of the antenna mast and more
powerful engines were installed. All of these changes resulted
in a ten percent increase in maximum and cruising speed. At
this period in its development the aircraft began suffering a
series of unexplained crashes where the aircraft got into an
inverted dive. This was eventually traced to rudder stalling
in the triangular shaped fin. New rectangular fins were
designed to rectify the problem and these were introduced as a
retrospective modification during 1943.
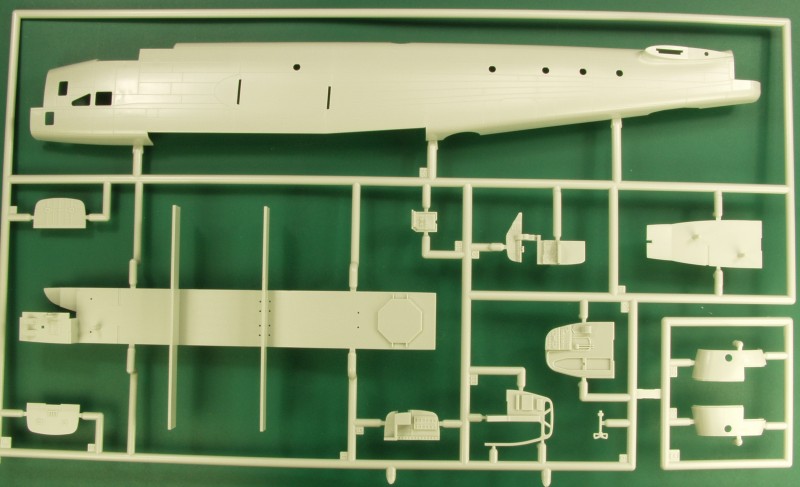
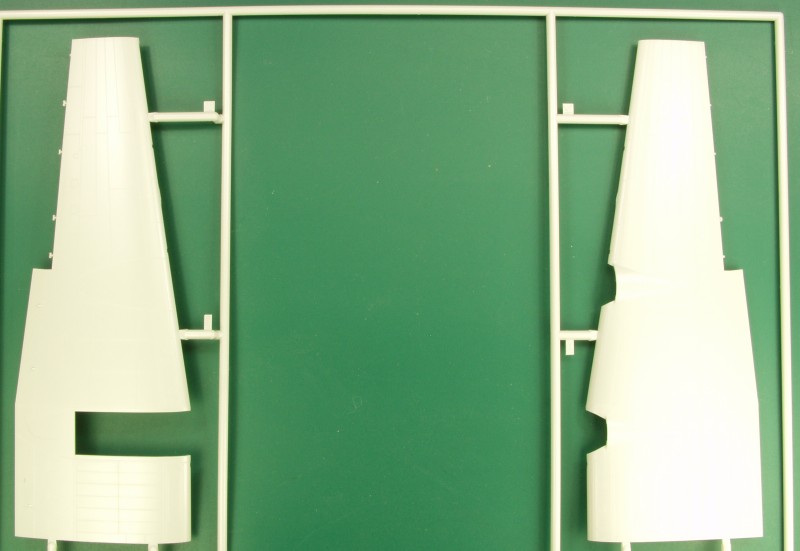
The Kit
 -
-
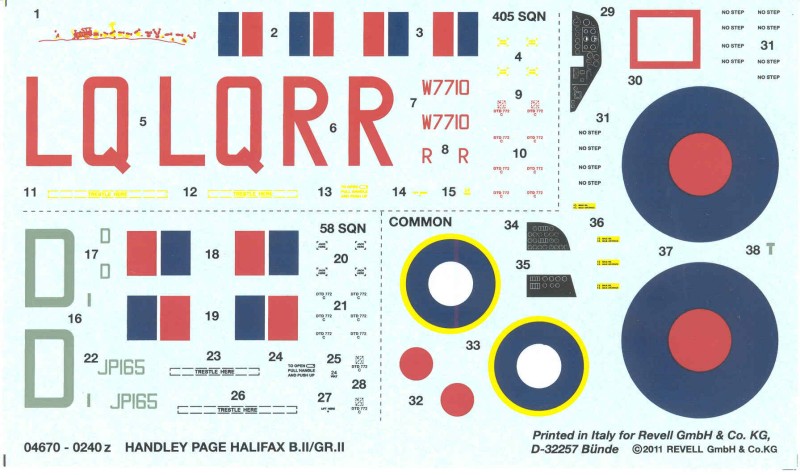
The
decals are matte, in register (although it's left up to you to
register the red center on the fuselage roundels) and appear to
be opaque. Decals are provided for the instrument panel and
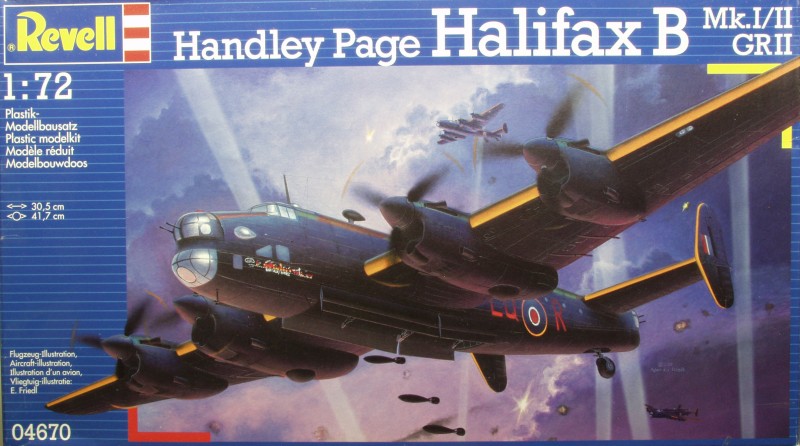
flight engineers panel. Markings are provided for two aircraft,
one is listed as a MkII series I from No. 405 Squadron RCAF from
July 1942, the other is listed as MkII series II from No. 58
squadron (GR.MkII) RAF early 1945. The sheet says printed in
Italy for Revell, whether that means cartograf or someone else I
don't know.
The
instructions are printed in an portrait format
consisting of 18 pages in a booklet form which is
not stapled. The front page has a brief history in
English and German. The next two pages have all
the usual safety warnings and assembly icon charts
in 18 different languages. Page four lists paints
by names, again in 18 languages but only calling
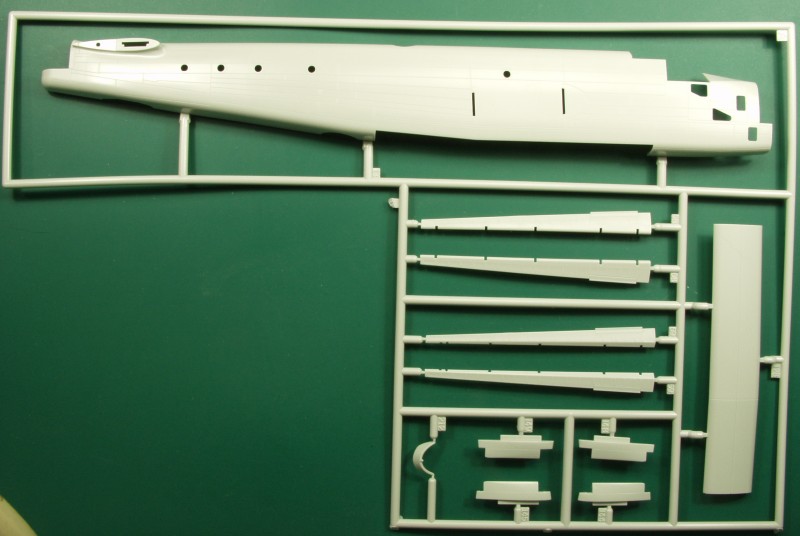
out Revell paint numbers. Page five is a parts
map. The sprue trees have identifying letters on
them but these aren't call out on the map. The
next eleven pages are assembly diagrams and the
last two have painting and marking diagrams. The
diagrams are all reasonably clear, have paint call
outs and are generally easy to follow but some
pages seem over loaded and a lot of steps are
repeated over for left and right sides which I
guess is OK for beginners but it just seemed to
bloat things to me. There are a lot of options, in
some cases the diagrams will indicate which of the
two marking options they are to be used on by
referencing the step number showing the paint and
markings for that version. In other places they
give you no clue as to which ones to use for a
specific version so it will be important to have
some good references for the aircraft version you
want to build.
After
Market
Goodies
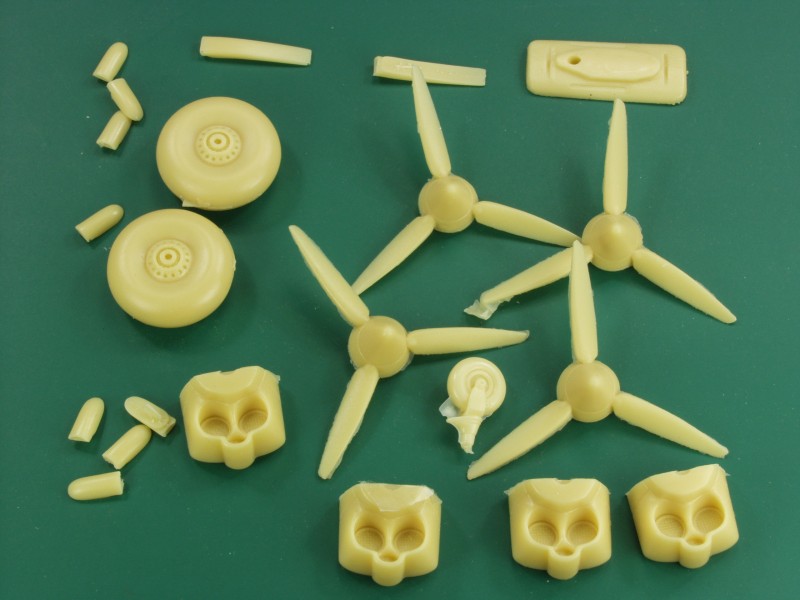
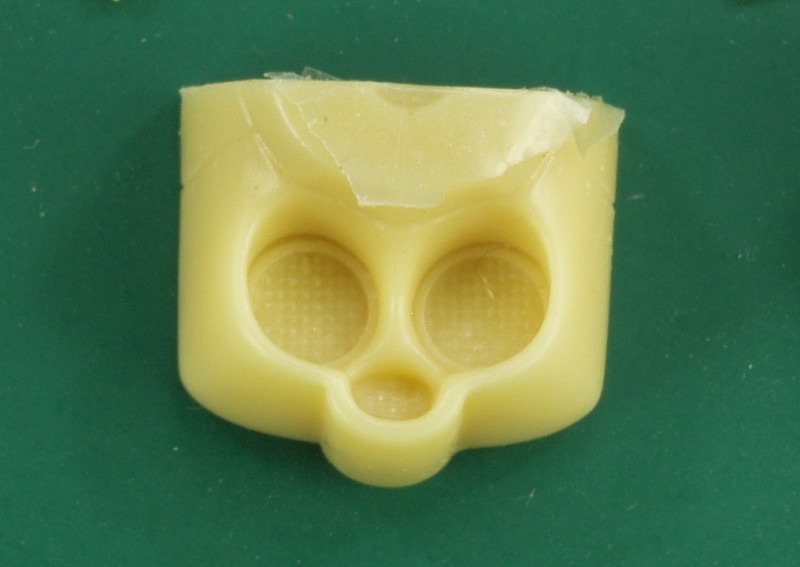
The
kit has a number of anomalies mostly dealing with
the engine cowlings and propellers. This set from
Frightdog Models attempts to fix some of these
with a minimal amount of cutting and fitting. The
set includes new radiator fronts that are more
correct than the kit supplied ones for the MkII
series I. Note that the entire engine cowling is a
bit oversized in the kit so these new fronts were
made to fit the kit cowl and thus are the correct
shape but oversized. The set also includes new
main wheels and tail wheel with a bay insert.
There are replacement air scoops and propellers.
The air scoops have recessed openings and the
propellers have the correct shape for the early
versions wooden props. The parts are nicely molded
with only a light amount of flash to be removed
and only the remnants of a pour stub to be removed
from a couple parts. No pin holes or other
deformities were found on my set. The set comes
with a single A4 sized sheet of instructions
printed on both sides with two photos. The
instructions go step by step along with the kit
instructions tell you what parts to use and
where.
Conclusions
This
looks to be a very nice kit but not one I would
recommend to beginners as it is fairly complex
with a lot of parts. The instructions in my
opinion could have been better especially in
explaining which options should be used for what
variant or marking scheme. While some purists will
no doubt be appalled at the number of accuracy
issues with this kit, I suspect most modelers will
build it and be quite pleased with the outcome.
Links
to kit build or reviews
Another
in box review can be found here,
the discussion following the review highlights
many of the kits inaccuracies.
References
While
there are others the best book available is
"Handley Page Halifax, From Hell to Victory and
Beyond" by K.A. Merrick.
Back to the Miscellaneous 1/72
page