Hawker
Hurricane I
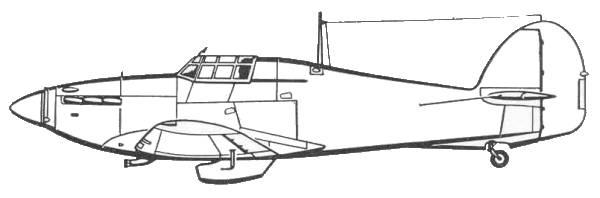
The
Hurricane was the first fighter monoplane to join the R.A.F. and the
first combat aircraft of that arm capable of exceeding 300 m.p.h. in
level flight. The Hurricane shouldered the lion's share of Britain's
defense during the Battle of Britain, and was largely responsible for
the successful outcome of the conflict, equipping more than
three-fifths of R.A.F. Fighter Command's squadrons. The first prototype
flew on November 6, 1935. Trials were so successful that the Hawker
management took the unprecedented step of preparing for a production
run of 1000 aircraft, convinced that orders would be forthcoming. On
June 3, 1936 the air Ministry placed an order for 600 aircraft and on
June 27, 1936 the name "Hurricane" was approved by the Air Ministry.
Due to changes from the Merlin I to the Merlin II some modifications
needed to be made to the cowling, air screw, engine mounts and others.
however the first production model made its first flight on October 27,
1937. No airplane was brought into operational service more rapidly
than the Hurricane. Deliveries were made to No. 111 Squadron before the
end of 1937, less that two months after the first flight of the
production prototype. thanks to the foresight of the Hawker's
directors. By the time that war was declared just short of 500 had been
delivered.
Until the middle of 1940 all Hurricane production had centered on the
basic Mark I version with the eight gun fabric covered wings and Merlin
II or III engine. As early as 1935 the design office had begun the
investigation of metal stressed skin outer wing panels and in 1937
serious development had been initiated. Flight testes with metal wings
were begun in April of 1939 and some late Hurricane I's were equipped
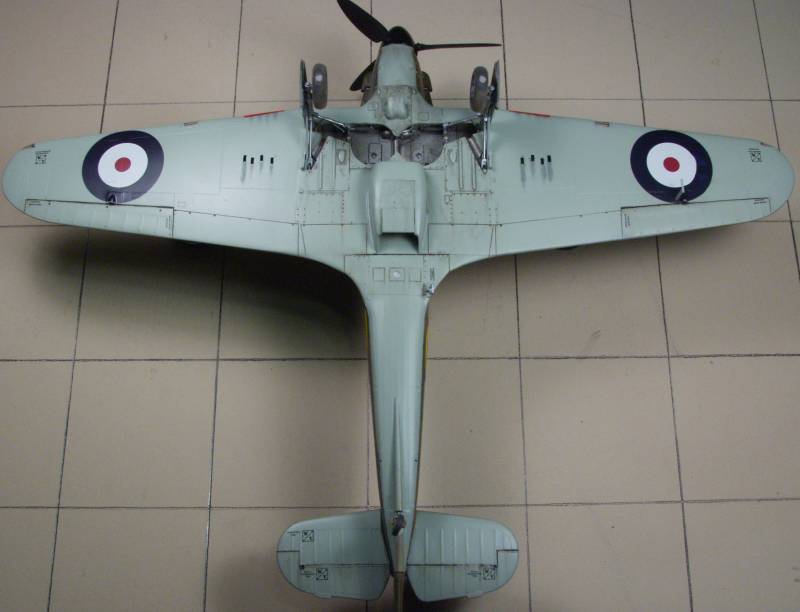
with the metal wings. Since the model depicted here is a late model
Hurricane I with metal wings I will end the history here. Needless to
say the Hurricane proved to be a most adaptable aircraft and its
continued development until the last Hurricane was delivered in
September 1944. Over 14,000 of them had been built.
The Kit

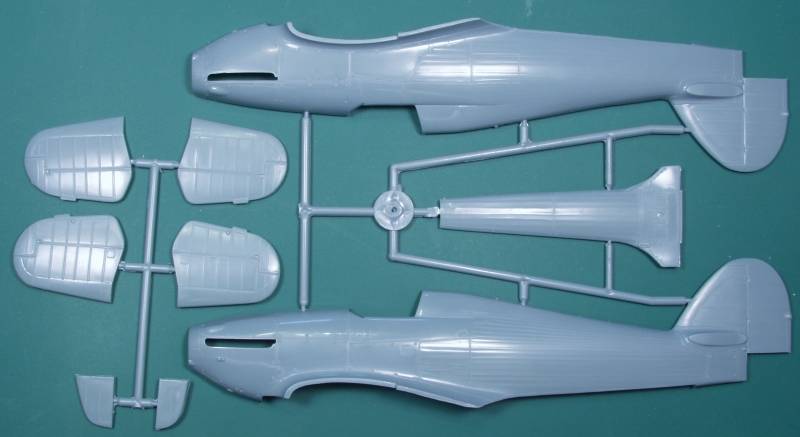
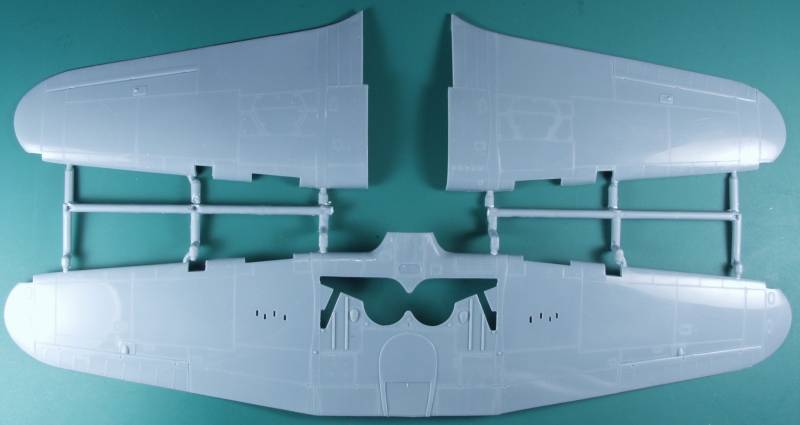
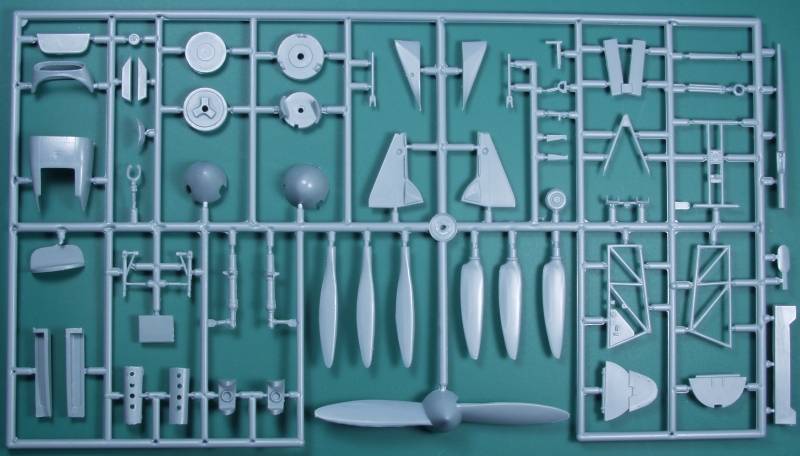
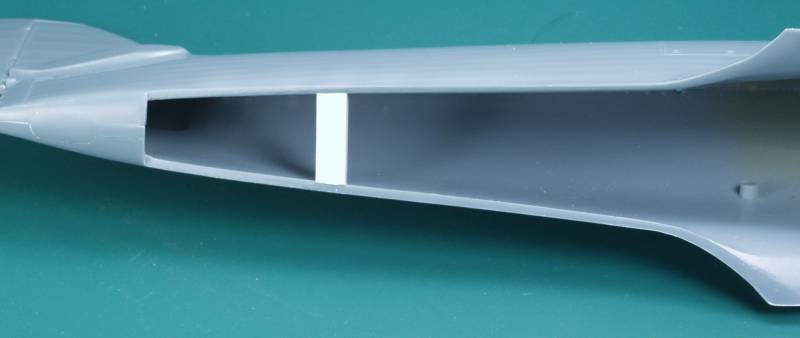
The Pacific Coast Models kit comes in a rather small box for a 1/32 scale model, at least compared to many others currently on the market. The top opening tray style box has nice artwork on the front depicting a Hurricane that has just damaged a Heinkel He 111. Inside the box is one large zip lock bag with four sprues o plastic parts in a light gray color. One small bag with the clear parts and one small bag with photo etch parts and one slightly larger bag with resin parts. Pacific Coast Models are typically joint ventures and this one is no different with the plastic parts molded by Sword, the photo etch by Eduard and the decals by Cartograf. I'm not sure who does the cast resin parts. Of the plastic parts, one sprue has the fuselage halves and a bottom central portion of the fuselage, one sprue has the wings, one sprue has the tail planes and lower portion of the rudder and the fourth sprue has all the other bits and pieces that go into the kit. There are some parts that won't be used as three propeller options are provided. The plastic has a glossy finish and the parts are well molded with a minimum of flash although the smaller parts have a fairly heavy parting line and care will need to be taken not to create flats on some of the round parts when cleaning them up. Most of the parts also have fairly heavy sprue attachment points so use care when removing. the surface detail features recessed panel lines, rivets and fasteners. These are all very nicely done. There is some raised detail where applicable. The fabric areas are very under stated which is much appreciated as most kits go way over board on this. The insides of the fuselage feature some structure detail and there are no ejector pin marks or towers in that area. Some of the ejector towers will need to be removed from the inside of the tail plane parts. I could find no sink holes or other surface defects on my kit. The cockpit is very nicely appointed making use of injected parts, resin parts and photo etch. The three photos below show the plastic parts.
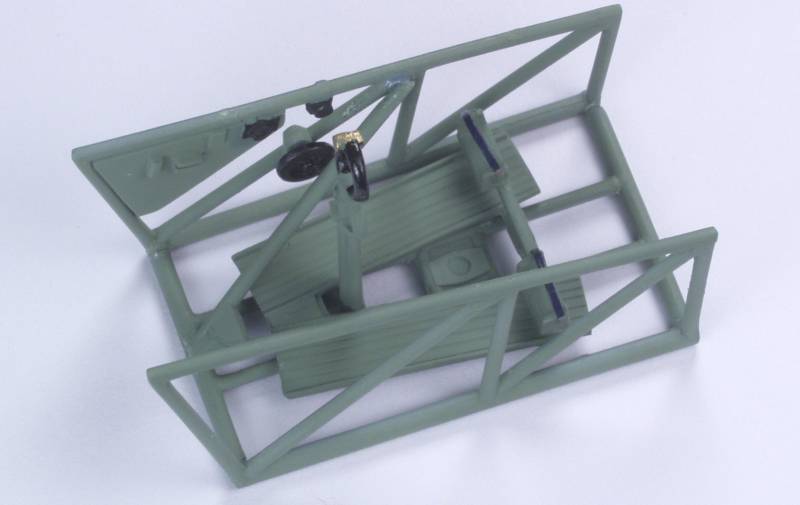
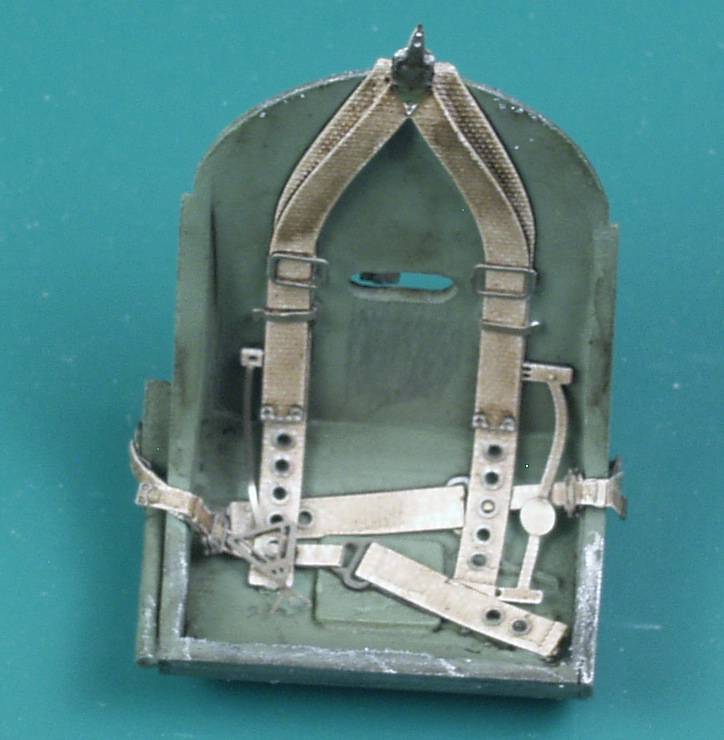
The resin parts are very nicely done and include the main gear bay which is in two parts and features the gear retraction cylinders a little plumbing and wiring and nice structural detail with fasteners and lightening holes. also include are the exhaust stacks with hollow exhaust ports, a variety of bits and bobs to dress up the cockpit, two seats, one of which has part of the seat belt molded on which isn't needed, the engine air scoop and the main wheels. The parts have a bit of flash but shouldn't be hard to clean up and I only found too very small pin holes on one of the parts. All of the parts have mold plugs that will need to be removed. See photo below.
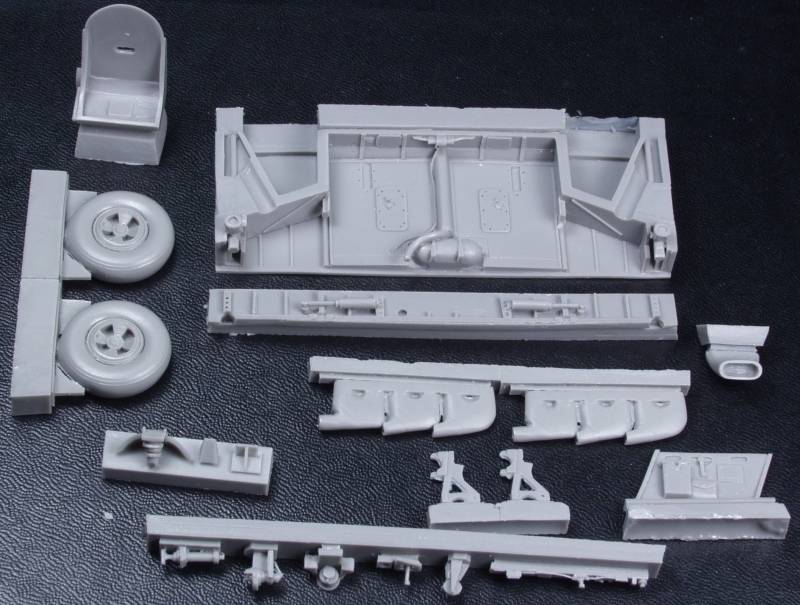
The clear parts are thin and clear with a slight amount of distortion and nicely raised frame lines,,two of the landing light covers are not used. See photo below.
![]()
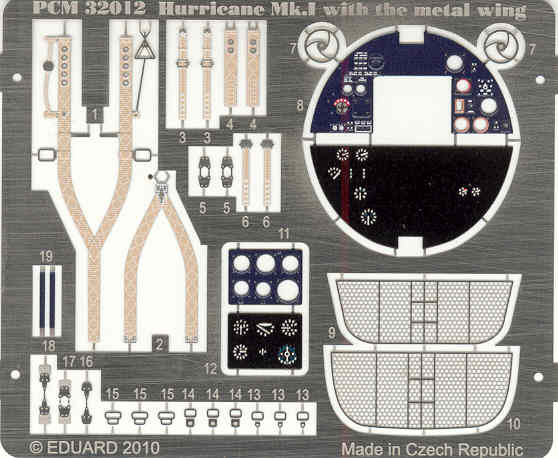
The photo etch parts are done by Eduard and comprise the instrument panel in color, the shoulder harness and seat belts, rudder straps in color and a set of grills for the radiator. See photo below.
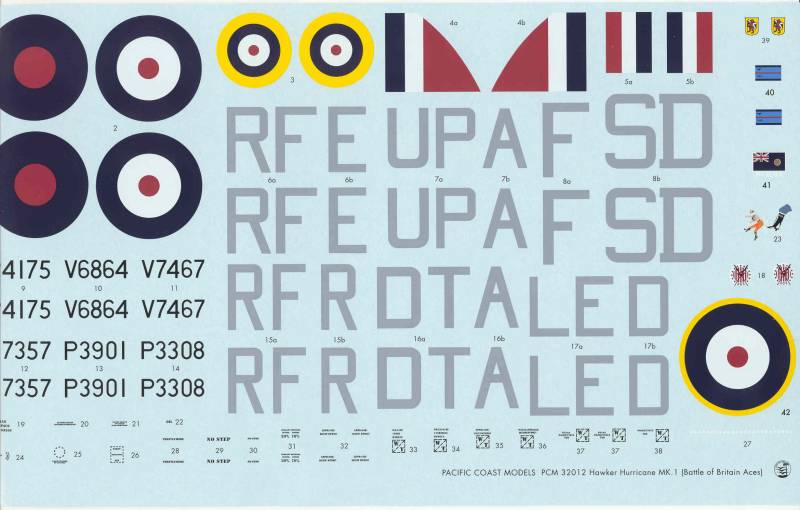
The decal sheet is huge filling almost the entire box. You get national markings, stencils and markings and serial numbers for no less than six aces of the Battle of Britain. The sheet printed by Cartograf is in register and the decals appear quite thin. Note the sheet was larger than my flat bed scanner which is the reason the end of the sheet appears to be cropped. see below.
The instructions are printed on glossy paper and are presented as a five page booklet. There is a brief history and a couple of drawings on the front page showing the completed cockpit and gear bay assembly. The second page has a parts map with parts not used Xed out and color call outs by color name only along with the usual assembly icon chart. The next fur pages are the assembly steps which are divided into 26 steps and appear well detailed and complete. A second smaller sheet printed in color and folded in half creating four pages covers painting an marking instructions. The builder needs to be ware here that the information regarding "A" and "B" painting schemes is incorrect. Check your references or read the build review listed at the end of this review before painting. You have been warned !
After Market Goodies
Really no reason for any unless you want marking other than supplied with the kit.
Conclusions
While this is a very nice kit remember that is a short run style kit and must be treated as such, there are fit issues and I strongly recommend reading the build / review below before building the kit. If you treat it as it should be and follow the advice in the listed review it should build into a very attractive model. Recommended for experienced modelers.
Links to kit build or reviews
A build / review can be found here.
References
Back to the 1/32 Scale British Aircraft page
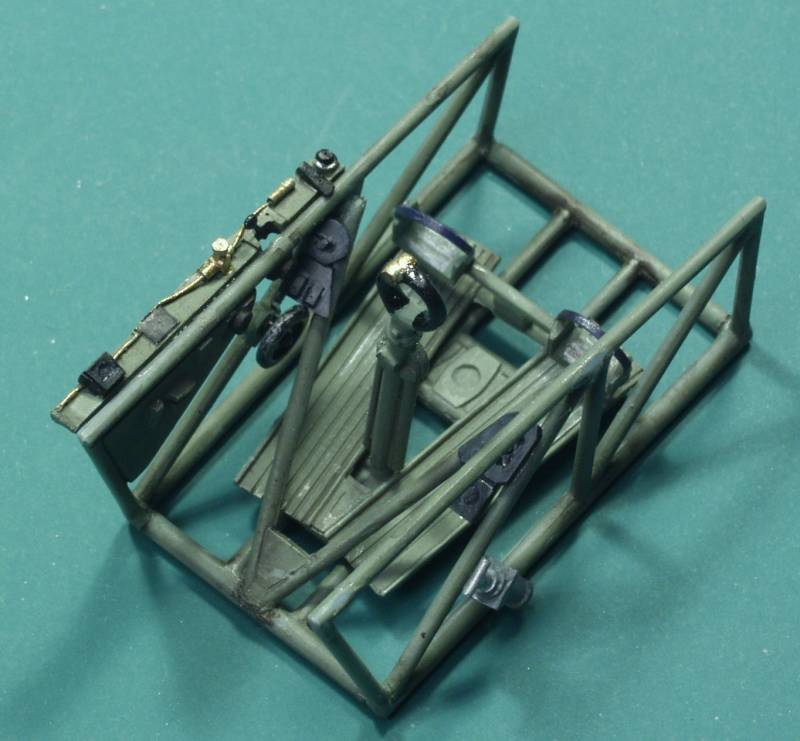
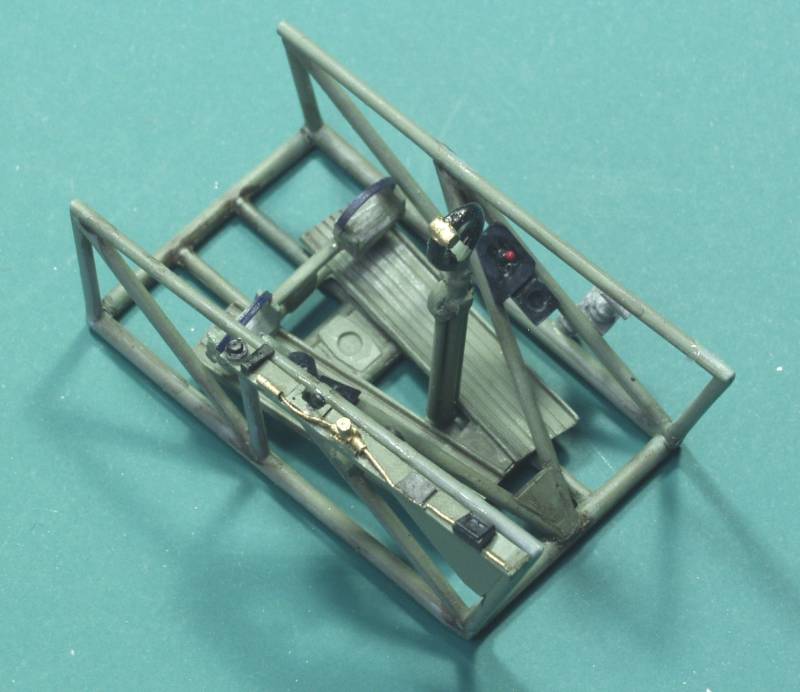
The Build
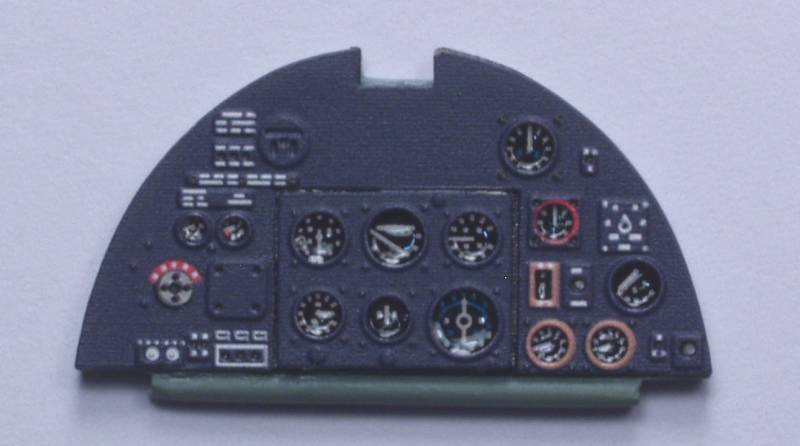
Like most kits things started with the cockpit. The instrument panel was done PE and looked real nice once flat coated and some Future added to the instrument dials.
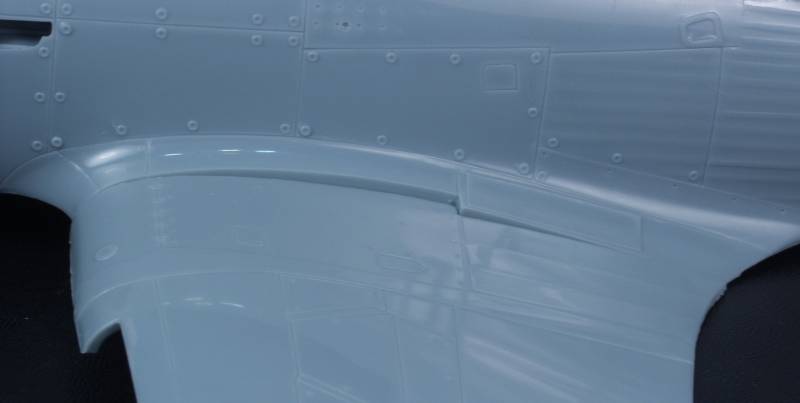

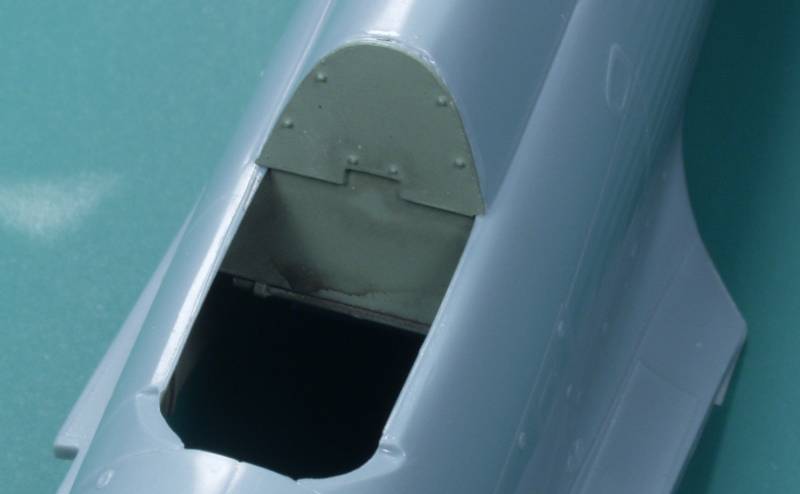

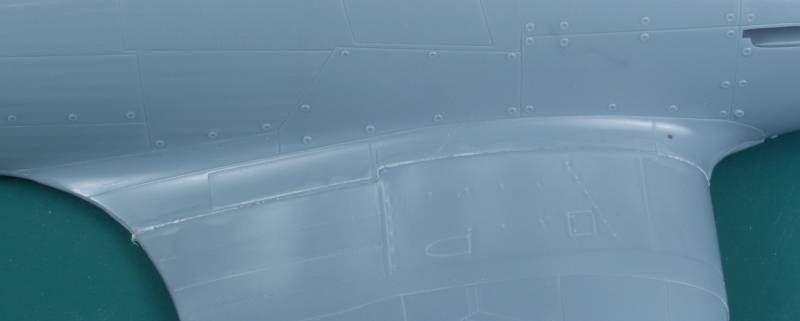
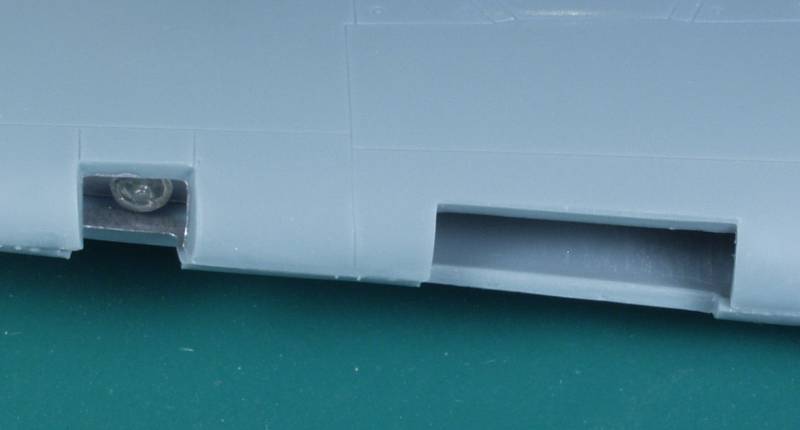
Here you can see the misallignment at the gun locations and landing lights, nothing some cutting, styrene and filler won't fix.
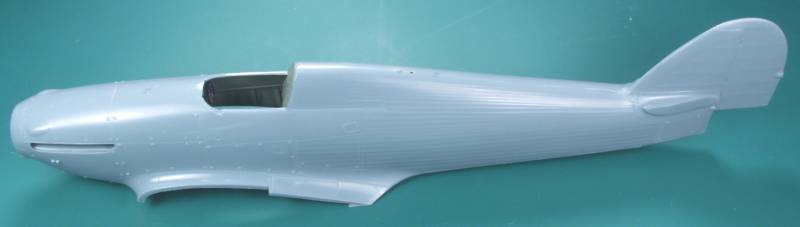
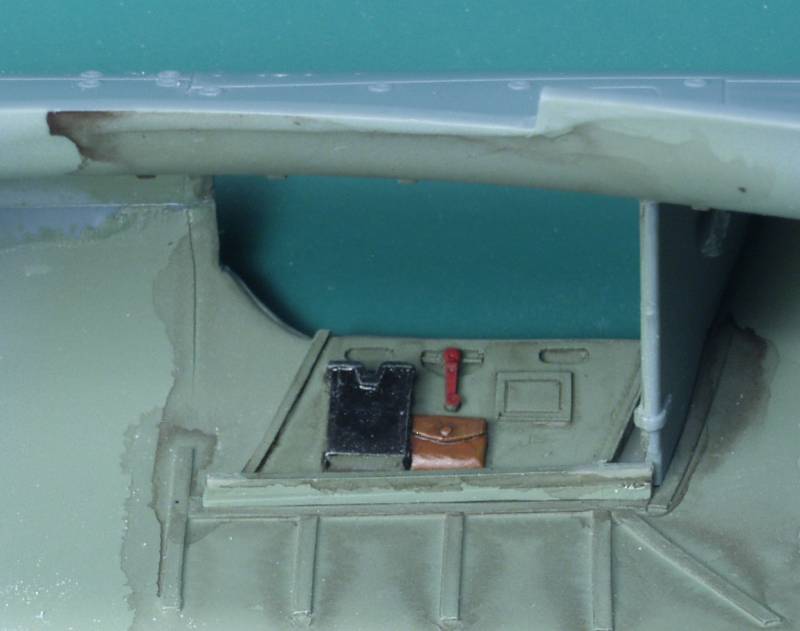
Next view shows it in paint.

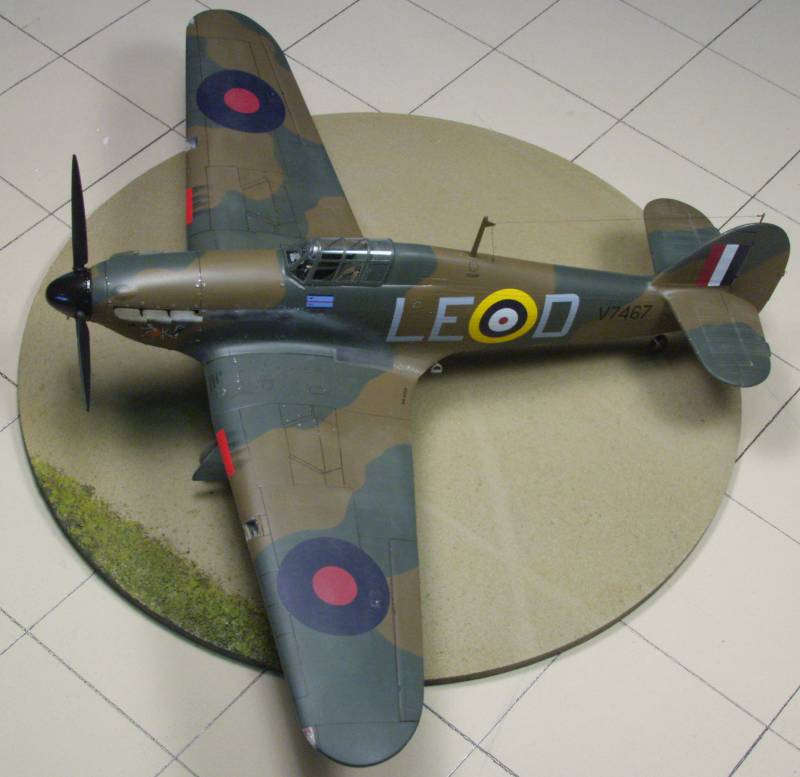
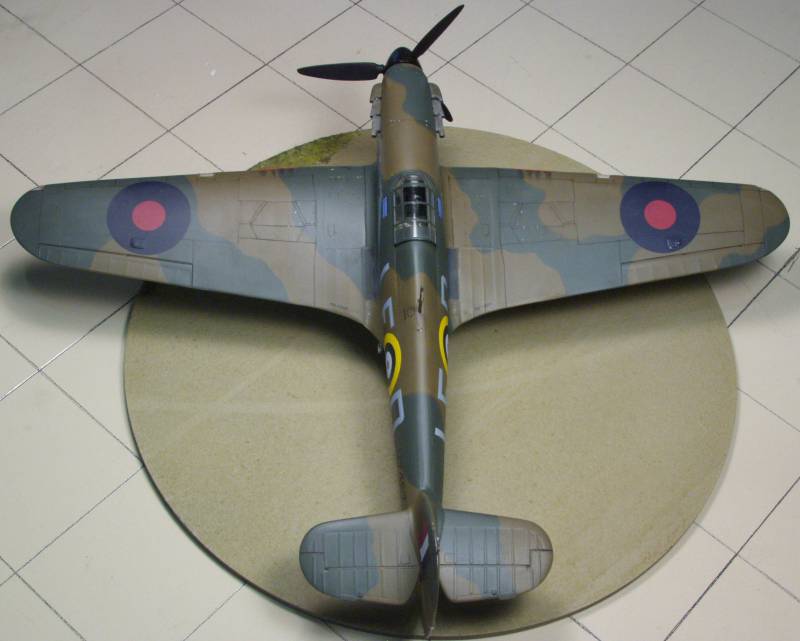
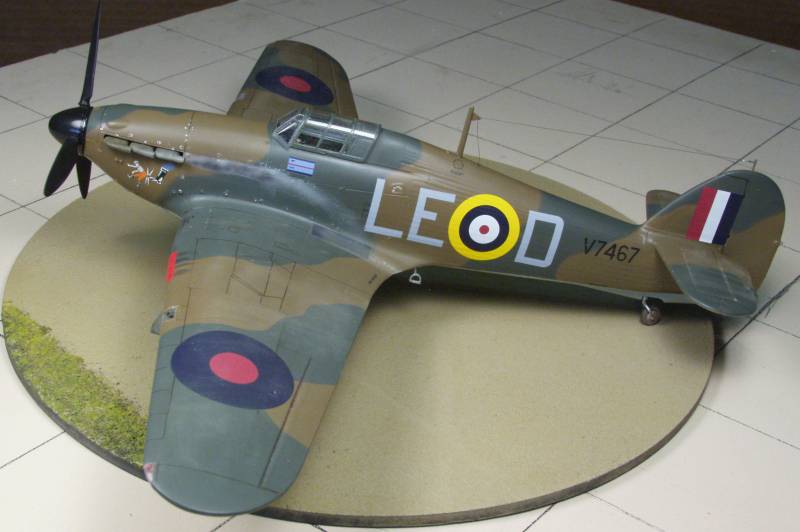
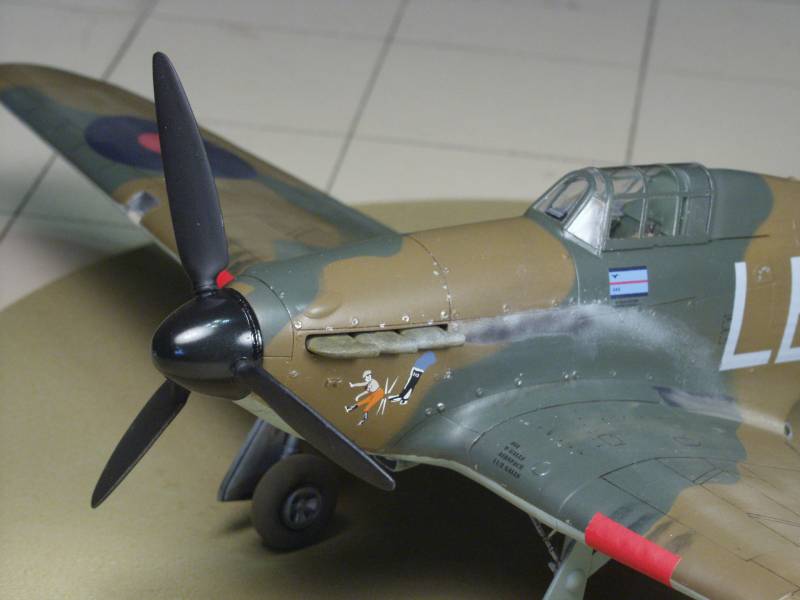
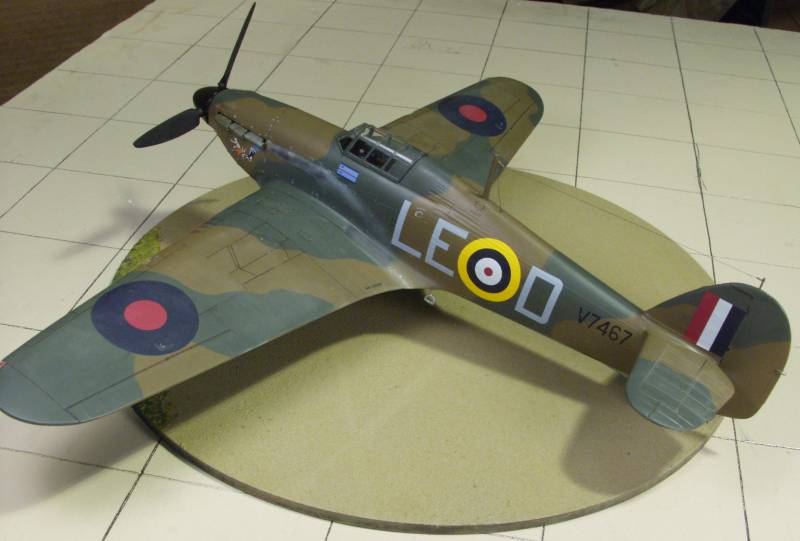
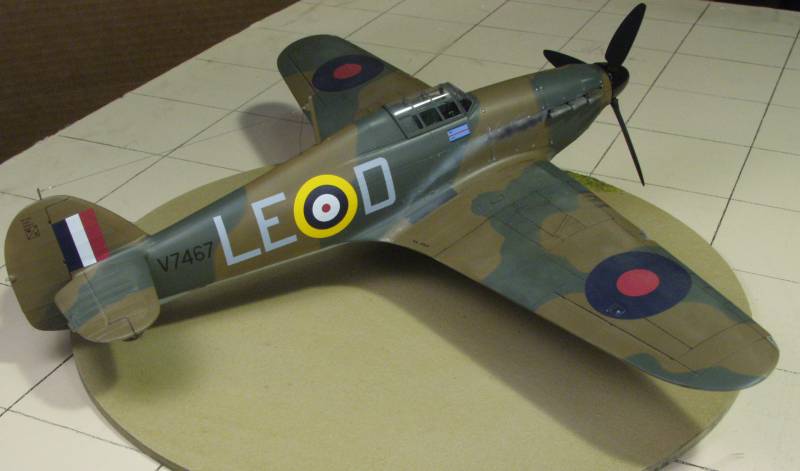
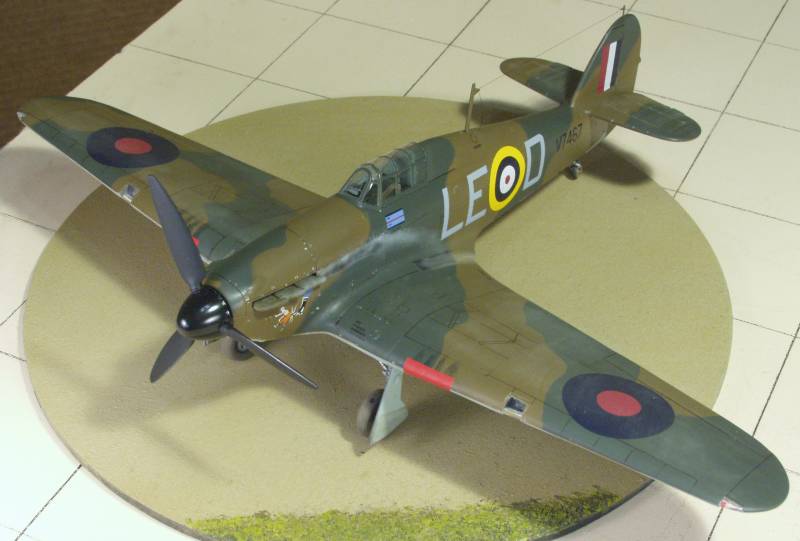
In spite of the issues it builds up into a nice representation of a Hurricane. The build itself was no more difficult than most Special Hobby kits.
Back to the 1/32 Scale British Aircraft page
Updated 3/27/14