
IAR-81C
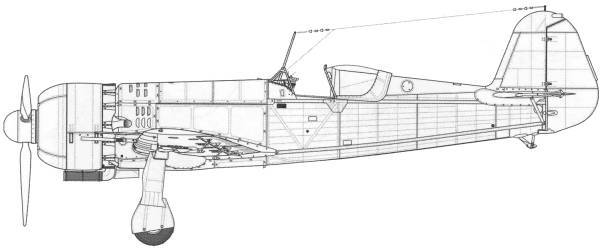
In 1937 IAR undertook the design of a more modern all metal, low wing design featuring a retractable undercarriage. This design was designated the IAR-80 and was to be powered by a German Junkers Jumo engine. It was never delivered and the Jumo was replaced by the IAR 14K-IIc32 fourteen cylinder, double row radial, delivering 870 hp. Its maiden flight took place on April 4, 1939. The design had performance approaching that of contemporary designs such as the Hurricane, P-36, Ms.406 and Bf 109D. Various changes in weapons lead to the IAR-80A, B, and C variants and also the IAR-81C which was designed for the fighter-bomber role during the spring of 1941, although it served in both the air interceptor and ground attack roles. The IAR-81C was the most numerous sub version to be produced. Deliveries started in early 1943. Total production for the IAR-80/81 series totaled 450 units. Production ceased after the American bombing of the Brasov factory on April 16,1944. Fifty IAR-80s were in service during the German invasion of the Soviet Union and several squadrons were in service around the Stalingrad front during the Autumn of 1942. August 1, 1943 saw IAR-80 and 81's defending the Ploeisti oil plants from attack during Operation Tidal Wave and the Romanian fighters downed several of the B-24's. On June 10, 1944 IAR-81C's from the 6th fighter group confronted P-38's belonging to the USAAF 82nd and 1st Fighter Groups. During the period that the aircraft saw combat, a little over three years, pilots flying the IAR-80/81 claimed an estimated 539 confirmed and 90 unconfirmed victories in the air and 168 confirmed victories against aircraft on the ground. 274 IAR-80/81 were lost during this time frame to combat, anti-aircraft fire and accidents.
The Kit
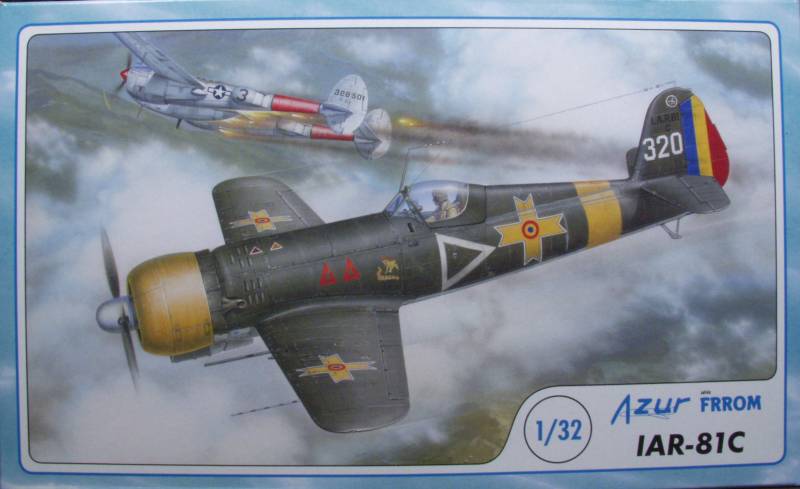
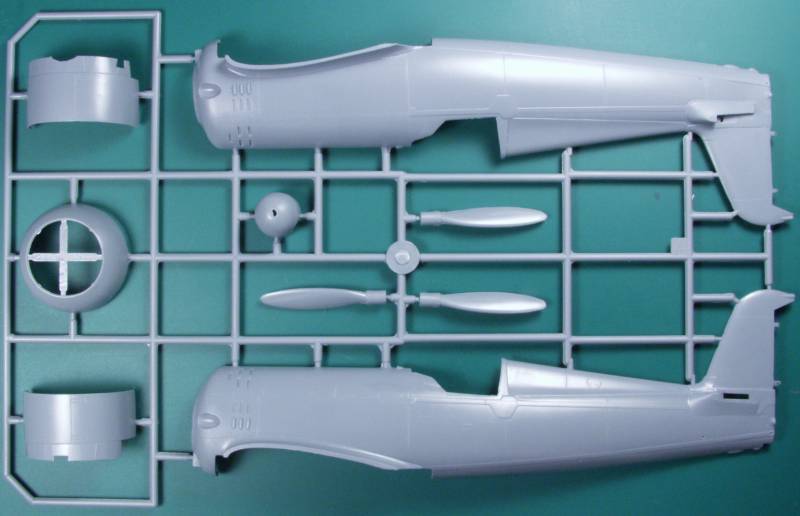
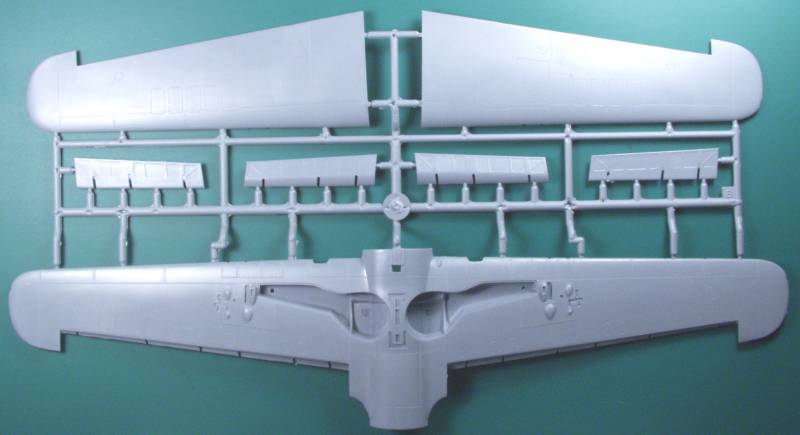
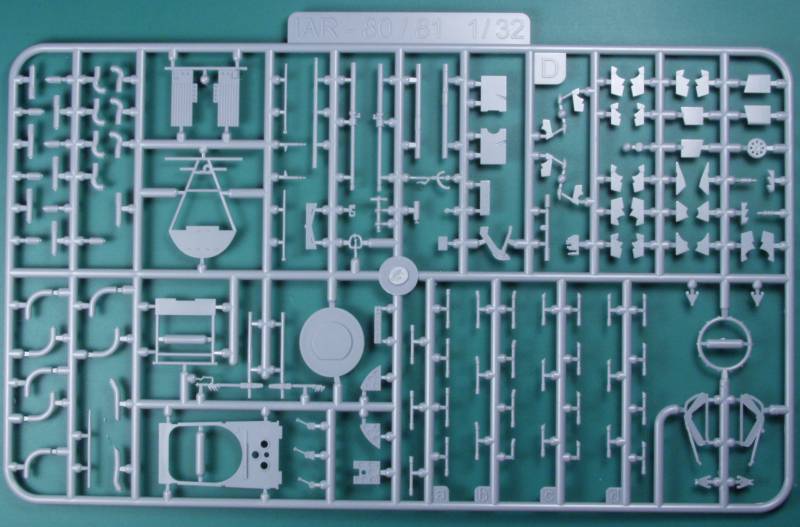
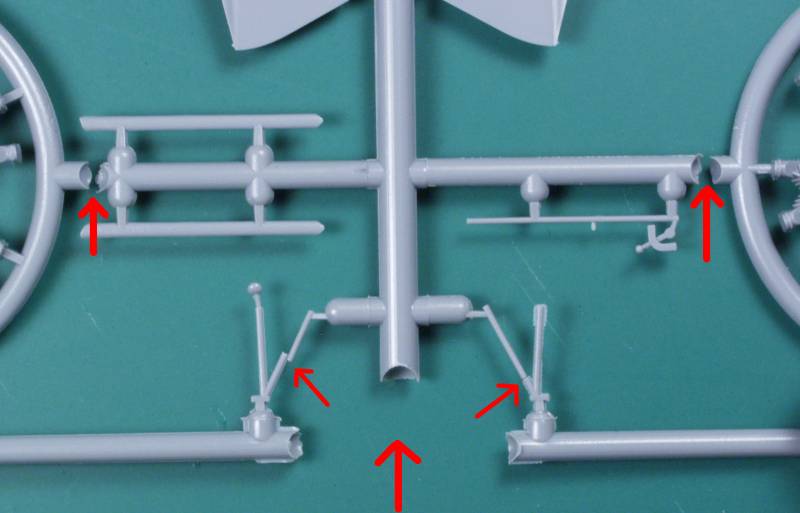
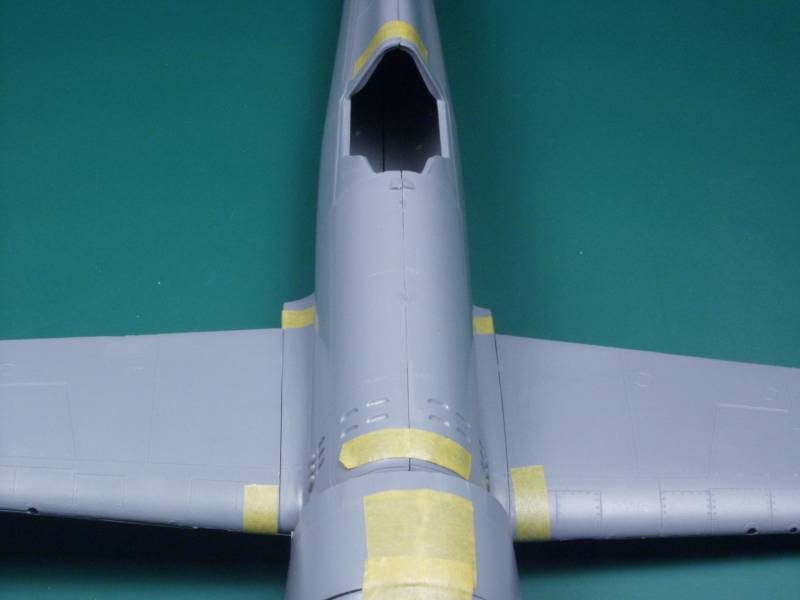
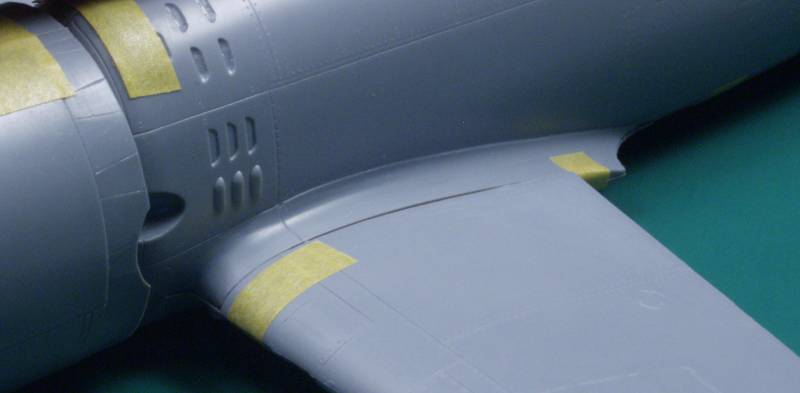
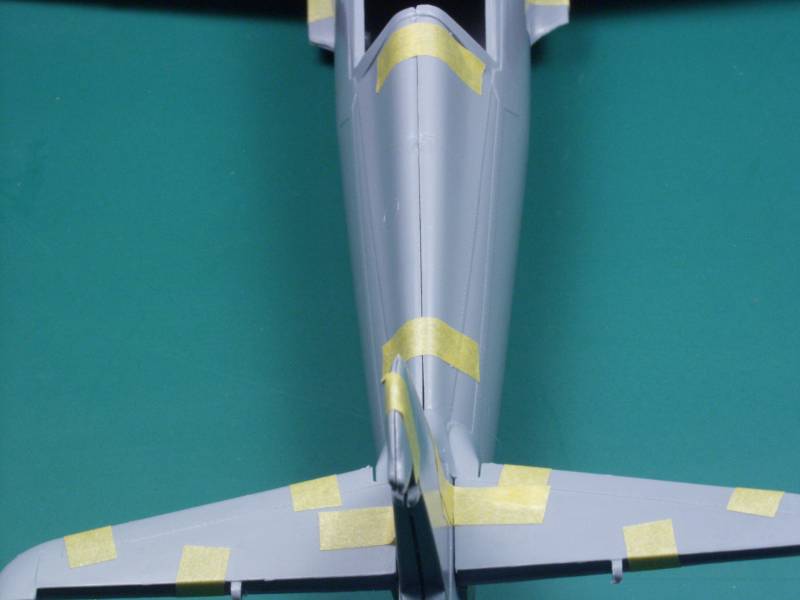
The Azur kit comes in a tray type top opening box with some rather nice artwork on the top. The box has a corrugated bottom so is nice a sturdy. Inside the box is one large resealable bag containing all of the parts. The clear parts and resin parts are contained in individual resealable bags inside the larger bag. Although there is room in the box for the parts to move around, mine made the trip from Europe in fine shape except for the seat coming loose from sprue and two damaged parts which will be noted later. Nothing of any major consequence. The kit is presented on five sprues molded in a light gray color. The kit is molded by MPM that also does Special Hobby and kits under their own label. That being said, at least in the box anyway, the kit looks better than most Special Hobby kits. There is a light amount of flash here and there and some mold parting lines that will need to be dealt with common with most limited run type kits. One thing that I was most impressed with was the fineness of the surface features. The panel lines are recessed as are the rivet and fastener detail and these come very close to matching the quality seen on higher end kits. There are a lot of ejector pin towers, and some will need to remove to insure good parts fit. Also like most limited run kits the sprue attachment points are heavy in places requiring care when removing parts and like most kits of this type there are no alignment pins.
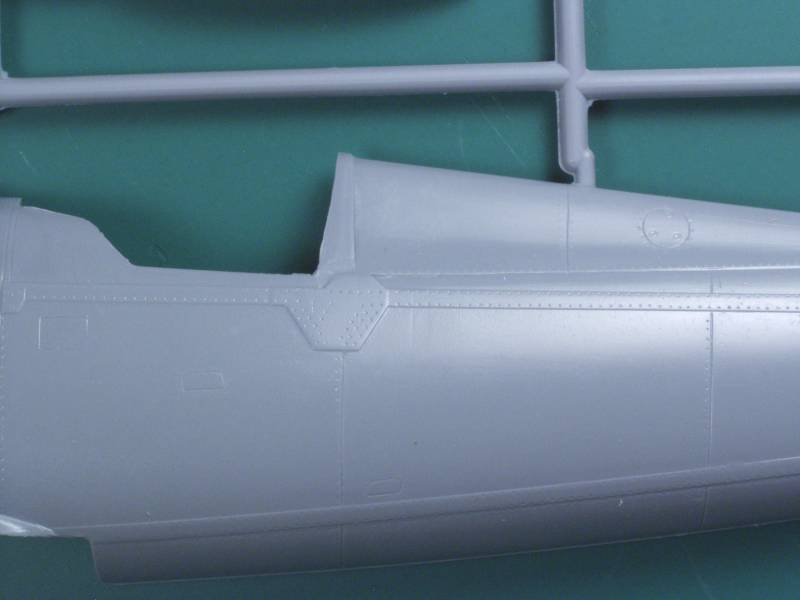
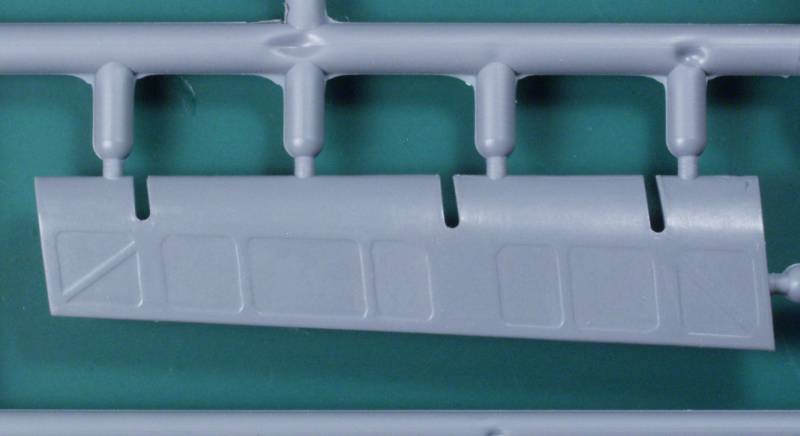
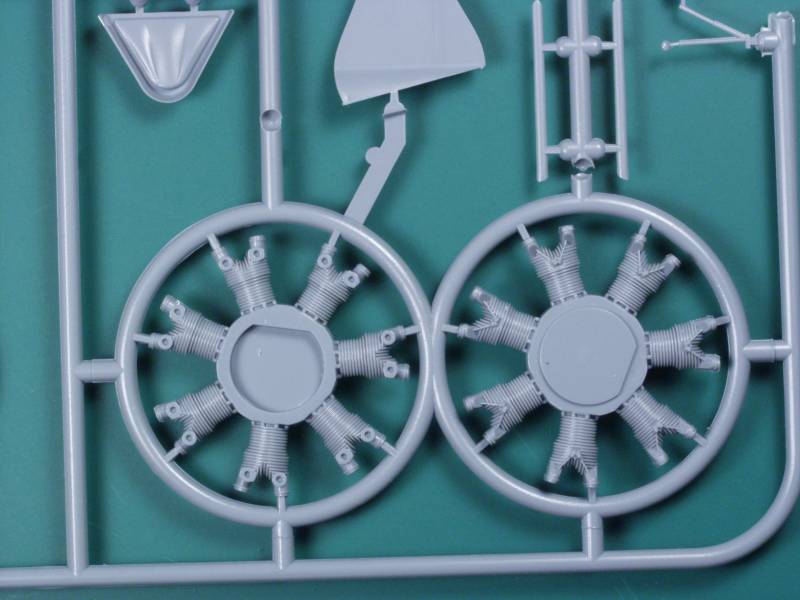
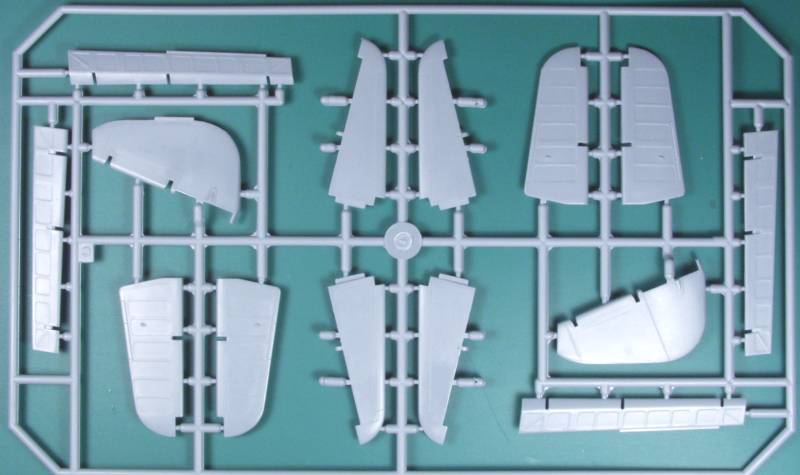
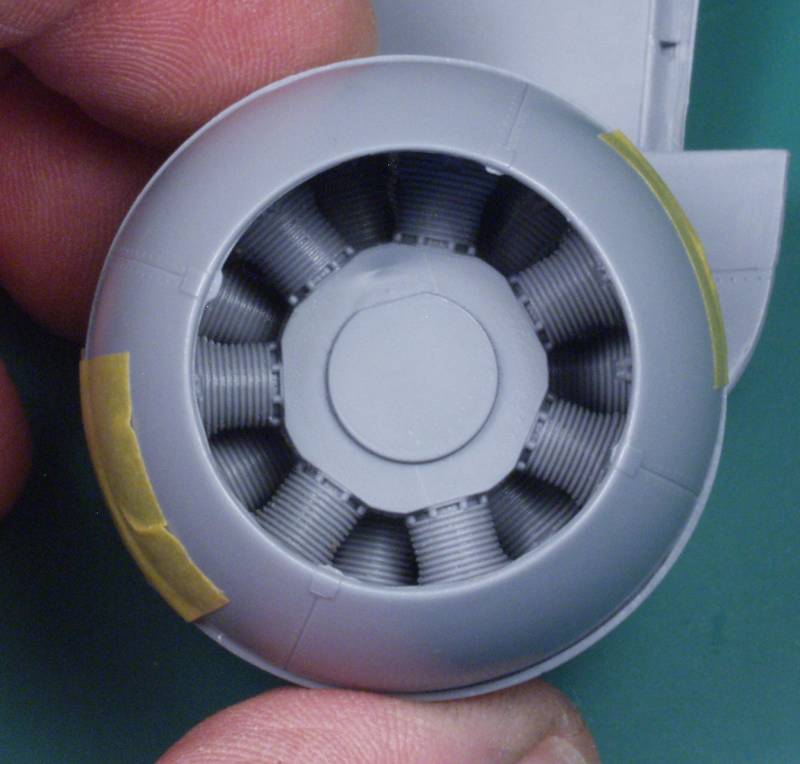
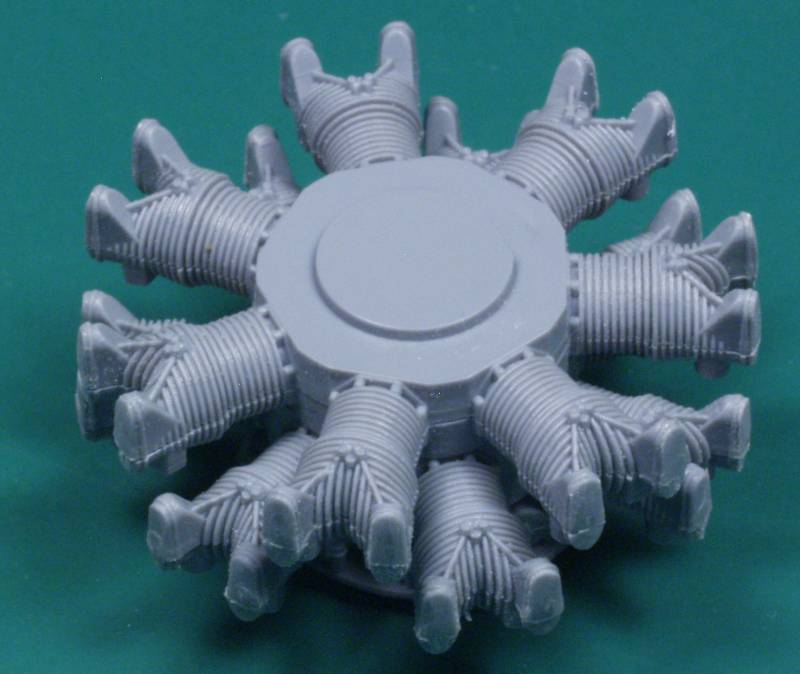
The surface of the parts is reasonably smooth and should look OK under a coat of paint. The only surface defects I could find was was a spot on one of the upper wings that looked like a bad spot on the molds. This was raised and should sand off without any trouble. The control surfaces are all separate. The underlying structure on the fabric areas seems a bit overstated to me but may look OK under a coat of paint. The engine is quite well detailed but unless you plan on cutting the cowling open, most of it won't be seen. The engine has both banks of cylinders, push rods and all of the intake and exhaust plumbing of which with the cowling on you will only see the ends of the exhaust stacks. An ignition harness ring is supplied but it will be up to the builder to supply the wires if desired. The propeller has individual blades which are keyed for positive location.
The cockpit is well enough appointed to suit most. The fuselage walls have some detail molded in and more gets added. The cockpit is then a framework that is assembled and installed between the two fuselage halves. A PE fret supplies belts and harnesses but you will need to paint them. The instrument panel is made up of three separate pieces and only has recesses for the instruments. Instrument faces are provided on the decal sheet. Whether these can be installed as a single decal or if they need to be done separately will remain to be seen.
The landing gear wheels are not weighted and the aircraft has a tail skid so there is no tail wheel. The wings are three piece with a one piece lower wing and separate upper wings. The gun ejector ports are not open, just recesses. There is only a minimal amount of detail in the gear bays but that may be prototype. OK, lets look at the sprues...
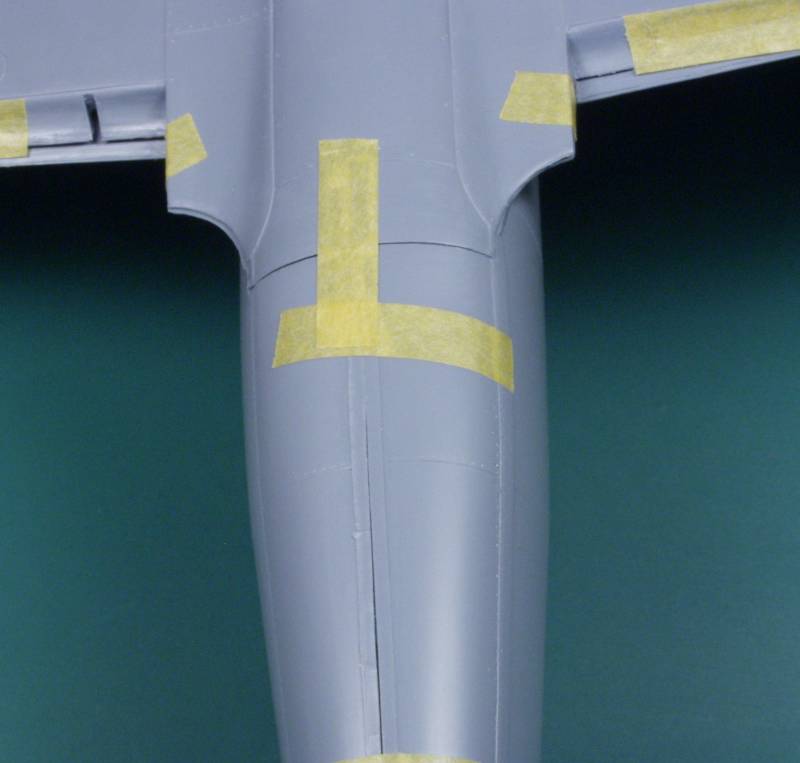
This close up of the fuselage gives an idea of the nice surface detail.
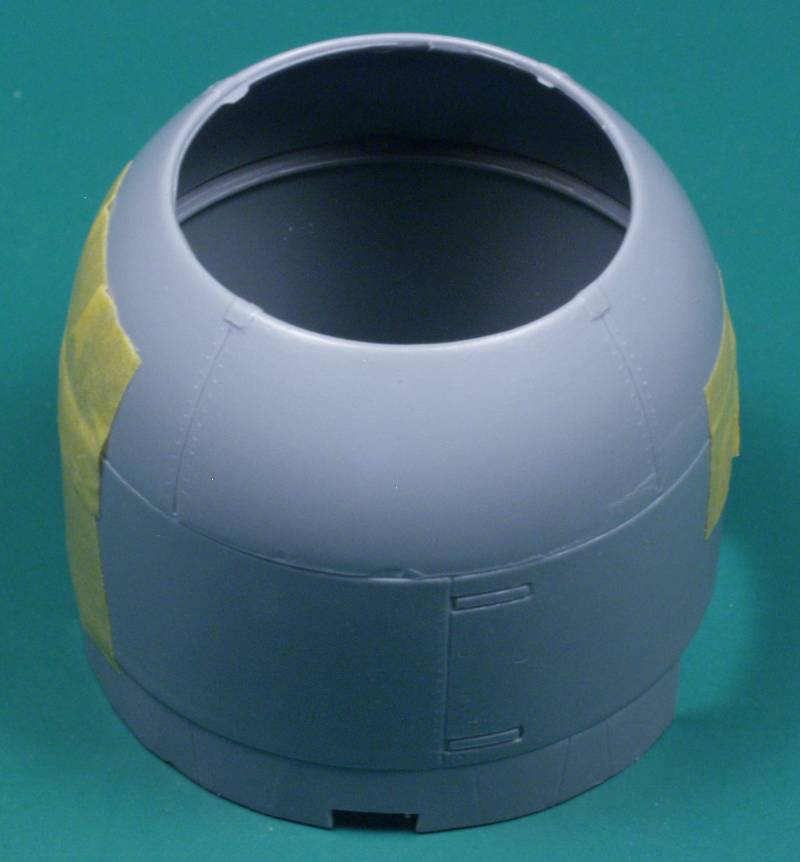
The landing gear bays and bottom surface detail.

A close up of the detail on the fabric surfaces.
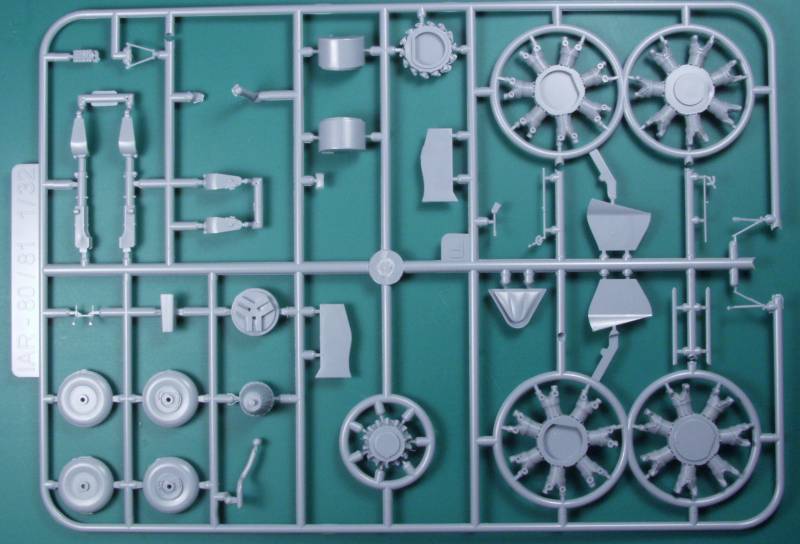
A close up of the engine cylinders.
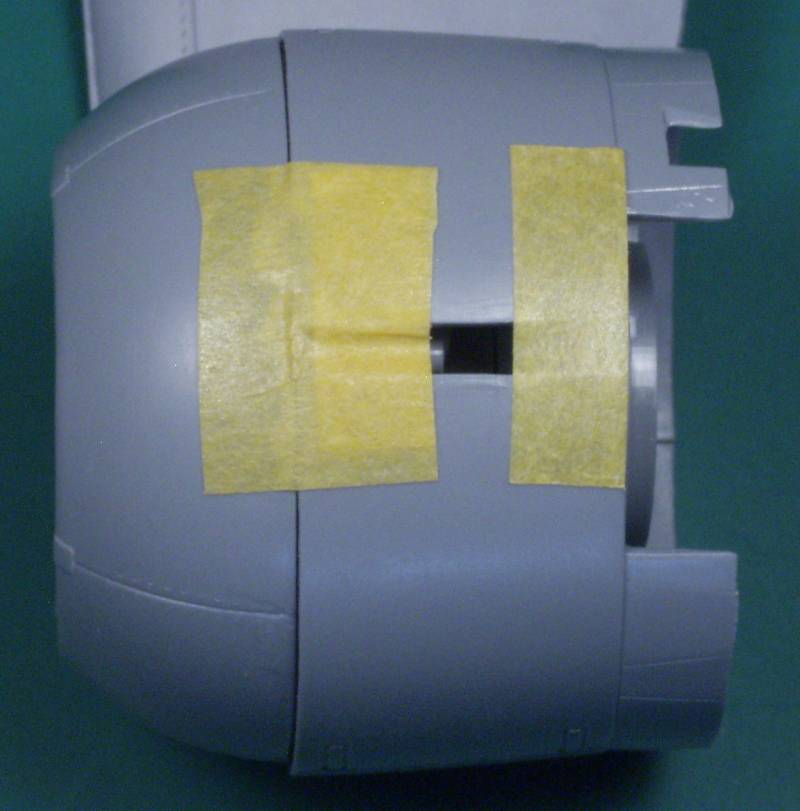
Fuselage side wall detail, ejector pins marks should not show on completed model.

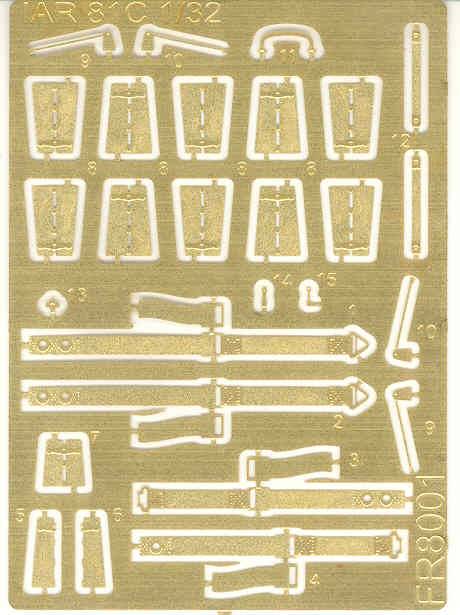
The PE fret with belts, harness, some actuators and other bits and bobs.
The clear parts are reasonably thin and clear although as you can see in the photo there is a bit of optical distortion at the bend near the upper part of the canopy. One of the two gun sight reflectors was broken off the sprue, the other two small parts are navigation light lenses for the wing tips.
![]()
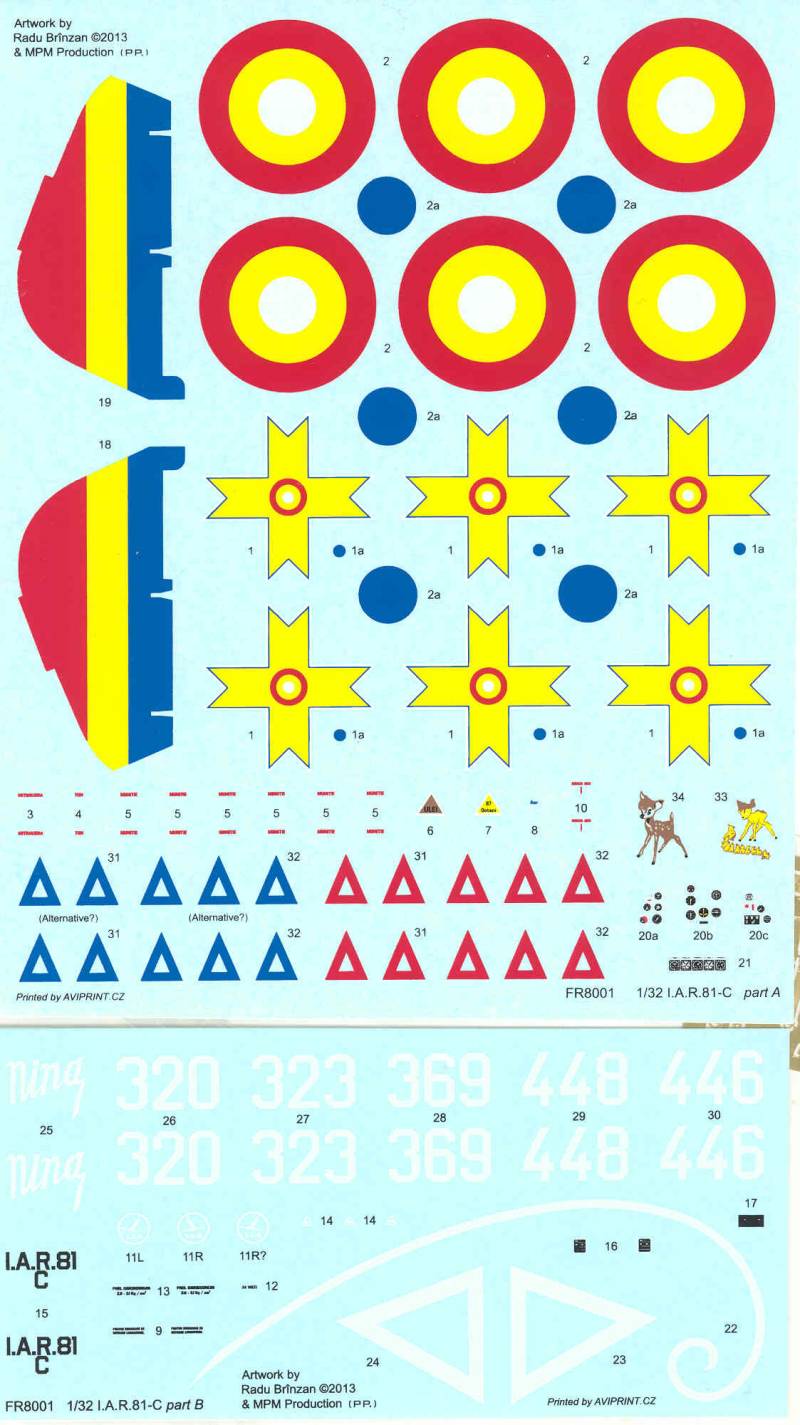
The decals are done by AVIPRINT, and are presented on two sheets. They are in their own sealed bag along with the PE parts. They appear thin and have a glossy finish but the white outlines on the crosses were slightly out of register on my set. The blue dots for the center of the crosses and roundels must be installed separately, not one of my favorite ways of doing it but at least you only have yourself to blame if it isn't centered. It's difficult to tell just by looking at the sheet but the yellow doesn't look all that opaque. Also the yellow may be off a bit color wise, more on that later. The decal sheet provides markings for five aircraft and includes some stenciling and alternate colors for the triangles as there seems to be some disagreement as to their actual color.
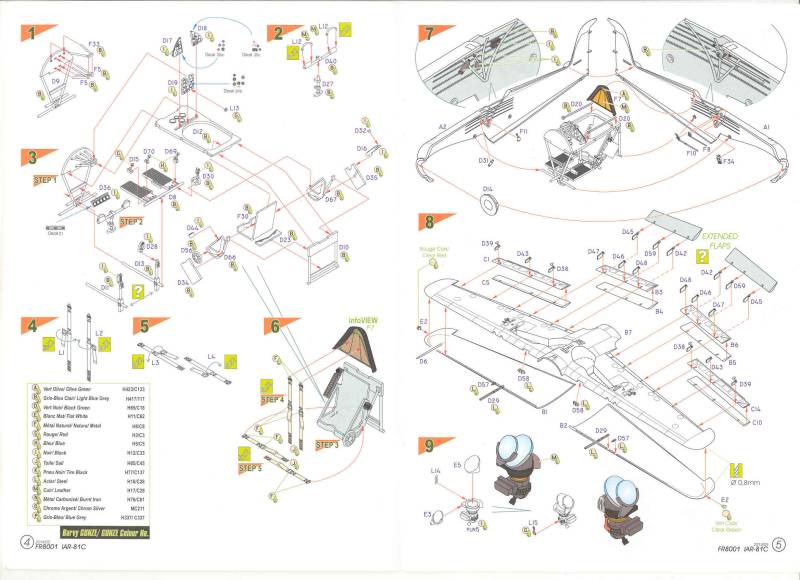
The instructions are printed on glossy paper in the form of a small stapled booklet 16 pages long. The booklet uses color throughout to highlight step numbers, paint call outs and has full color profiles of the aircraft supplied on the decal sheet. The instructions also provide a brief history, a symbol chart, parts map, seven pages of assembly instructions broken down into 24 steps and painting and marking diagrams. The instructions include what they call info views that help clarify things that are not as easily seen in the overall assembly view. Color call outs are Gunze and generic color names. All and all a quite well done set of instructions. Shown below is an excerpt from the instructions which gives you an idea of how they are done and the level of cockpit detail.
After Market Goodies
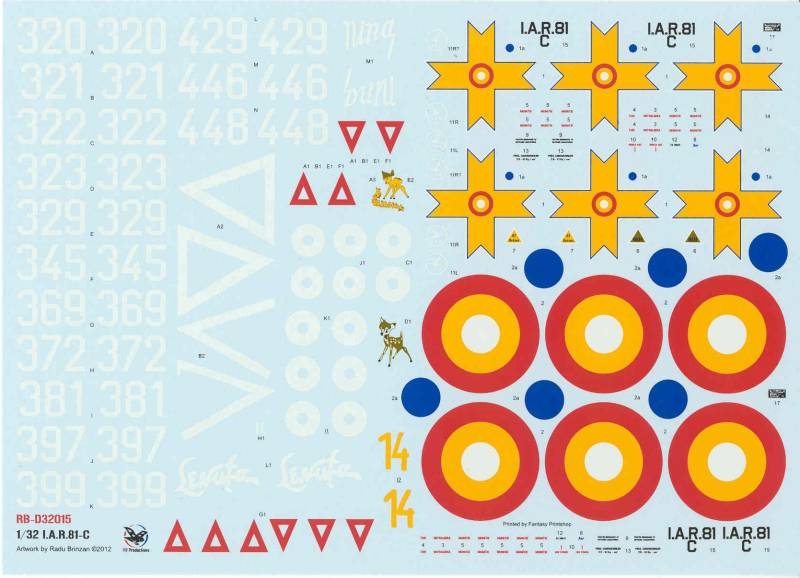
Prior to the kit release Radu Brinzan released a set of decal for the kit available through his website RB Productions, some of which are duplicated in the kit decals. These are printed by Fantasy Printshop and appear to be most excellent. The registration is spot on, you still need to put the blue spots on separately but the colors look more opaque and if you compare the yellow looks to be a darker color. I'm not going to get into a debate on which is right but I'm going with the after market set simply because they look better.
If you need a good reference book to go with your kit Radu has you covered on that as well, no, I'm not getting a commission from him ! His book "The IAR 80 & IAR 81 Airframe, Systems & Equipment, published by SAM Publications as part of their Aviation Guide series is a most excellent work and is loaded with drawings, photos and information on the IAR 80/81 series. It covers the differences between all of the sub variants as well.
So how do all of these nice looking parts fit ? Well, in a dry fit here's what I found. Most of the parts fit about as good as it gets for most limited run kits and a bit better than most Special Hobby kits as a benchmark. I did not do more than some minimal trimming to remove sprue attachment points. Like many limited run kits a quick pass on a sheet of sandpaper attached to a flat surface will improve edge to edge contact. The fuselage fit well but a progressive gluing checking occasionly to avoid steps between the halves is recommended. The wing to fuselage join, quite often an issue with Special Hobby kits, seems very good on this kit and should be even better when glued.
The engine assembly below, just the basic pieces, dry fitted together. Not bad but one must pay attention to the instructions as the engine front halves and back halves are interchangeable fit wise but if assembled wrong the cylinders will not be offset properly. Also unless you are planning to cut the cowling open I would save myself from grief and leave all of the intake and exhaust plumbing off. These parts all butt mount and if assembled in the order shown on the instructions would only lead to maximum frustration and only a hint of it will be visible under the back edge of the cowling. All of the push rods for both rows of cylinders mount to the front and those will be seen.
After Market Goodies
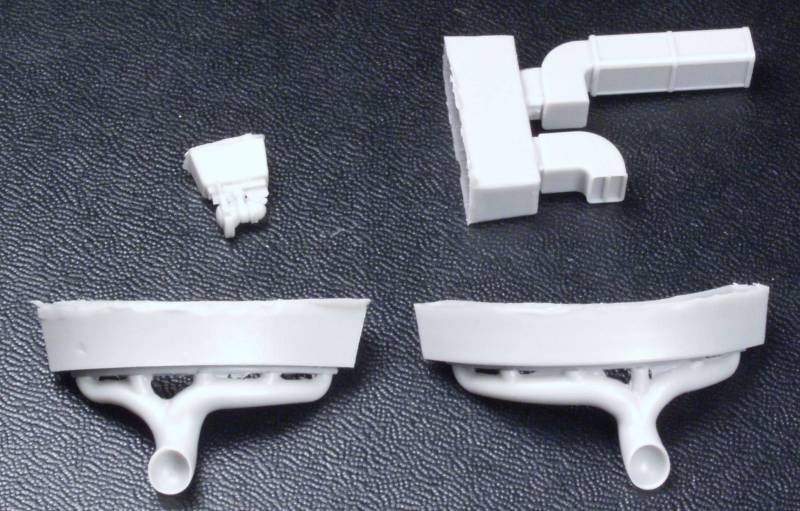
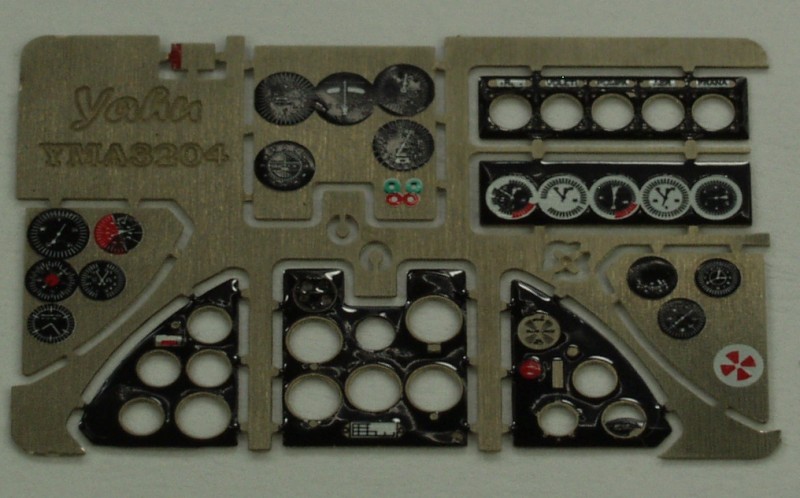
Not a lot needed for this kit but the Yahu instrument panels are so nice and more three dimensional than the typical ones supplied by Eduard that I couldn't resist. This one requires a bit more assembly than most but well worth the effort.
Conclusions
This kit has been on my want list ever since it was announced and though delayed several times it is well worth the wait. While it may be a limited run kit it certainly raises the bar in my opinion at least as far as surface detail goes and should present no problems to those who have built a Special Hobby kit or two. Test fitting shows that some areas will need some filler. The wing to fuselage join which is almost always problematic with Special Hobby kits seems much better on this kit but you'll need to do plenty of dry fitting and most of the fuselage and wing joints will be best done as a progressive glue job to get the best fit. The engine assembly, especially the rear portion will be fiddly at best and following the instruction's method will most likely lead to a lot of frustration. Add to this that it won't be seen with the cowling closed up leads me to believe it's best just not done. Also the engines cylinder rocker heads will need to be reduced in size in order for the cowling to fit. It's a nicely detailed kit right out of the box with little else needed to build a nice looking model and I would only recommend getting the RB Production decals for an after market item. Recommended to those who can handle limited run style kits.
Links to kit build or reviews
An informative
review/build can be found here, and one with some interesting history
here.
References
I.A.R. 80 & I.A.R. 81 Airframe, Systems & Equipment by Radu Brinzan
Back to the 1/32 Scale German
page