
Mitsubishi
Ki-46 III 'Dinah'
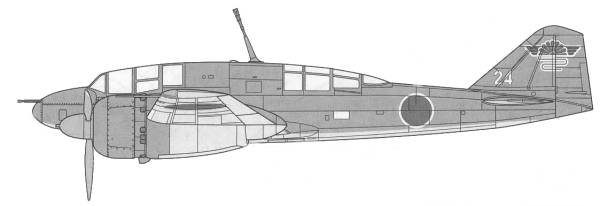
The
Ki-46 III Kai air defense fighter was developed from the
highly
successful high altitude reconnaissance aircraft that was
given the
code name "Dinah" by the Allies. This occurred when
China based B-29's began operating
at high altitude over Japan.
To convert the recon version into a fighter required removing
the nose
mounted fuel tank and installing two 20 mm cannons in the nose
and
converting the cockpit to a stepped glazing. In July of 1944
the Army
added a 37 mm cannon in the space previously occupied by the
upper mid
fuel tank. This cannon fired forward and and upward at an
angle of
70º. Although flown primarily by reconnaissance pilots with
little
dog fighting training they were none the less successful
against the
B-29's.
The Kit
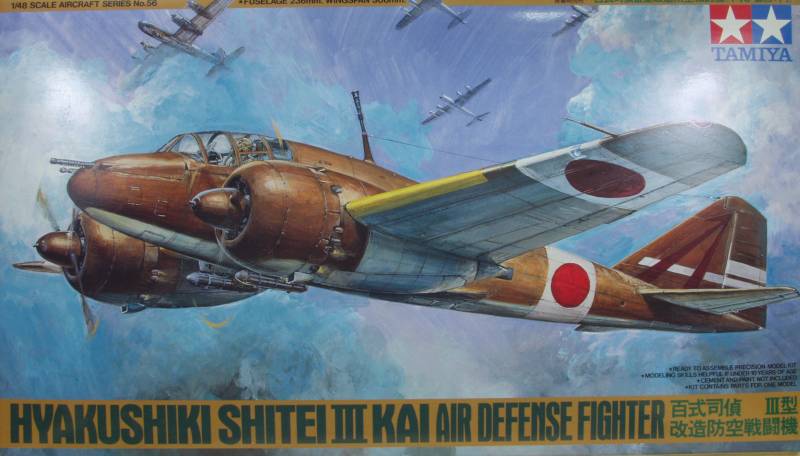
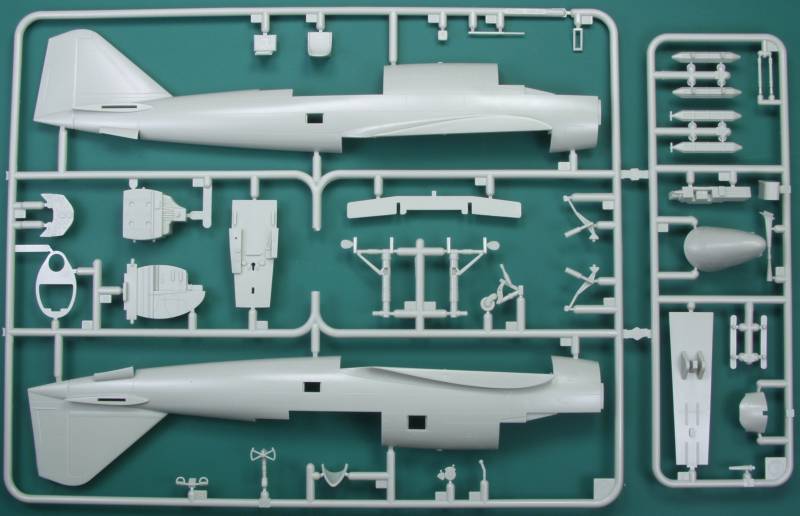
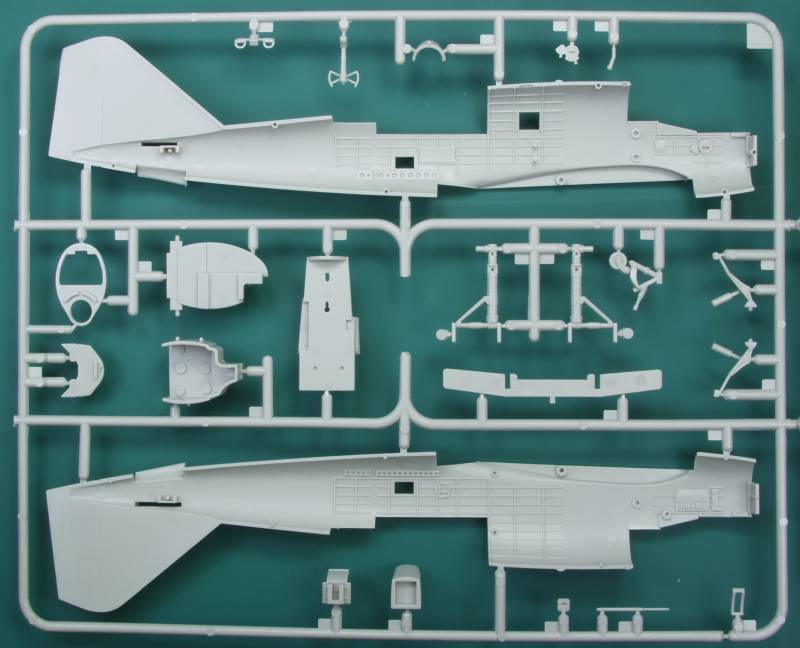
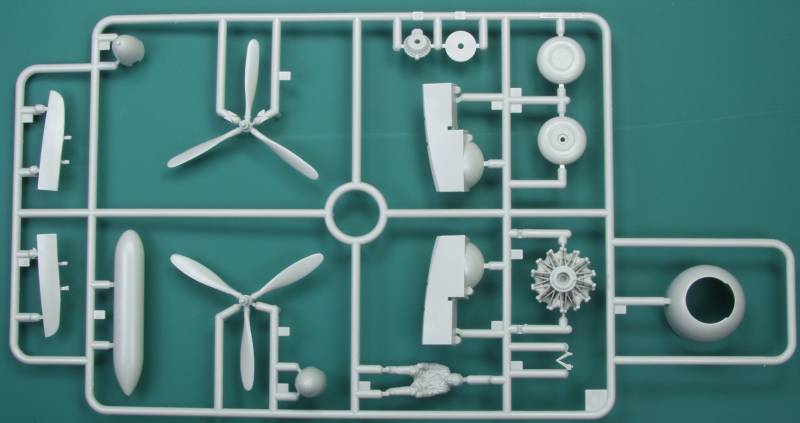
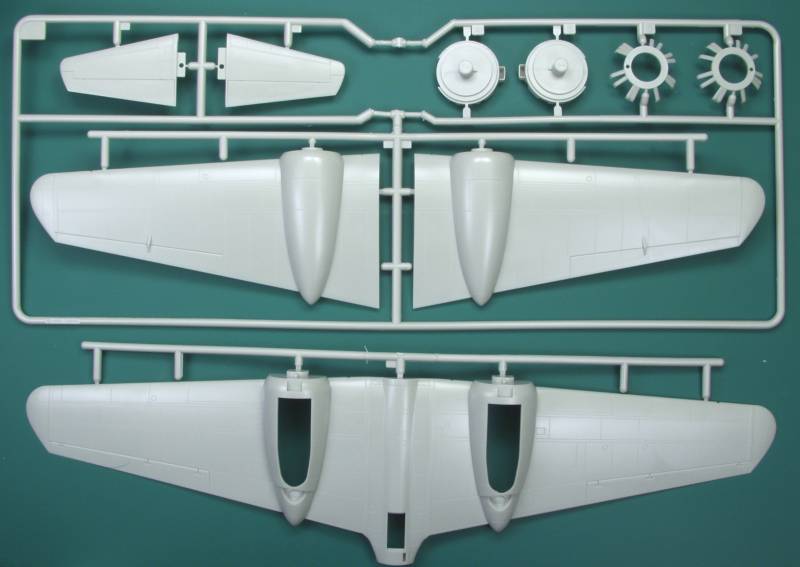
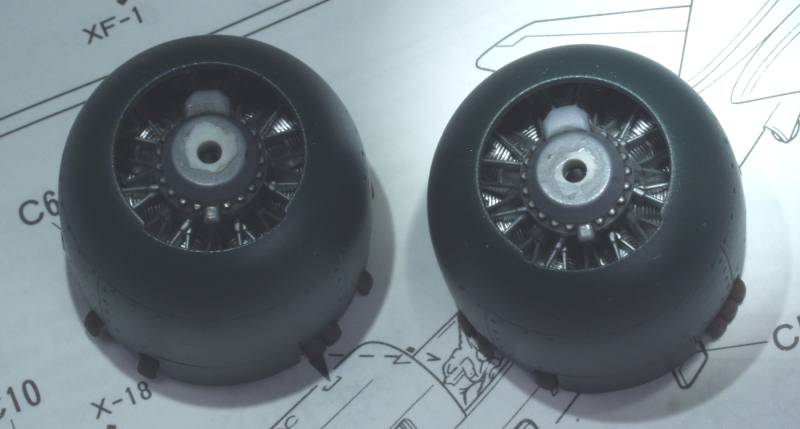
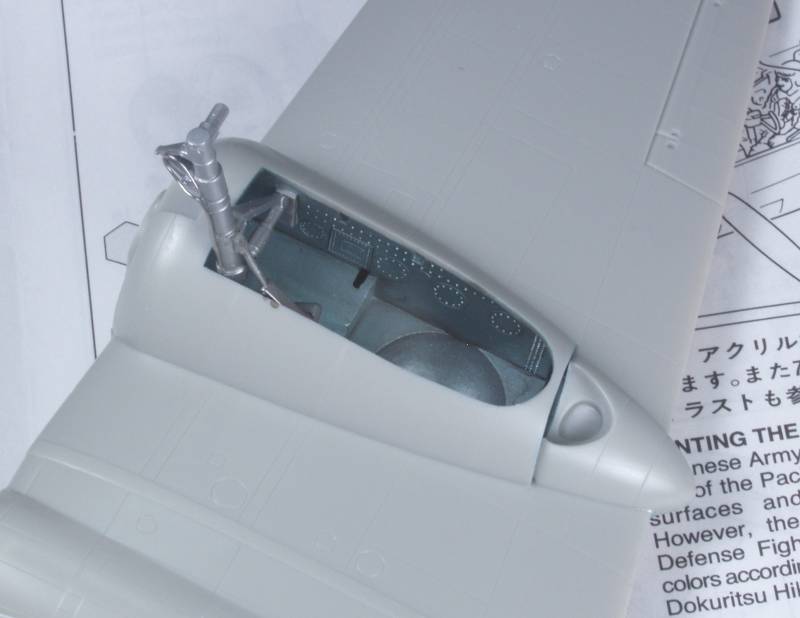
The Tamiya Ki-46 comes it a top open two part box with nice artwork on the top. Inside the box there are four plastic bags. All bags contain one sprue except for one which has two identical sprues. One bag contains the clear parts. The parts are molded in a light gray plastic and feature recessed panel and fastener detail. The control surfaces are fixed and the fabric on them is very nicely done. Looking over the main air frame surfaces the only defects I found were some very slight sink marks on the fuselage in the cockpit area where detail is heavy on the inside. These are so light I probably wouldn't try to fix them as they look very much like "oil canning". There is only the very slightest amount of flash on any of the parts. I did find some ejector pin marks, the most obvious were in the usual place inside the gear doors, there are also some in the main gear bays and on the bomb racks. The racks will be covered if you use the bombs and the others are light enough in my opinion to ignore unless you are just anal about such things. I always consider them as representing lightning holes. Although they are one piece castings the engines show a nice level of detail. The interior has a moderate level of detail that should be adequate for most. There are two crew figures included, both identical but are nicely done. All together there are 78 parts molded in gray. See photos below, note that the kit has two of the sprues with the propellers on it and the sprue with the fuselage halves has been show twice to illustrate the interior detail.
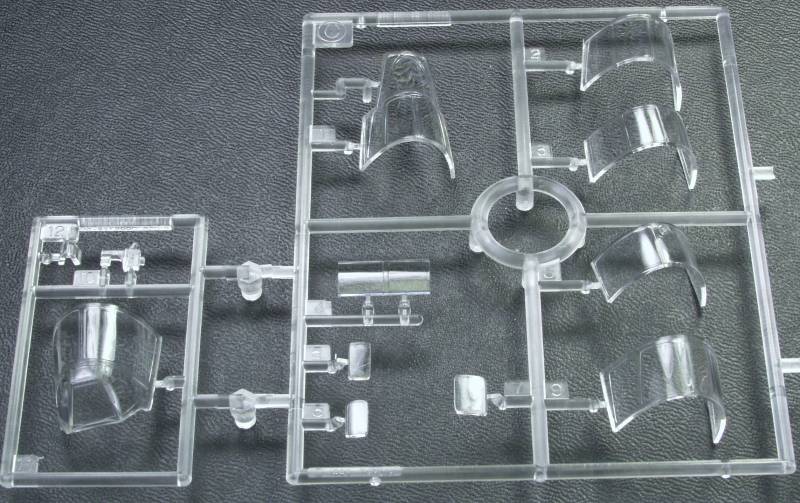
The clear parts are reasonably thin and clear although even being bagged separately on piece still had some marks on it. I'm hoping that a little buffing and some Future will take care of the issue. The canopy is made to allow both the pilot and gunners canopy can be posed open. There are a total of 12 clear parts. Se photo below.
The decals provide markings for three aircraft in two different finishes. The decals look thin for Tamiya decals but the instrument panel decal and the large meatballs with white surrounds are badly out of register. See photo below.

After Market Goodies
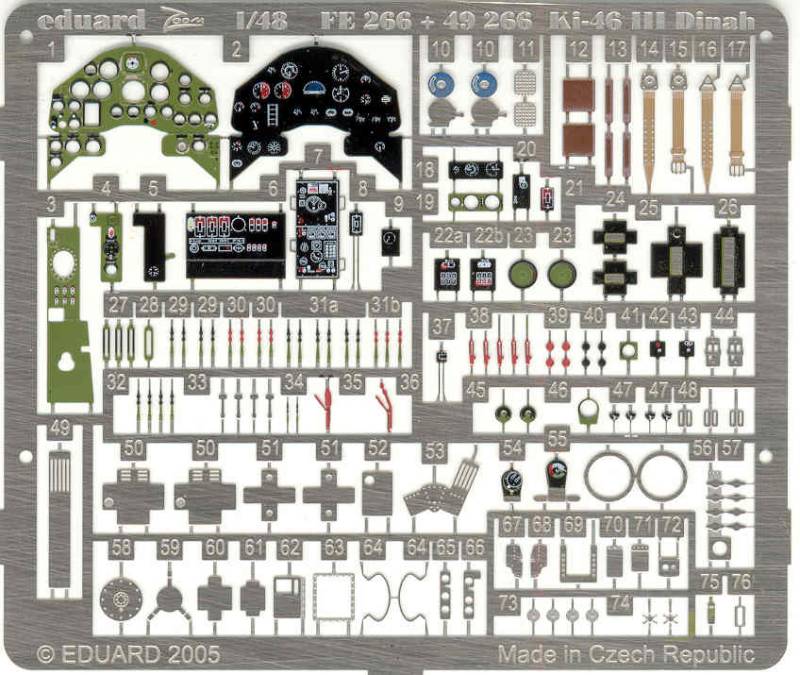
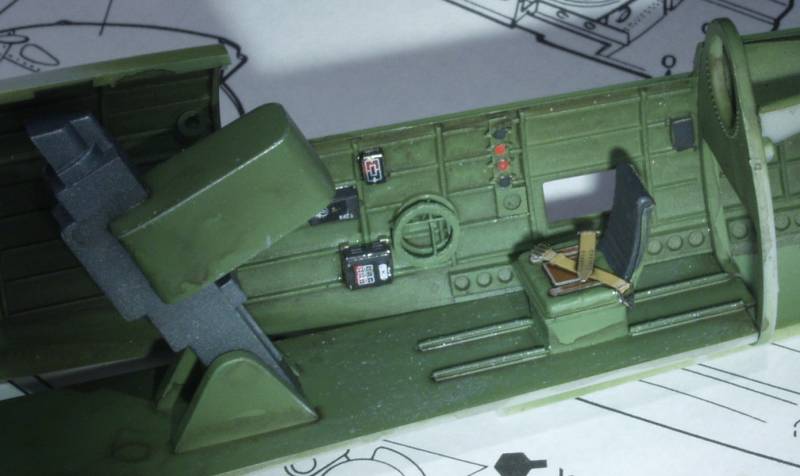
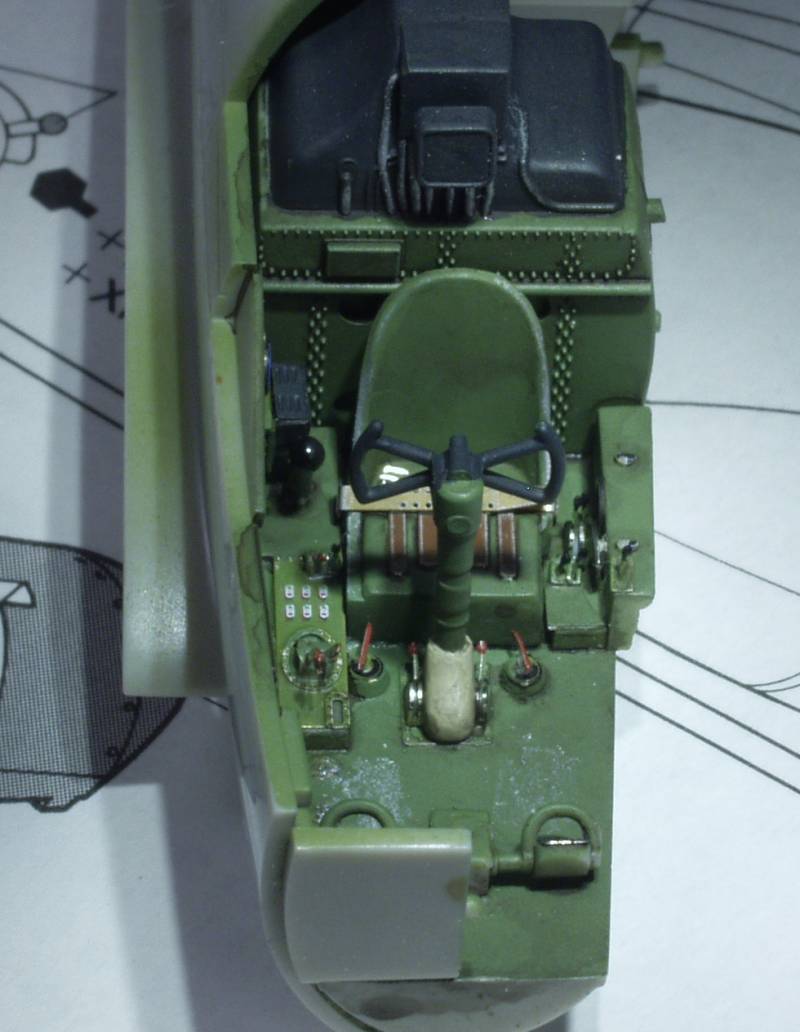
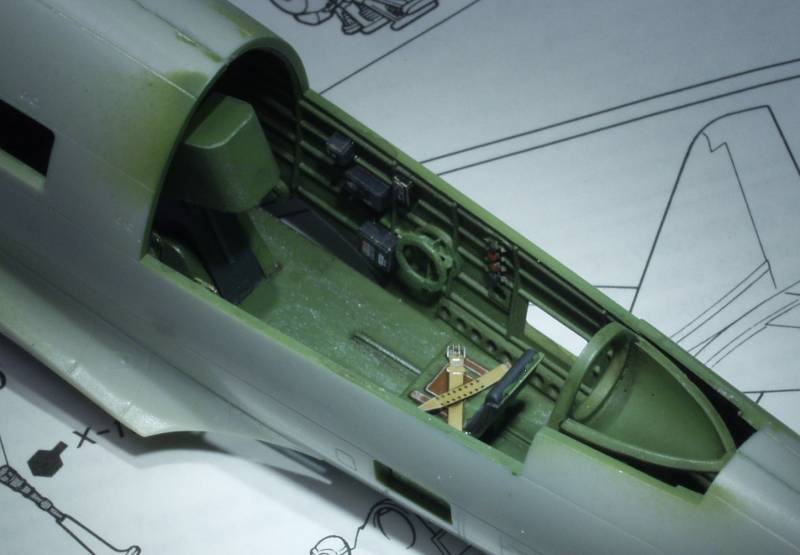
I plan to use the Eduard Zoom cockpit set [FE 266]to enhance the front office a bit. It has a color instrument panel and other black boxes, items that I always have a tough time pulling off and lots of levers, knobs and other tiny bits to test my vision and hand eye coordination. See photo below. As build time approaches I will most likely seek out a mask set as well.
Conclusions
This is yet another nice kit from Tamiya. If it has a weakness it's in the interior details which the review link posted below goes into in detail about. If the interior issues aren't a make or break deal for you, you should find the kit most enjoyable. Recommend for those of most skill levels.
Links to kit build or reviews
A review / build can be found here.
References
Japanese Aircraft of the Pacific War by R.J. Francillon
Ki-46III in Detail by Wings and Wheels Publications
The Maru Mechanic # 13
The Build
Like most builds it starts with the cockpit. This would have been rather quick except for all the PE, I didn't think I would ever get all the levers installed.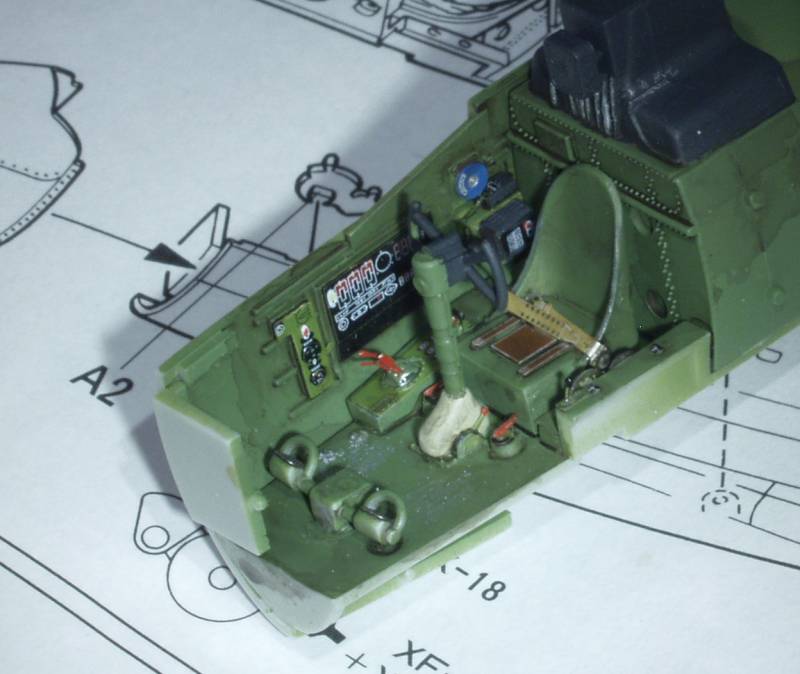

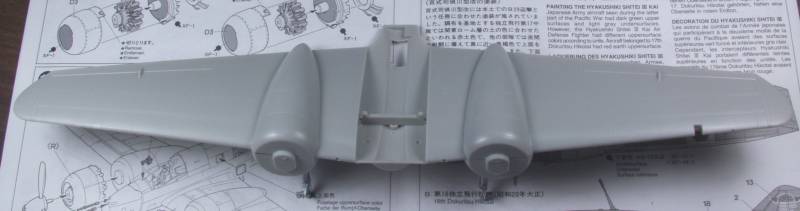

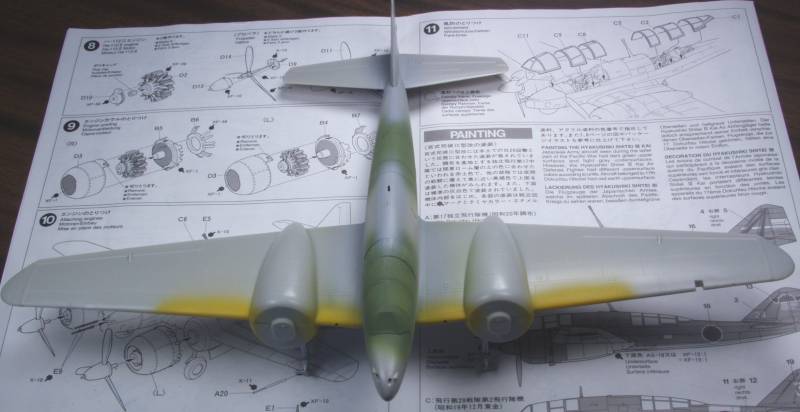
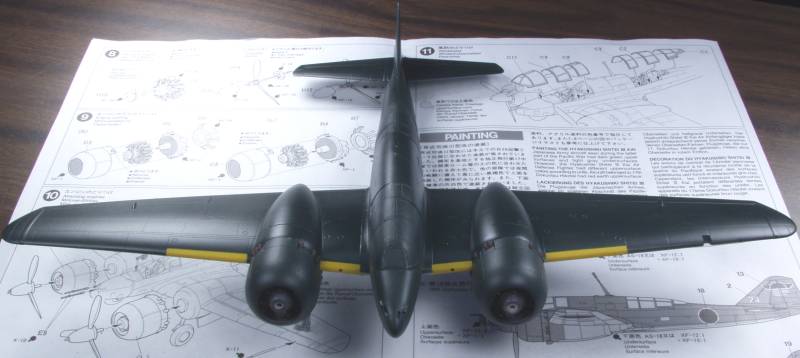
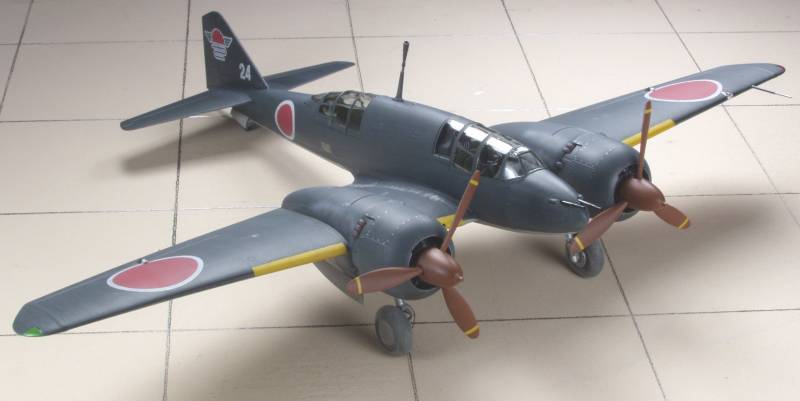

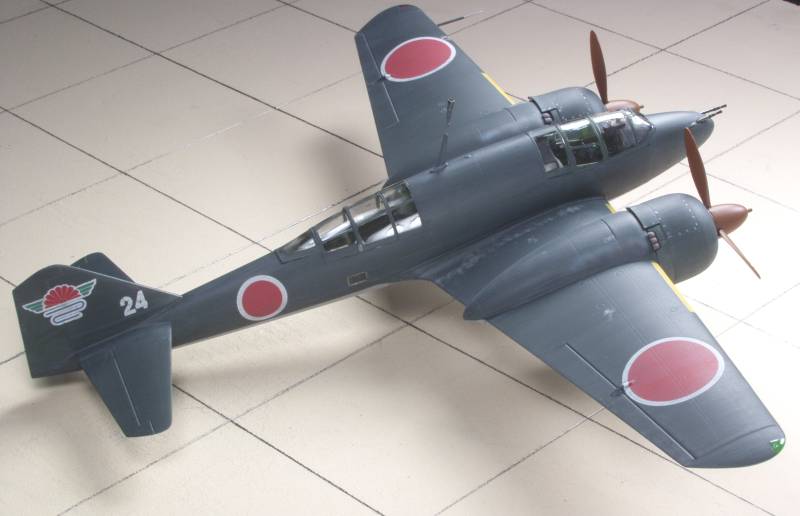
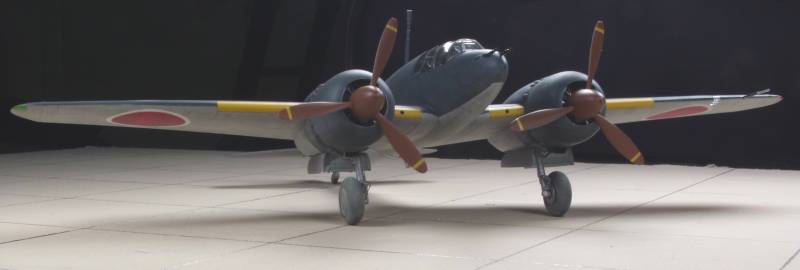
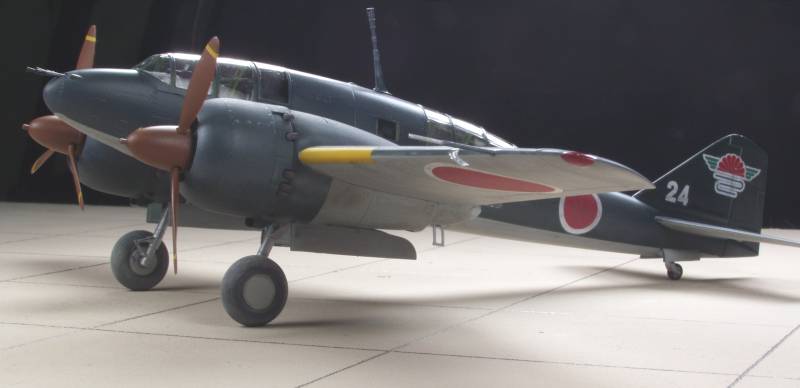
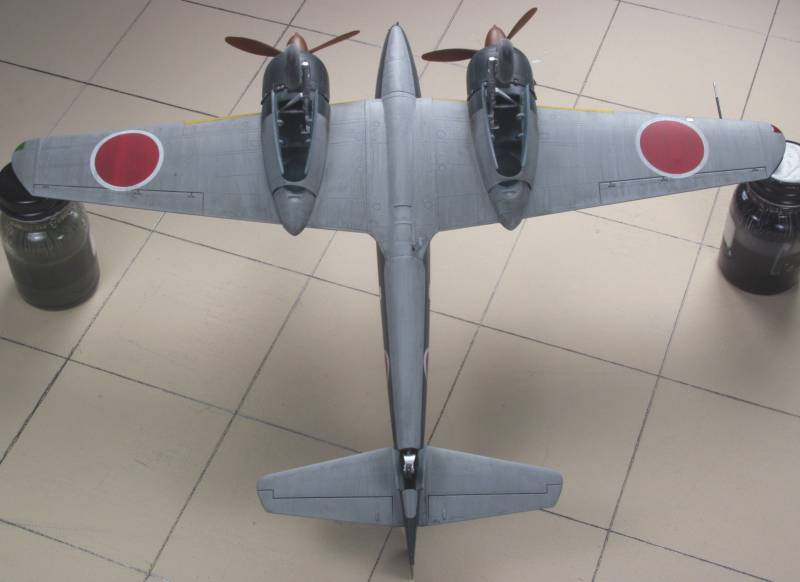
This was an enjoyable kit to build, everything fit, very little filler was required and if the decals had been better it would have been near perfect in my book anyway !
Back to the MISC JAPANESE page