Macchi
MC-202
The
Macchi
C.202 Folgore (Italian "thunderbolt") was built by Macchi
Aeronautica and operated by the Regia Aeronautica. Macchi aircraft
designed by Mario Castoldi received the "C" letter in their model
designation, hence the Folgore is referred to as the C.202 or MC.202.
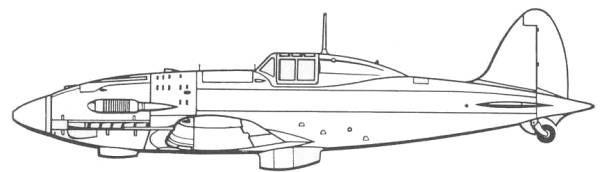
The C.202 was a development of the earlier C.200 Saetta, with an
Italian built version of the Daimler-Benz DB 601Aa engine and with a
redesigned, more streamlined fuselage. Considered to be one of the
best
wartime fighters to serve in large numbers with the Regia Aeronautica,
the Folgore operated on all fronts in which Italy was involved.
The Folgore went into service with the Regia Aeronautica in July 1941
and immediately proved to be an effective and deadly dogfighter. The
Australian ace Clive Caldwell, who fought a wide variety of German,
Italian and Japanese fighters during 194145, later stated that
the C.202 was "one of the best and most undervalued of fighters".
Nonetheless, the C.202 had its defects: like its predecessor, the
Macchi C.200, it could enter a dangerous spin. It was insufficiently
armed, with just two machine guns that easily jammed. The radios were
unreliable, forcing the pilots to communicate by waggling wings. The
oxygen system was inefficient, causing 50 to 60 per cent of the pilots
to break missions off, sometimes even causing fatal accidents.
The Kit
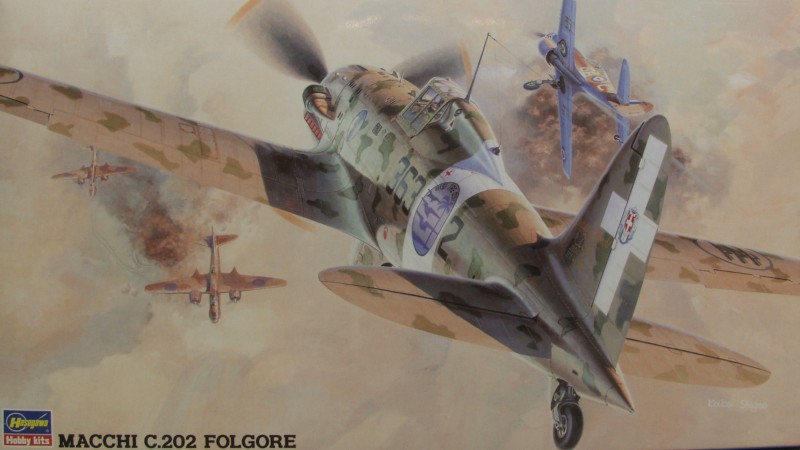
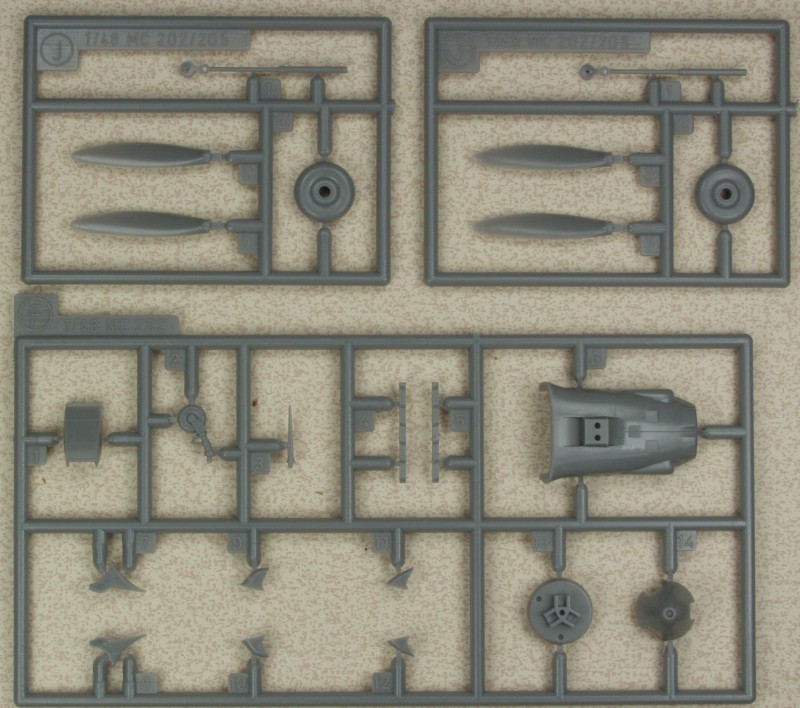
The Hasegawa kit comes in a top open tray type box of medium size with nice artwork on the top. Inside the box there are six sprues of varying sized all packages in one plastic bag. A smaller bag contains the clear parts. The parts are molded in a light gray plastic and although this is not a new kit, originally released in 1994, the dies have held up well as you need to look hard to find even a hint of flash. Surface detail consists of fine recessed panel lines and recessed rivets and fasteners. There are some raised details where applicable. The surface is glossy and all the control surfaces are molded in the neutral position. The fabric detail is restrained and my only complaint would be the demarcation lines for the control surfaces could be deeper. I did find that with all the parts being in one bag that I did have some scuffing on some of the parts. Mold alignment is good and mold separation lines are light. There are some raised ejector pin marks on the inside of the gear doors and on one side of the tires but these were the only ones I found that will show. There are also pin marks on the main gear struts but with the gear doors in place you will be hard put to see them. I found no surface defects on any of the exterior air frame parts.
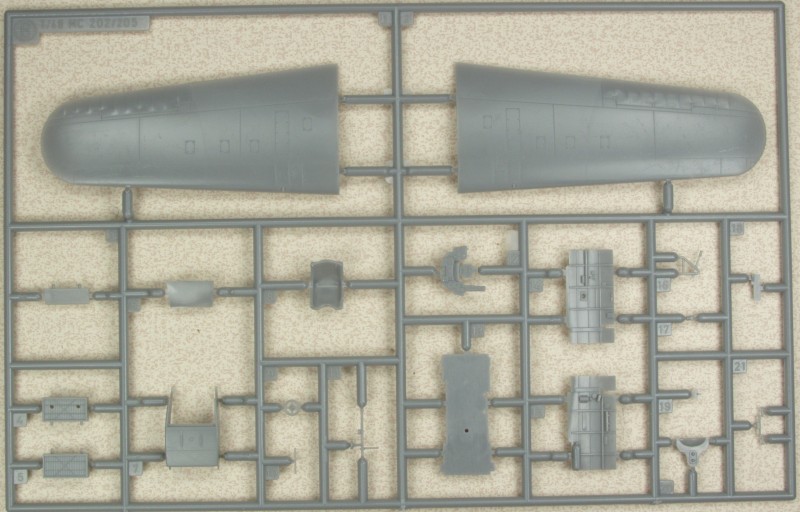
From a detail standpoint the cockpit should be adequate for most modelers. The instrument panel has raised instruments with internal detail that can be painted up or one can overlay them with a decal that is supplied. The cockpit tub is built up with a floor and side panels that will hide the ejector pin marks in the fuselage and the tub is positively located in the fuselage. The gear bays are built up of several parts and feature actuators for the doors and main gear. The under fuselage radiator features separate radiator cores and a baffle. The propeller is a multi part affair with separate blades that are keyed to keep the pitch correct. There is no option for an open canopy. The wheels and tires are molded as one piece and are not weighted. There are two different styles of tail wheel supplied but only one is called out to be used, same with the windscreen. OK, lets look at the parts...

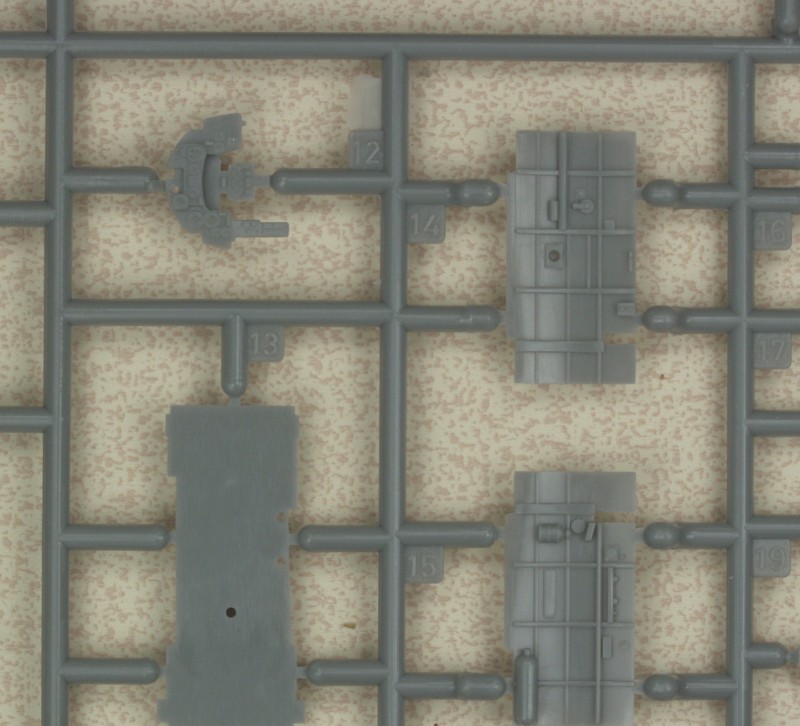
An enlargement of the photo above to show the side wall and instrument panel detail.

The clear parts are thin and clear and the frame line are well defined. Only one of the windscreens is used.
![]()
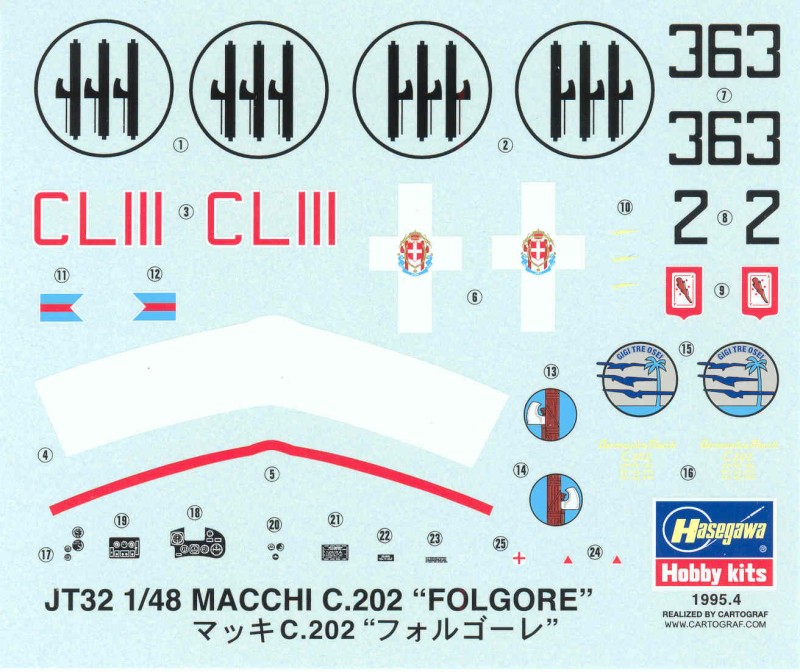
The decals are a treat as they are printed by Cartograph and should work as well as their others. The marking are in register and markings are supplied for two aircraft.
The instructions are printed on a long sheet that is folded in quarters to provide eight panels. One panel has history in Japanese and English, one panel has a parts map and color chart with color names and Gunze numbers. Two panels call out painting and marking detail. One panel for general instructions and safety warnings and three panels for assembly diagrams in nine steps.
After Market Goodies
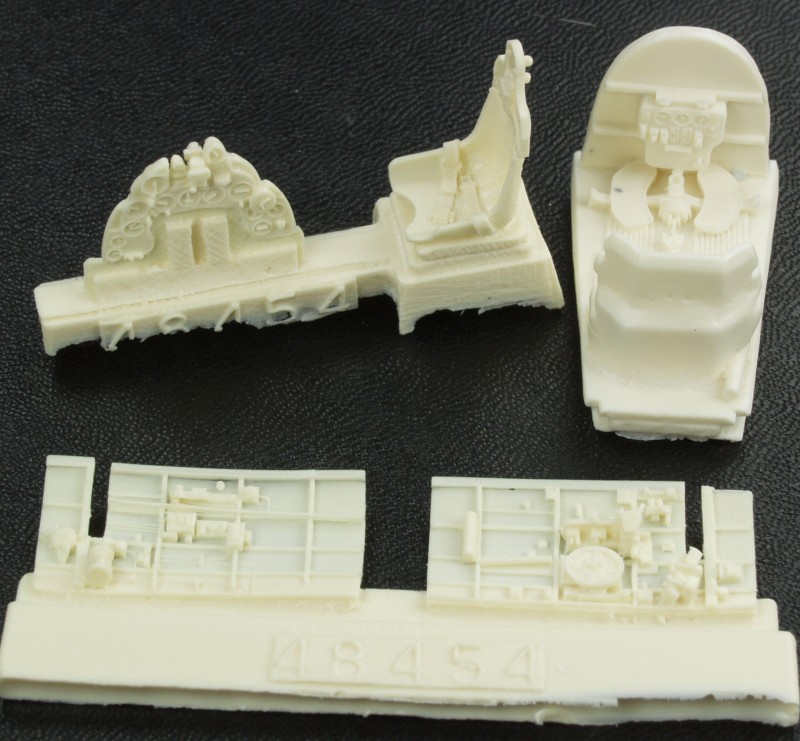
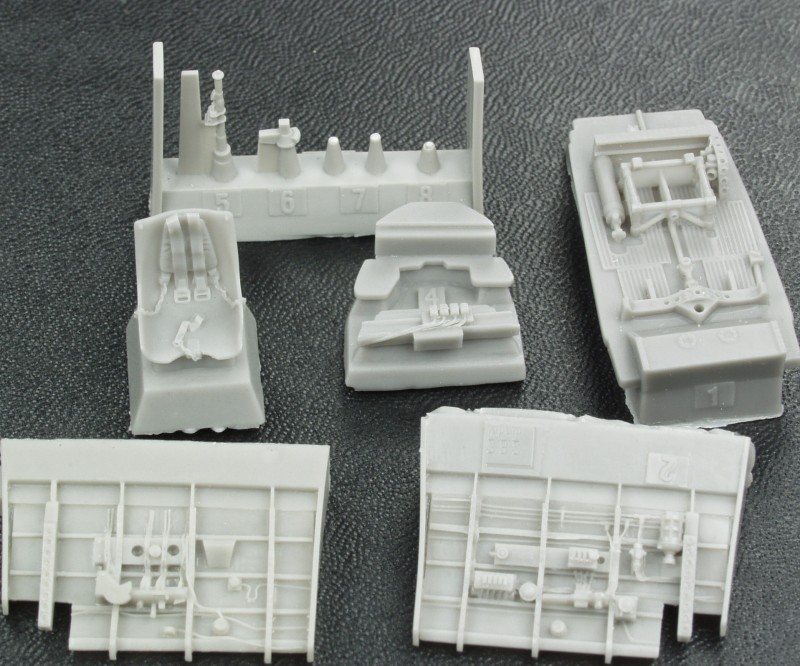
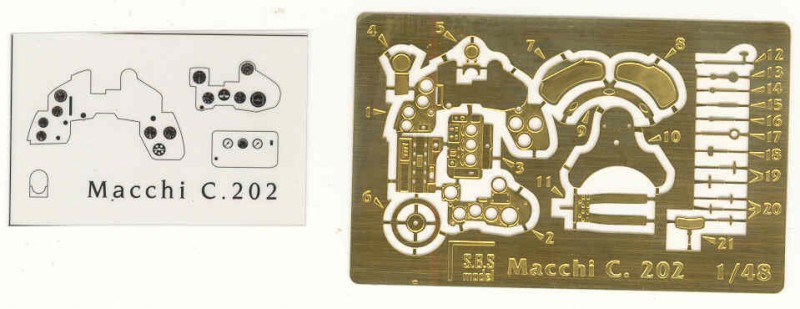
For some unknown reason, a memory lapse no doubt, I ended up with two resin cockpit sets. The first one is from True details and the second from SBS Model. You can see that there are some detail and other differences. The True Details set has the instrument panel with raised details while the SBS set utilizes Photo etch for the instrument panel and provides some additional photo etch details as well. I have read that the True Details set fits without any issues. I'm not sure which one I will use, I may build them both up and decide when I'm finished.
Conclusions
This is a very nice kit that by all accounts goes together well. Typical of Hasegawa, not over engineered and I can recommend it to modelers of all skill levels.
Links to kit build or reviews
A very good build / review can be found here
References
Macchi C.202 in Action by Robert Gentilli and Luigi Gorena