
P-59A
The Bell P-59 holds the unique distinction of being the first turbojet powered airplane to be built and flown in the United States. First flown in October of 1942 it was preceded by only four other jet aircraft: the Heinkel He 178 in August of 1939, the He 280 in April of 1941, the Gloster G.40 in May of 1941 and the Me 262 in June of 1941. It was designed as a single-seat twin-engine interceptor but was never used in combat. A lengthy test program found the P-59 to be under-powered, short-ranging and unstable as a gun platform. Some contemporary piston engined fighters could out perform it. It did, however, contribute greatly to jet power plant and jet airframe development in the United States.
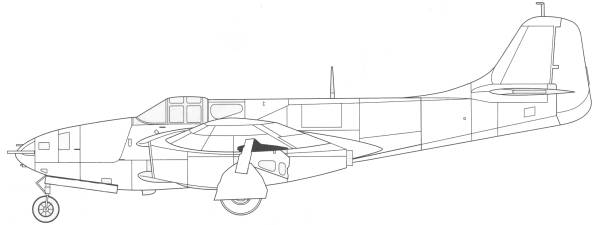
XP-59 made its first flight occurred on October 2, 1942. It was expected that the P-59 would be capable of at least 500 mph but early flights produced a disappointing top speed of 396 mph. Its total of 2,500 pounds of thrust wasn't enough for a plane that weighed 12,560 pounds fueled. Bell was awarded a contract on March 2, 1942 to produce 13 YP-59A aircraft. It was to be powered by slightly higher-powered 1,400-lb. thrust engines but the development of these had lagged and the first were powered by the 1,250-lb. thrust engines. After some of the bugs were worked out of the engines the XP-59A number two hit 404 mph at 31,000 feet, better but still unacceptable performance. The YP-59A's differed from the XP versions in having squared off wing tips and a vertical stabilizer, centerline mounted ventral fin, the aft structure was strengthened, the pitot tube was moved to the vertical tail, and the fabric covered control surfaces were replaced this metal cover ones.
Bell was issued a contract to build 100 P-59A/B aircraft but this was later reduced to 50, 20 P-59A's and 30 P-59B's. The difference between the two being that the B model had an additional fuel cell in each outer wing panel increasing fuel capacity by 66 gallons. Of the first 20 A versions, one went to Wright Field, two went to Proving Ground Command at Eglin in Florida, two went to the Air Forces Board in Orlando, Florida and the remaining 15 went to the 412th Fighter Group. Due to slow deliveries of engines the 30 P-59B's were late but by August of 1945 all thirty had been delivered. Two stayed at Bell's facility, three went to the USN at PAX River, one went to Wright Field, one to NACA in Cleveland, Ohio, one to Freeman Field in Indiana and four went to Independence, Kansas for storage. The remaining 18 were delivered to the 412th. Due to its poor performance, instead of becoming a front line combat aircraft it would serve as a jet pilot training and transition aircraft for the upcoming P-80 program. By July 1946 all of the P-59's assigned to the 412th were gone, many having been sent to colleges to be used as A & P mechanic training aids and the 412 had completely transitioned to the P-80.
In the end the P-59's drawbacks could not be minimized. It had proved sluggish in performance, it was unstable at high yaw angles and had a tenancy to snake, a characteristic of early jets and was therefore not suited for combat.
The Kit
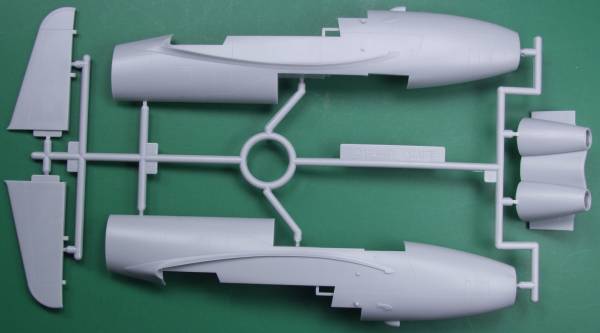
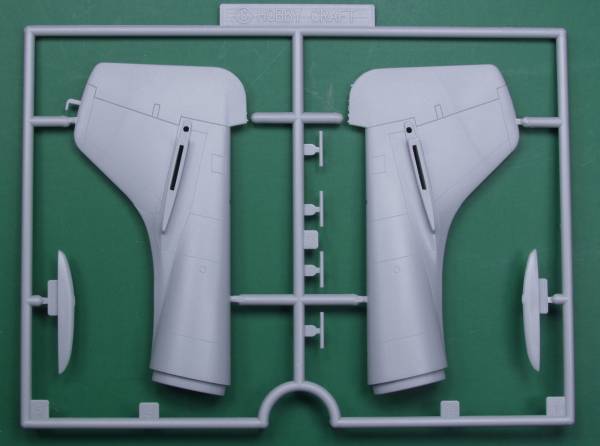
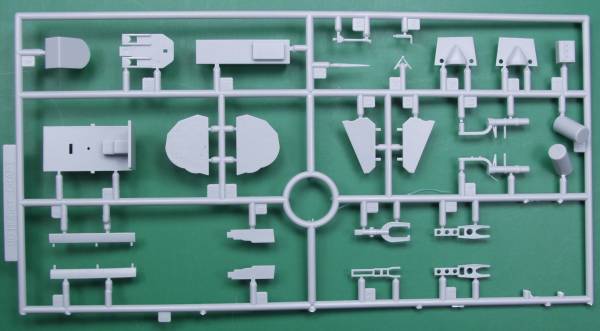
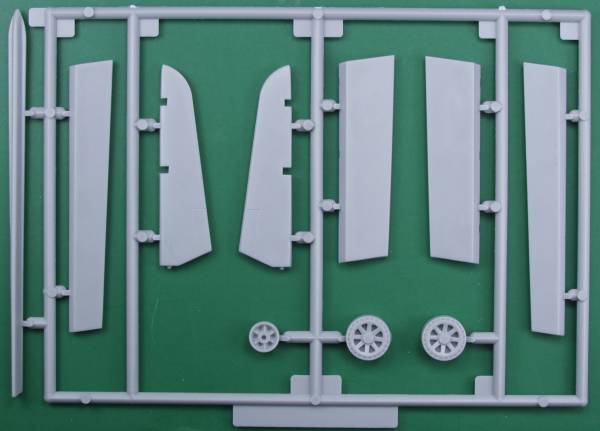
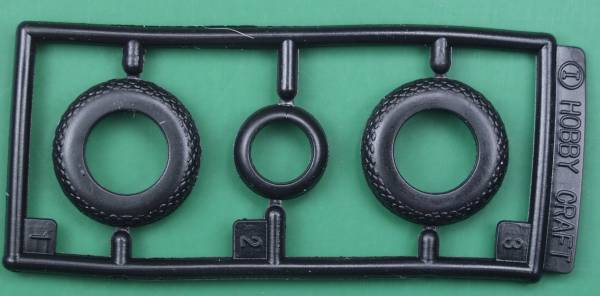
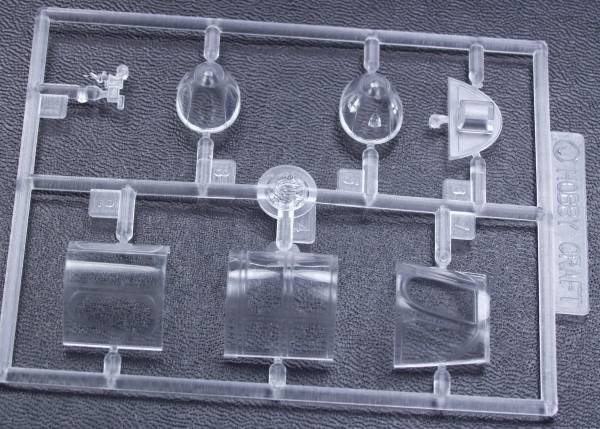
The Hobby Craft kit is the only 1/48 scale kit of the P-59. It comes in one of those unhandy end flap boxes. Inside there are five bags, one for each of the sprues. The kit is molded in a light gray plastic with very fine recessed panel lines. The plastic has a matte finish with a very fine graininess to it. I don't think it is coarse enough to cause any problems with paint. None of the airframe parts exhibited any sink marks or other surface defects. The parts are virtually flash free and even the smaller parts only had minimal parting lines to clean up. The fuselage is divided into two parts which can cause fit problems so test fitting would be advised. The wheel wells are boxed in and have some structural detail molded in. There are some ejector pin marks on the inside of the gear doors but they could almost be written off and part of the door structure lightening holes. The fuselage has some as well but not where they will be seen when completed. Some cockpit structure is molded into the fuselage sides and the cockpit itself is pretty basic as far as detail goes. The wheels have separate vinyl tires. Whether these are the plastic eating type is unknown but even if they are not they will still most likely dry out and split with age. Altogether there are 53 parts in gray. The clear parts are reasonably thin and clear and are molded such that they can be displayed in the open position. There are 7 clear parts and combined with the gray parts and the vinyl parts gives a grand total of 63 parts. See photographs below.

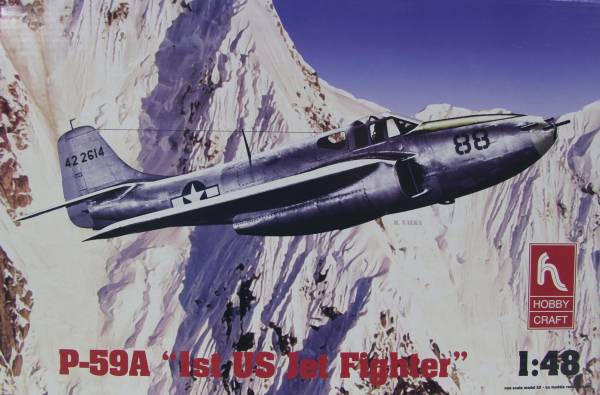
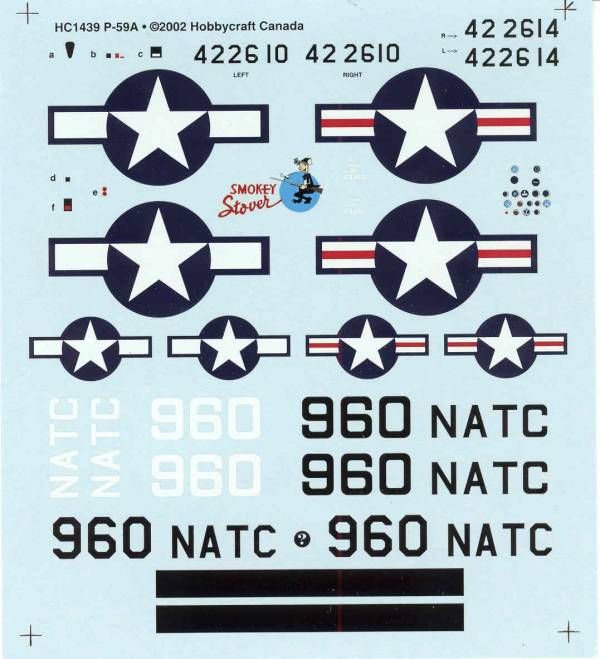
The decals appear thin and except for the instrument dials are in register. According to the box they provide markings for three aircraft but based on the marking information on the back of the box the sheet is missing an 88 for each side of the nose of one of the versions. Two of the versions are natural metal while the third is in a Navy scheme of blue fuselage with yellow wings. See below.
The instructions are printed on an 11" x 24" page that is tri-folded to produce 6 panels. The first panel lists color names and approximate color names or numbers for Floquil / Polly Scale, Humbrol and Testors Modelmaster and a chart with descriptions of the various symbols used in the assembly instructions in multi languages. The balance of the panels are assembly steps. There is no history or specifications given and the markings and painting information is printed on the back of the box.
After Market Goodies
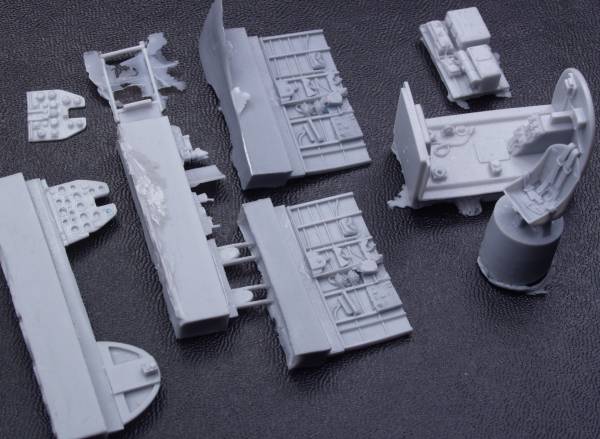
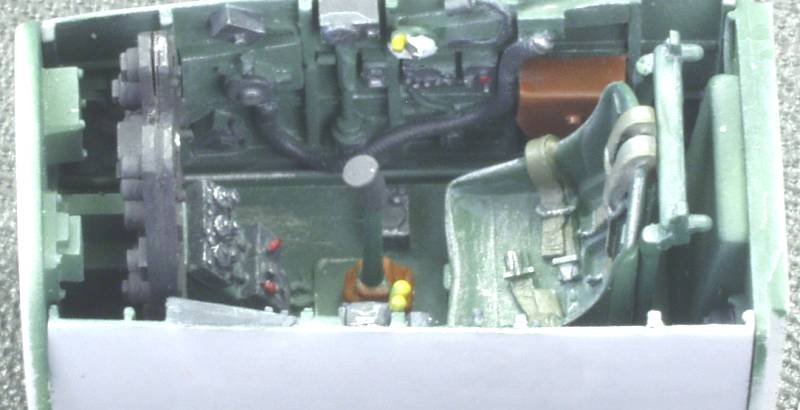
As a result of the rather lackluster cockpit supplied with this otherwise nice kit I decided to go with the Cutting Edge super detail set CEC48438. The set molded in a light gray resin includes a replacement tub with console and details molded into the front and rear bulkheads and floor, instrument panel front and rear with a film for dials, seat with harness and belts, left and right sidewalls, radio rack with radios, roll over structure, seat support frame, rudder pedals, a couple of levers, gun sight and a roll over plate. As is typical with most Cutting Edge sets the detail was sharp and crisp with no voids or defects on viable surfaces. See photo below.
Conclusions
The Hobbycraft kit is a quite nice kit that should go together with a minimum of difficulty and with the addition of the Cutting Edge cockpit should build into a really nice model of America's first jet aircraft. For those who don't like or don't trust the vinyl tires, True Details offers a replacement set [48110]. They also offer a less extensive cockpit detail set [48494] for those who might not want to buy the more pricey Cutting Edge set. The Hobbycraft kit should not provide any great challenges for modelers with a moderate amount of experience.
Links to kit build or reviews
A review / build can be found here and an inbox review here.
References
P-59 Airacomet by Steve Pace, available through Ginter Books
The Build
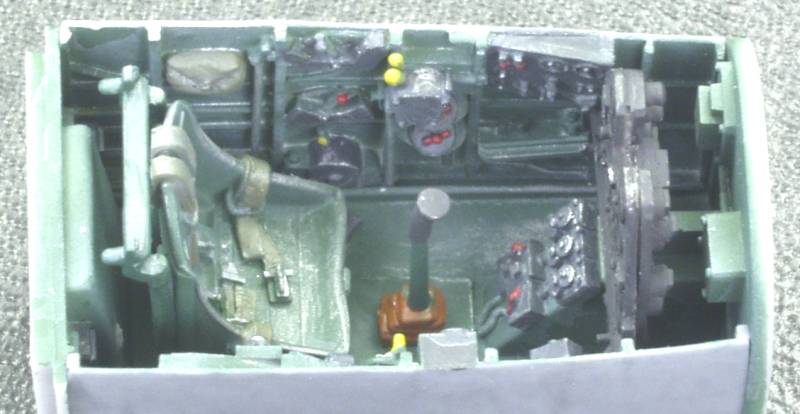
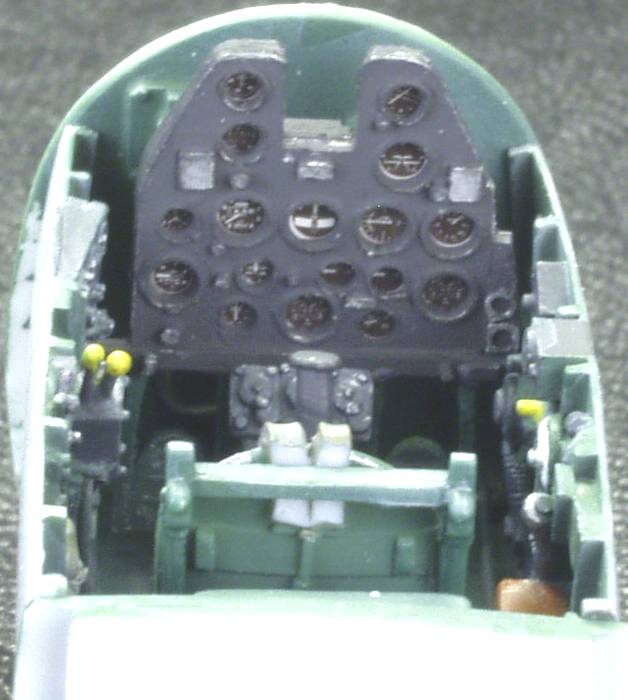
As is the norm construction started with the cockpit. The Cutting Edge cockpit is one of the nicest conversions I have run across. There was minimum clean up of the resin parts, the largest mold block was on the bottom of the cockpit tub and it did not need to be removed as it didn't interfere with anything. The sides fit the tub so well they would not needed to be glued and the whole assembly keyed into the fuselage with only the removal of the molded on detail. The locating ribs are left in place and the new pit fits into them. It fit perfect the first time and I needed to do no grinding or filing to get it to fit. Excellent engineering ! Below are some photos of the pit painted up but before insertion into the fuselage.
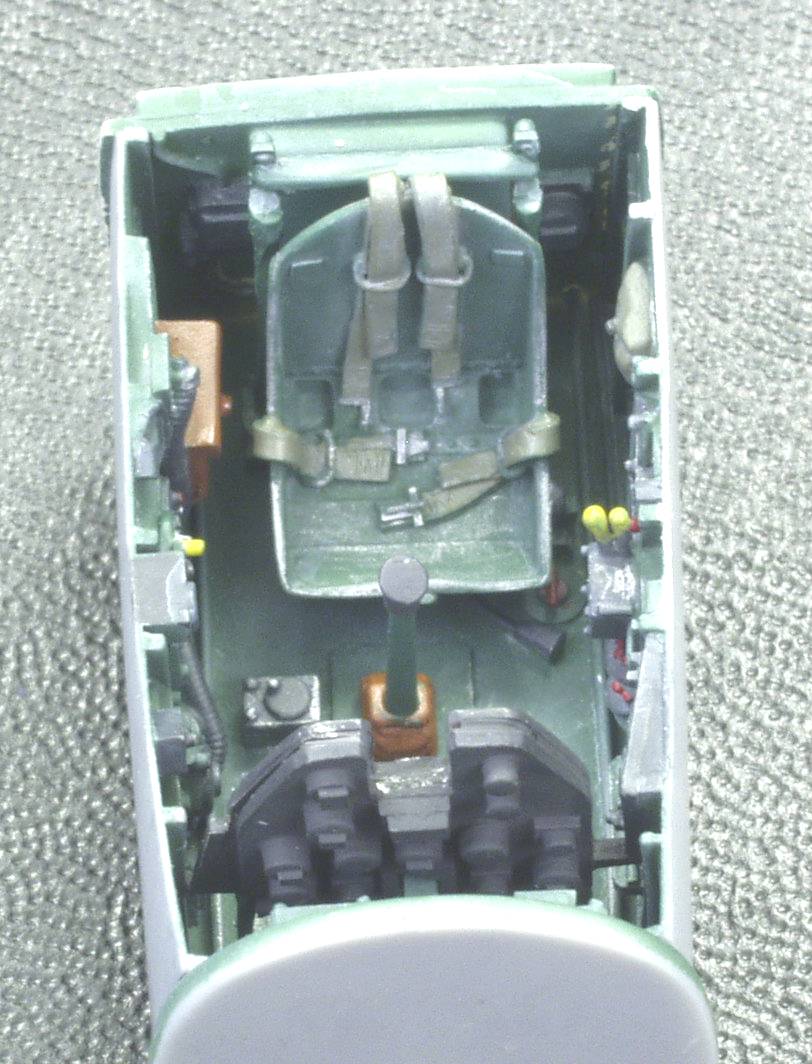
I was tempted to add some wiring to the back of the instrument panel but this will not be seen once inside the fuselage with the canopy installed.

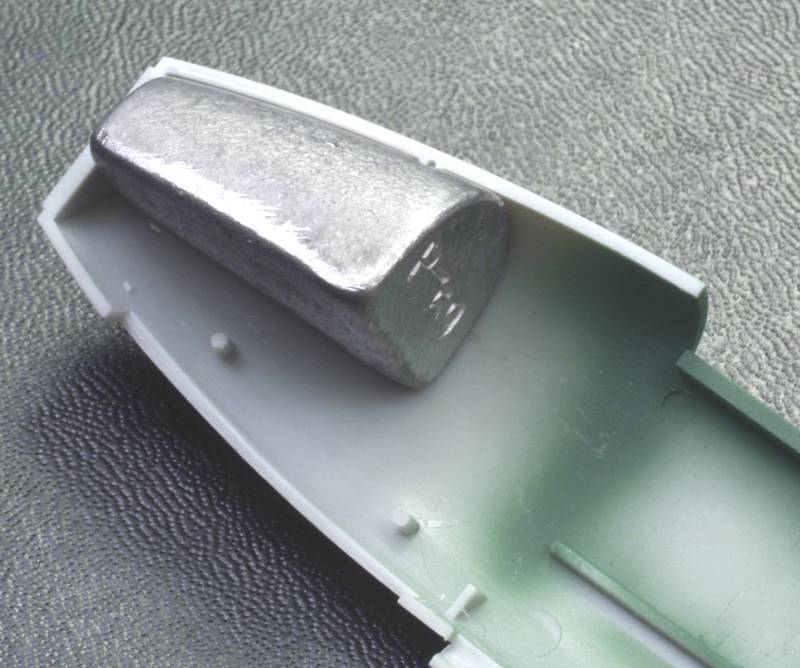
Before assembling the fuselage the Terry Dean nose weight was epoxied into the nose.
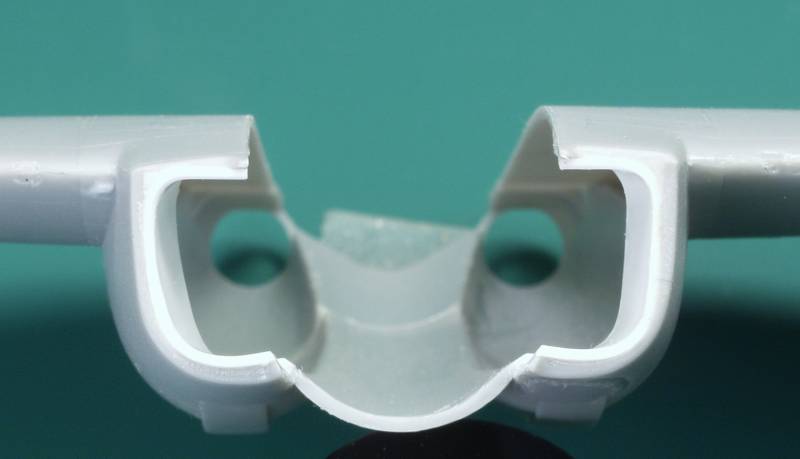
Some of the issues with the kit include improperly shaped intakes, the square corners need to be round and the edge of the entire intake needs to be rounded over and not a sharp edge.
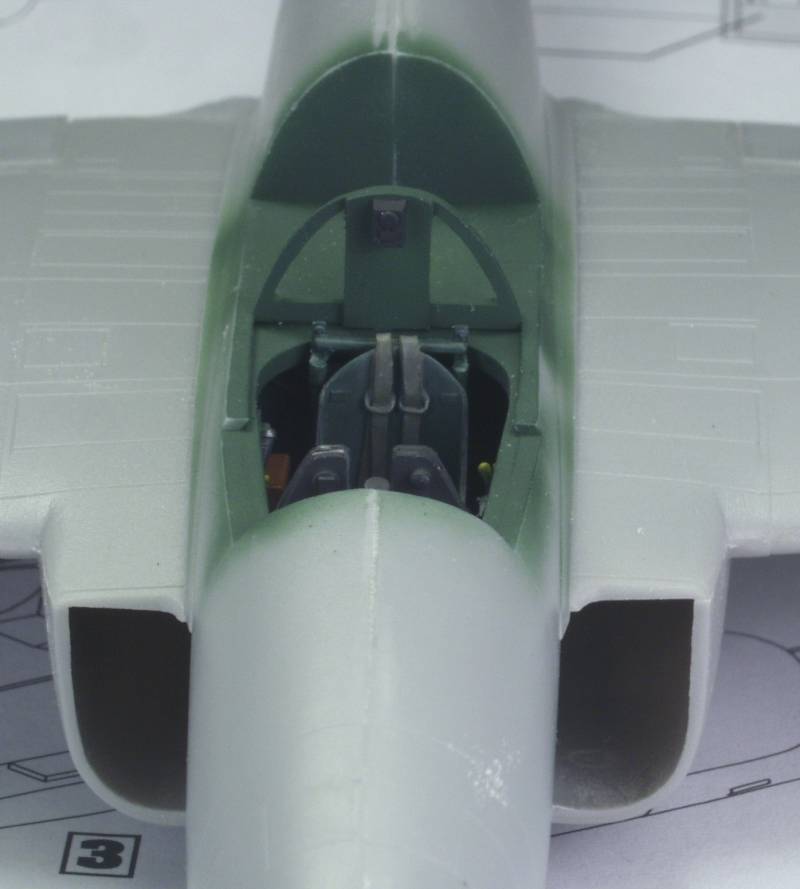
The overly thick splitter plate which should follow the contour of the fuselage amd the fact that there is no engine detail provided which allow one to look right through to the tail pipe ! There is also no intake trunking.
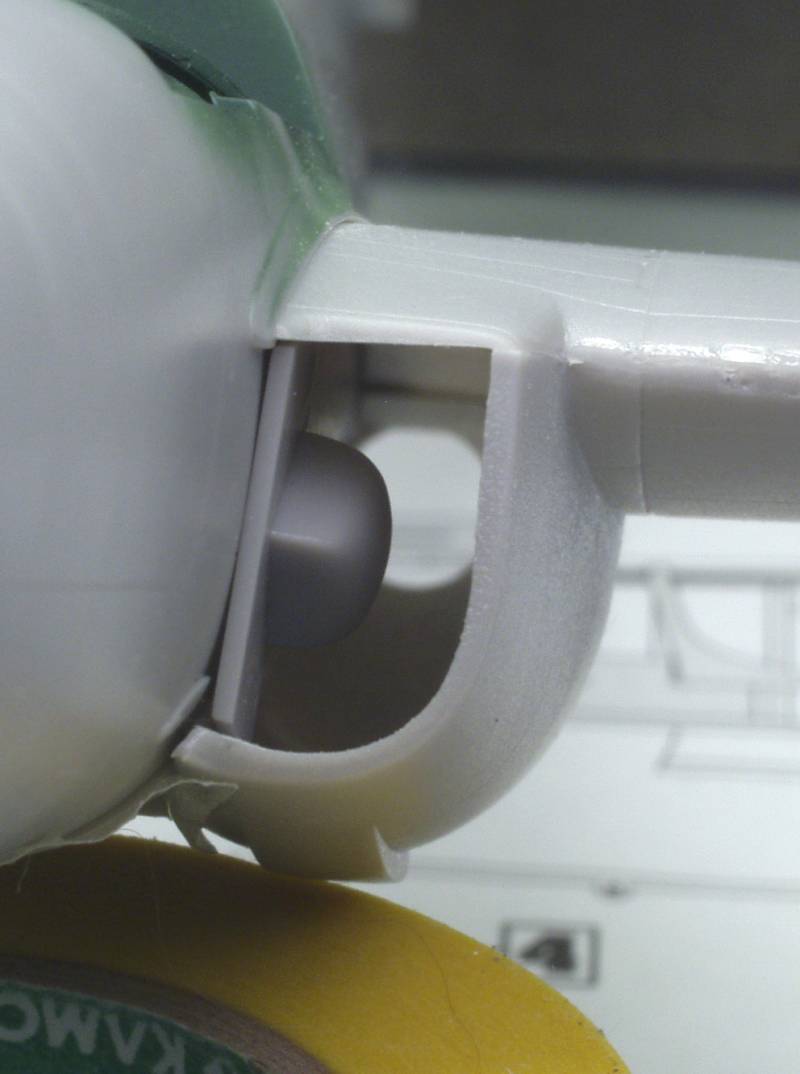
My solution to the shape and trunking issue was to line the intake with a piece of sheet styrene, this was prebent to provide the radius at the upper outside corners and was made long enough to extend back to where the front of the engine would be. This still left a small triangular shaped hole in the outter corners and this was filled with Milliput. Next step will be to round over the edges and begin to fabricate the engine fronts.
Updated 12/12/08