Curtiss
XP-55
The
Curtiss XP-55 came about as the result of a 1939 Army Air Corps
proposal R-40C calling for a new fighter aircraft capable of flying at
525 mph at 15,000 feet. The aircraft was powered by a 1275 hp Allison
engine and the propeller could be jettisoned if the pilot needed to
bail
out. Curtiss was awarded a contract for three XP-55's on July 10, 1942
and
it made its first flight on July 19, 1943. The first Ascender went out
of control during a stall test an November 15, 1943 and crashed but the
pilot managed to bail out successfully. The second Ascender featured a
modified landing gear, armament mounted in the nose and an enlarged
nose elevator, however the stall limits restricted its performance
envelope. The wing span of the third Ascender was lengthened by four
feet and the forward elevator travel was increased. The second
prototype was eventually modified to this configuration. Problems with
engine cooling and low speed handling persisted, resulting in the Army
canceling the project in late 1944. The aircraft continued to perform
test work into 1945. The third aircraft crashed during a demonstration
flight at Wright Field on May 27, 1945, killing the pilot and a passing
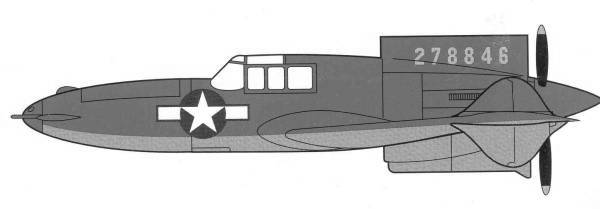
motorist. The second Ascender, the only surviving example has been
restored and is on display at the Air Zoo in Kalamazoo, Michigan.
The Kit
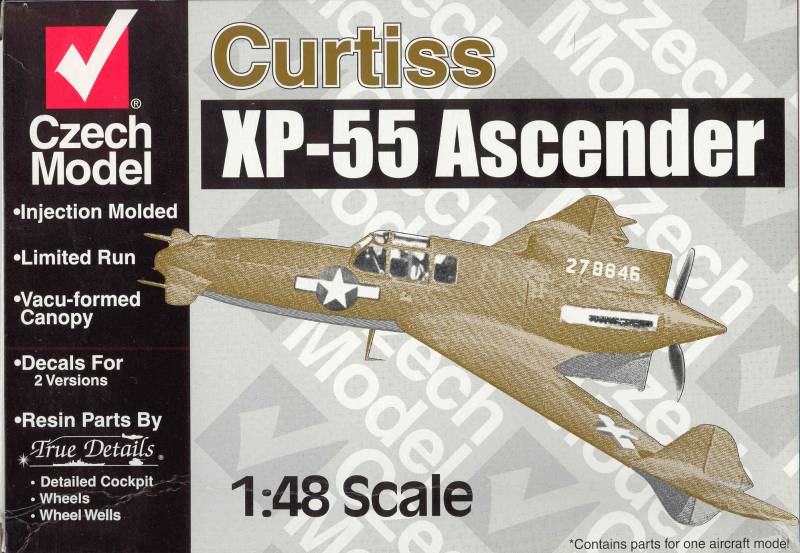
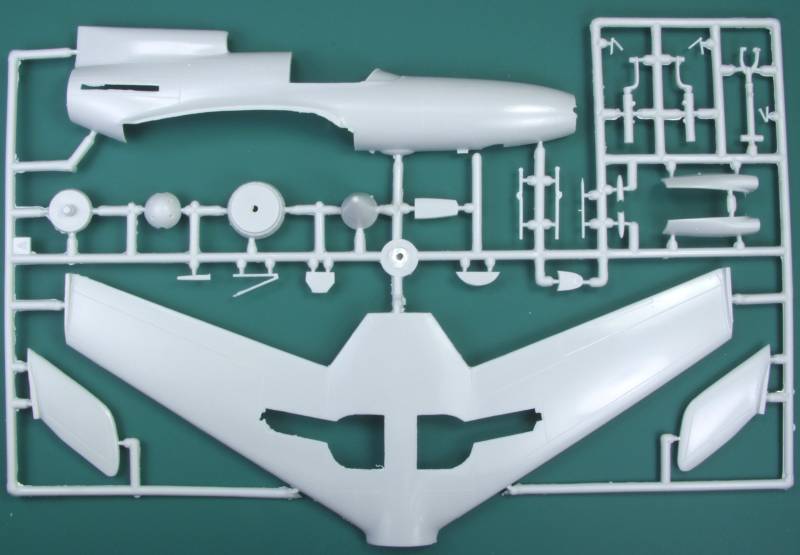
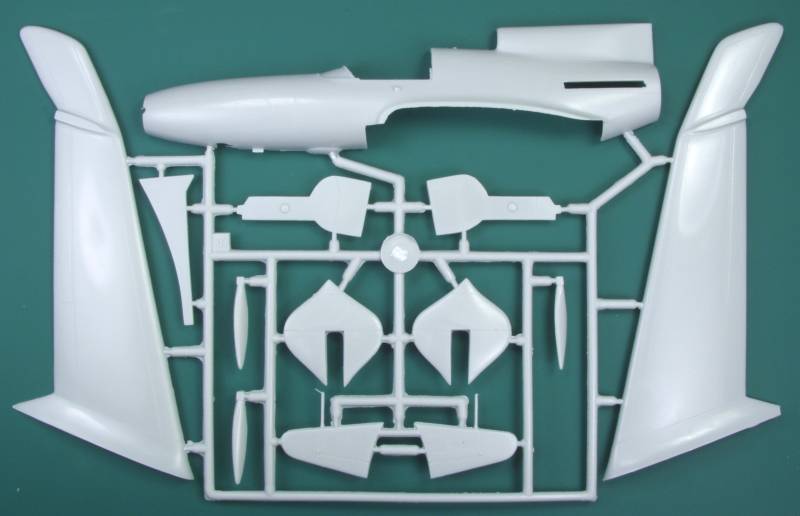
The Czech Model kit comes in one of those unhandy end flap open box with what looks like a dithered photo for artwork on the front. The back of the box has a color profile and performance specifications. Inside the box is one bag with the injection molded parts, a second bag with cast resin parts and a vacuformed canopy that was just loose in the box. The injected parts are on two sprues in a light gray color. Most parts have a fair amount of flash on them. Surface detail is recessed and the panel lines are very shallow and thin but are continuous. Overall the surface is smooth and glossily and I found no sink holes or injector pin marks that will show on the completed model. The control surfaces are all fixed and in my opinion the recessed lines for these could be a little deeper. Typical for short run kits there are no alignment pins and the sprue attachment points are heavy enough to warrant care when removing parts. By my count there are 39 injected parts. See photos below.
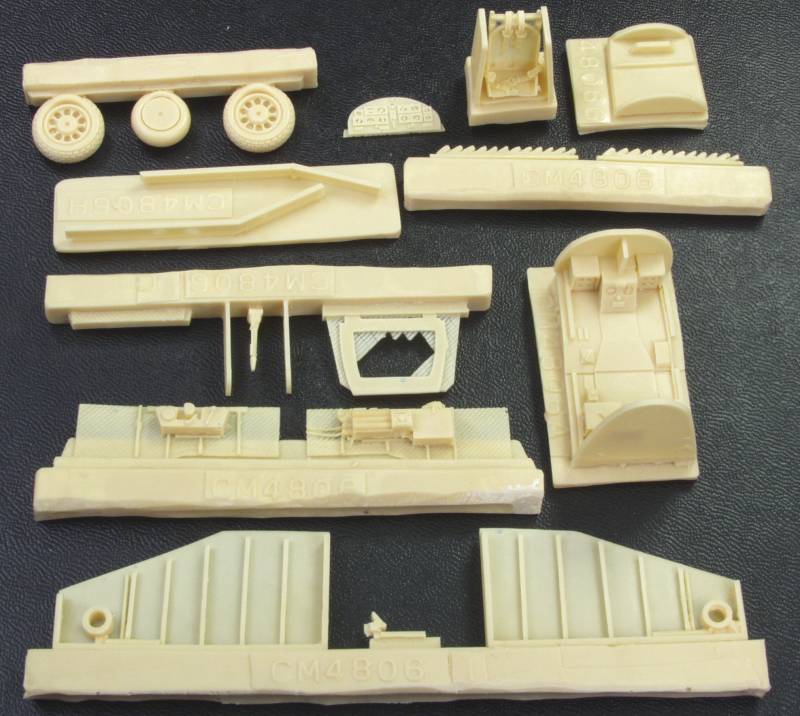
The cast resin parts are a light brown in color and for the most part nicely done. I found a couple small pin holes but nothing serious and no short shots. Most of the parts are for the cockpit, a tub, seat with belts and harness, side walls, stick, instrument panel, radio shelf and gun sight. Also included are the main gear bays, wheels and exhaust stacks. Some of the pour blocks may be a challenge to remove. All together there are 18 resin parts. See photo below.
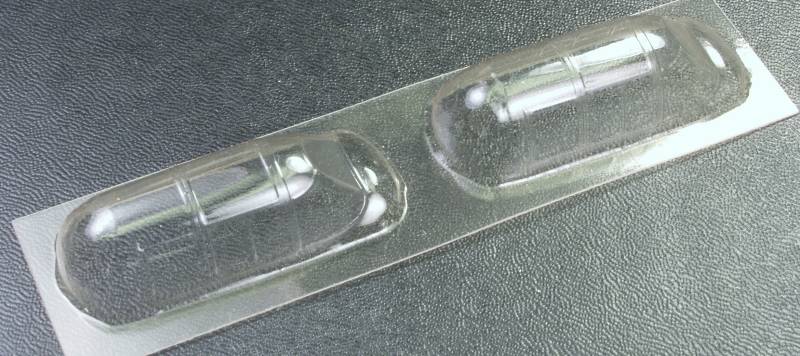
The clear parts were in good condition in spite of not being protected in the package. They are reasonably clear and should look good when coated with future. The frame lines are distinct to aid in painting and there are two of them in case problems are encountered. See Photo below.
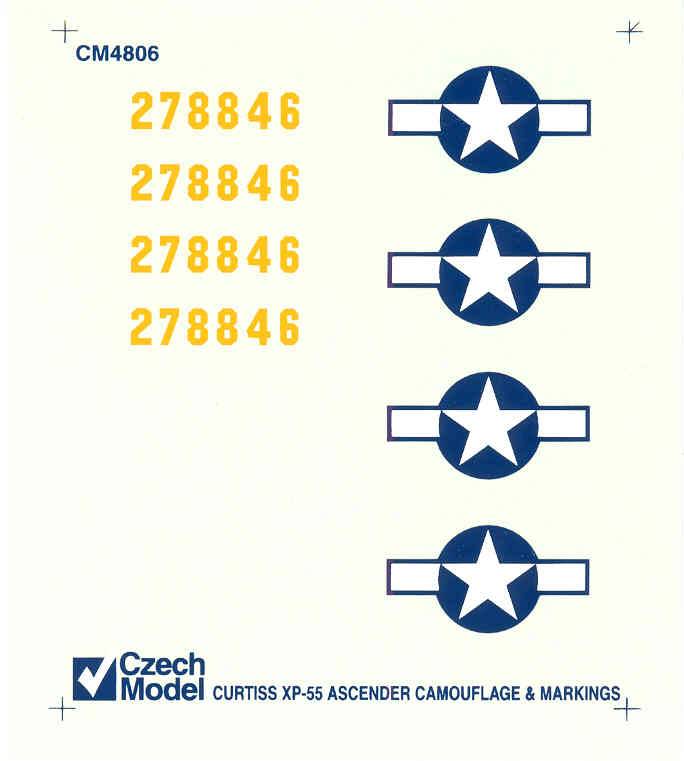
The Decals are for one aircraft, the surviving second prototype. They are thin and in register and appear to be opaque. There is some white stenciling that does not show in the photo below.
The instructions are printed on an 8 1/2" x 17" page printed on both sides and folded to create four pages. The first has history and a parts map, the next two are the assembly diagrams arranged in seven steps. The last page has profiles showing the location of the national markings and serial number and a paragraph detailing the colors used on the aircraft. There are no hints as to where to put the stencils. Most of them are the no step, don't push, lift here and that sort so I guess you can use logic to locate where most would go.
After Market Goodies
There are none that I'm aware of and there really isn't a need for any.
Conclusions
This is a reasonably nice kit for a short run kit. Most other reviews that I have read give it a pretty good score. As with most kits of this type some fit issues will be encountered and most of the time will be spent getting the resin parts to fit in the injected parts. Recommended to those with some experience in building short run kits.
Links to kit build or reviews
A build / review can be found here and here.
References
The Internet and the instruction sheet