
BV P212 03
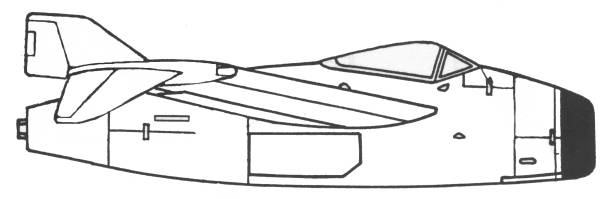
The Blohm und Voss P212 was their entry into the Emergency Fighter Program and though they didn't win, three prototypes were ordered. Construction began in May of 1945, after extensive wind tunnel and structural tests. First flights were to have been in August and September but the end of the war put an end to those plans. The aircraft used an unusual structural design where the main element was the intake ducting to which all the main airframe parts attached. The P212 was to be equipped with a pressurized cockpit and enough fuel load for 4 hours of flight time with under wing drop tanks. The wings were to be fabricated from either wood. aluminum or steel. The first versions were to used stressed steel. A variety of armament was proposed. The model uses 3 MK 108's located in the nose. The aircraft was to be powered by the He S011 engine.
The Kit
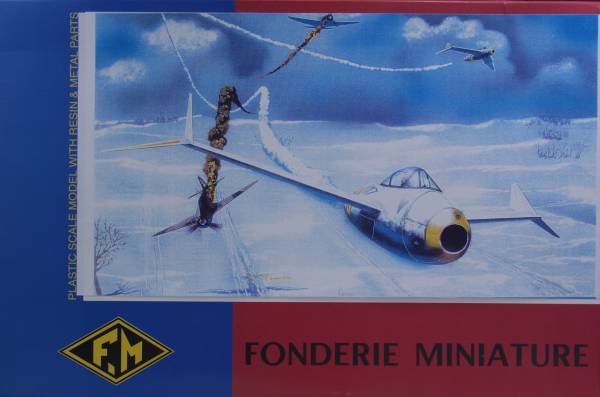
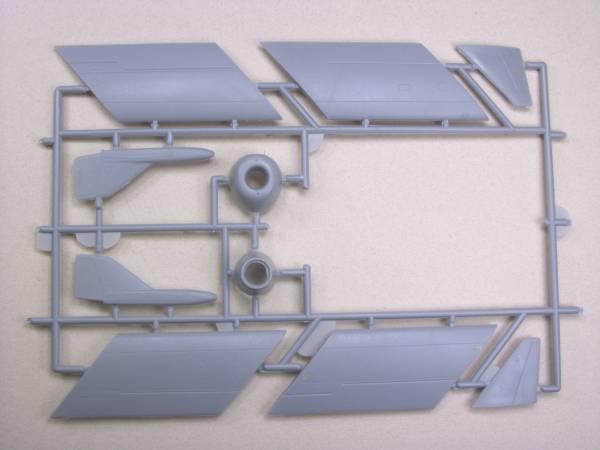
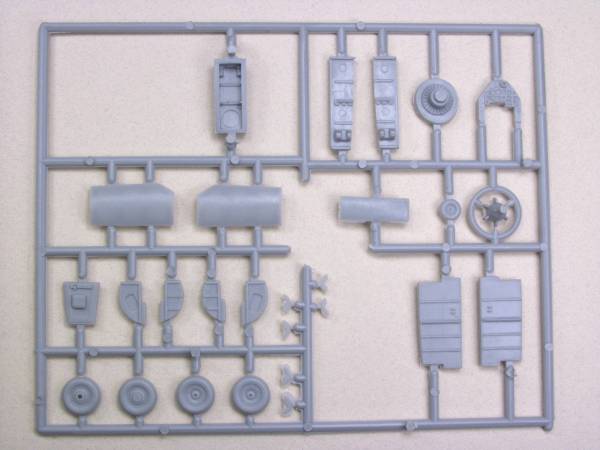
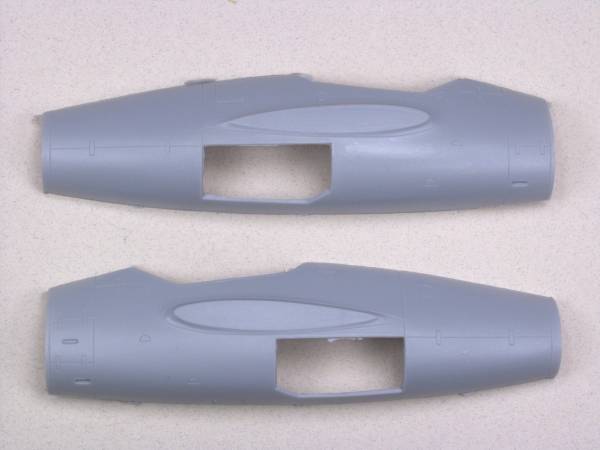
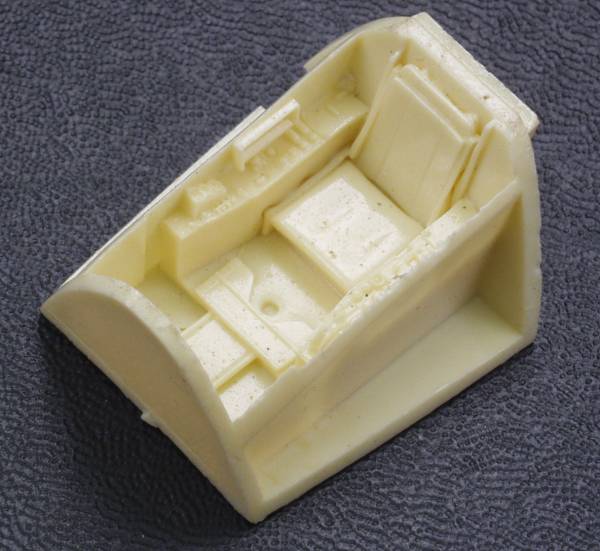
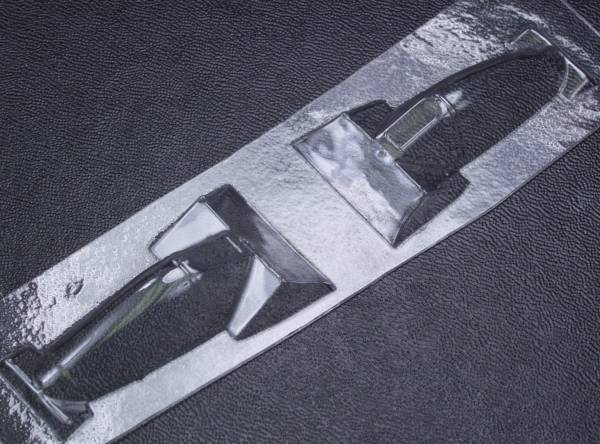
The Foundrie Miniatures kit comes in a sturdy top open two part box with so-so artwork on the top. Inside there is one bag with all the injection molded parts in it. A zip lock bag contains the soft metal parts and a resin piece and the vacuformed canopys were floating in the box. The injection molded pieces are in a light gray color and feature recessed panel lines and fastener detail. The surface has a texture to it that will need to be sanded to remove. Not the worst orange peel I've seen but aggravating none the less. The exhaust port had they worst surface with some protruding rough spots as well as the orange peel. all the parts had flash ranging from moderate on the large parts to heavy on some of the smaller parts. A couple parts had what appeared to be small globs of resin on them. As this is a limited run style kit there are no alignment pins and some fit issues should be expected. The wings and other flying surfaces have no indexing or alignment features which will be best reinforced with pins of some sort. The only ejector pin marks I found were in the roof of the gear bays and inside the fuselage. The ones in the gear bays will be hard to see and the ones in the fuselage will not be seen. I found no other surface defects in the main parts save for the surface roughness. The cockpit features a resin tub with plastic instrument panel and a metal stick and rudder pedals. The tub is molded in a tan resin and features the pilots seat sans harness and belts and side consoles. There were a couple pin holes but what appears as pin holes in the photo below is actually something in the resin that looked like pepper. I doesn't look like it will show once painted. The metal parts consist of the main gear struts and actuators and gear door actuators as well as the aforementioned stick and rudder pedals. They have some flash but should clean up OK and look great once painted up. The clear parts are vacuformed and include two canopys. These are nice and clear and have well defined frame lines. Altogether there are 39 injection molded parts, 1 resin part, 16 cast metal parts and 2 vacuformed parts for a grand total of 58 parts. See photos below.

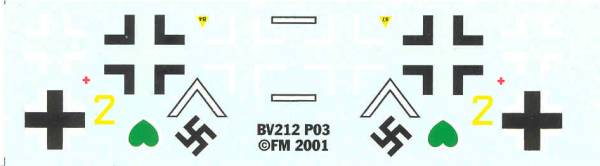
The decal sheet includes marking for two fictitious aircraft and two different paint schemes are provided in the instructions. The only stencils provided are fuel markers and a first aid kit marker. The decals are thin and in register. See below.
The instructions are on two A4 sheets printed front and back, three side have assembly diagrams and one has paint and markings.
Conclusions
This kit is a limited run kit and as such exhibits most of the traits that they are know for. You will spend more time dealing with surface finish, cleaning up and test fitting parts and adding pins to support the wing structure than you will with final assembly and painting. The inclusion of the resin cockpit and cast metal parts allow you to assemble it into a model with a fairly high level of detail and it's a subject that is not likely to be released by main stream companies. Due to the nature of the kit I would only recommend it to modelers with some experience dealing with limited run kits.
Links to kit build or reviews
I know of none.
References
Most of the reference material came from the Luft 46 website which can be found here.
Back to the POST WWII Jets page
The Build
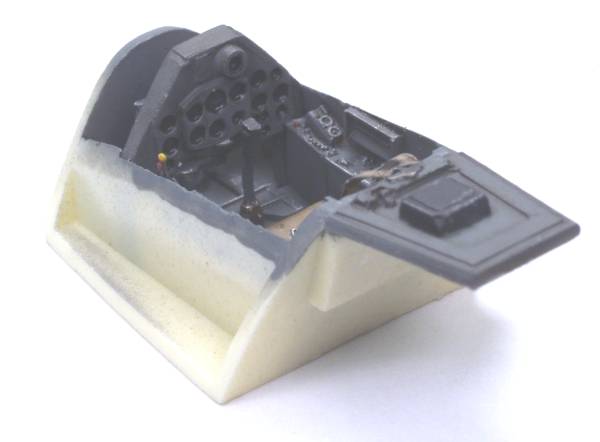
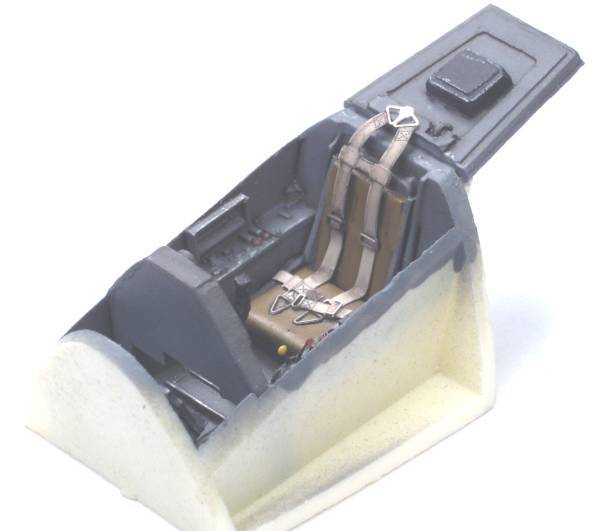
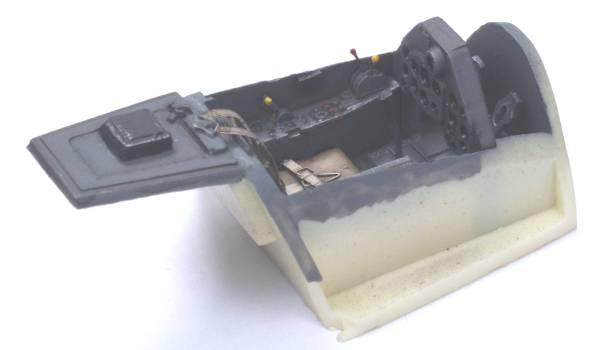
As with most aircraft the cockpit must be done early on and that's where I started. The resin tub was tested fitted in the fuselage and it required a little sanding to achieve a good fit. Once that was done it was cleaned and painted RLM 66. The rest of the cockpit parts were cleaned up and and painted as necessary. The panel had only recesses for the instrument dials but since I didn't plan on opening the canopy I just painted them black and when dry put a drop of Future in them to represent dials. I did add a couple PE levers to the left side panel from left overs. I picked out some of the detail with a few different colors and high lighted some others as well as wear areas with a silver pencil. Once all the parts were install I gave it a sludge wash. The kit did not provide a harness or belts to these were added from a separate PE set. The results of these labors are shown below ready to be installed in the fuselage.
The main gear bays were test fitted, shaped a bit then glued into the fuselage halves. When I went to install the pit assembly into the fuselage I found that the instrument panel needed to sanded on the top to conform to the fuselage. I also found that when placed in the locaters in the fuselage the rear deck did not line up well. The locaters were really too small to do much in the way of holding the pit in place anyway and after struggling with several test fittings I glued some 1/8" square styrene below the pit location in line with the locaters. This made fitting easier but I still ended up adding a shim towards the rear of these to get the rear deck to fit to my satisfaction. Once this was done the fuselage halves were joined.
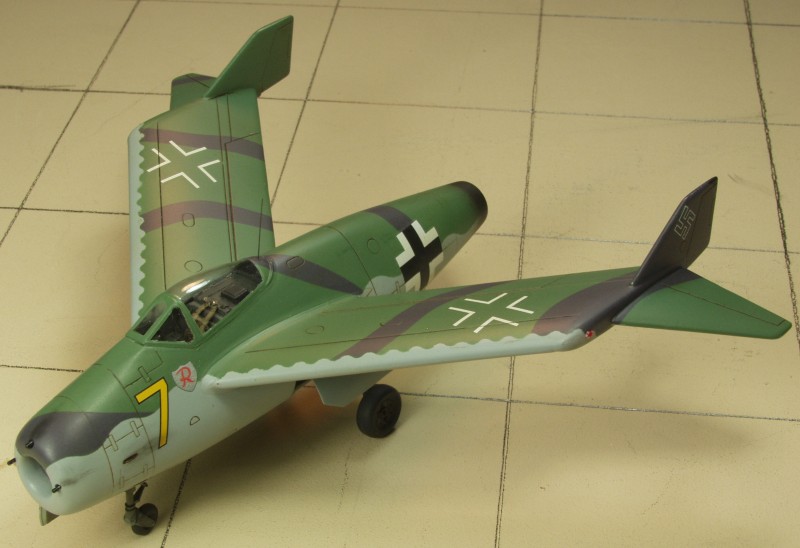
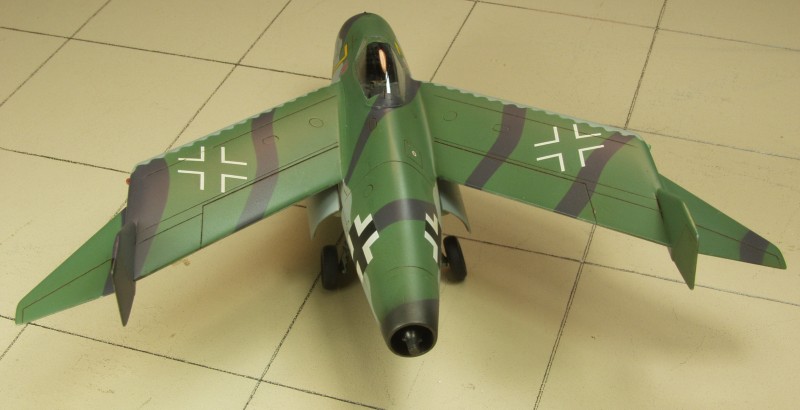
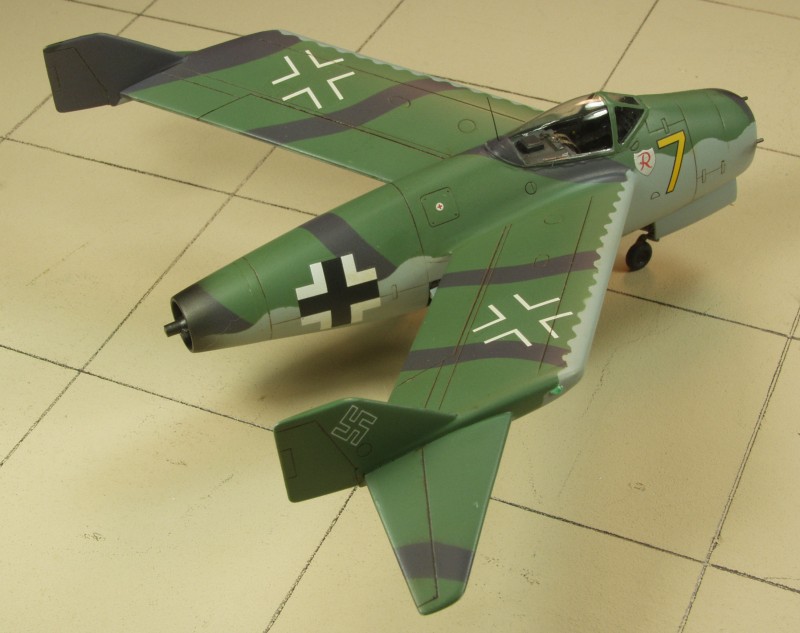
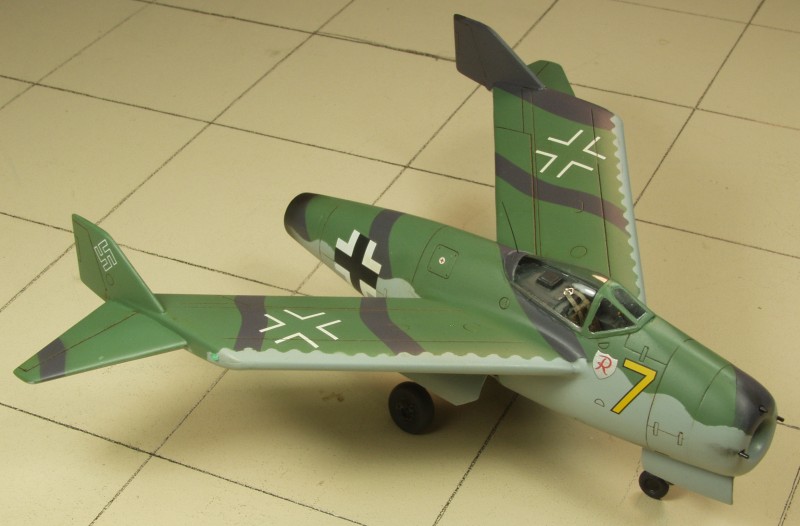
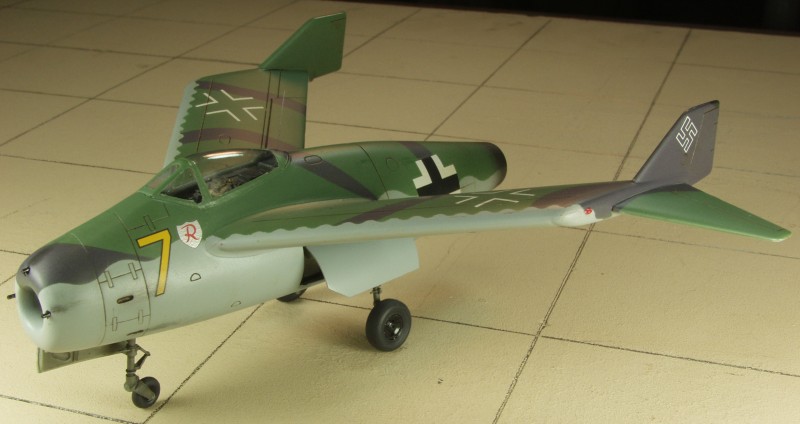
After languishing on the shelf of doom for seven years I finally pushed this one to completion but without any additional in progress photos. I initially had concerns about mounting the wings and winglets as they were all butt joints but in the end the surface area was large and the fit was reasonable and once glued up proved to be quite sturdy. It was a bit of a chore to mount the outboard winglets and get the angles correct. I had started masking the canopy years ago when the kit got set aside and after seven years the residue left behind would not all come off, even with Goo Gone. For paint I felt that the recharged Luftwaffe might have used some WWI heritage colors so that is what I went with. In the end I was quite pleased with how it came out and glad to get the box off the shelf of doom.
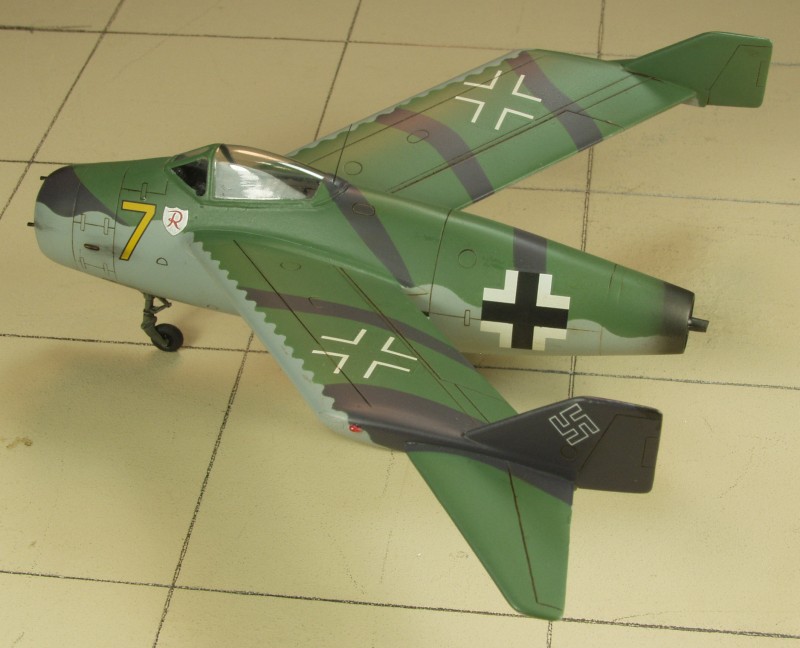
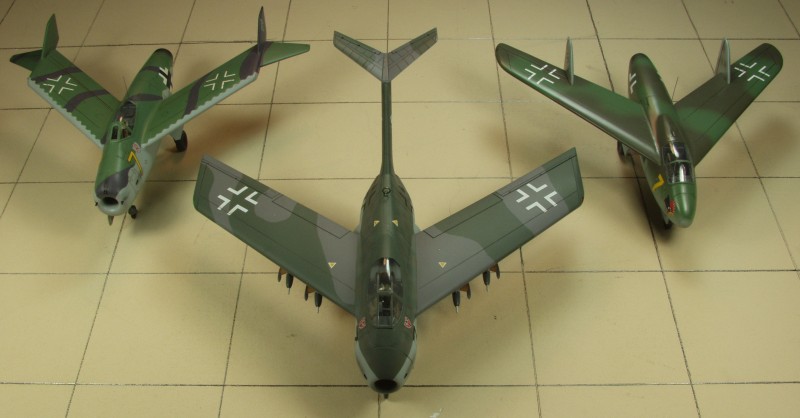
And here it is grouped with the winner and other runner up.
FM kits are far from being one of my favorites and this one had it's share of issues but that said I think it is one of FM's better kits but would still only recommend it to modelers with some experience working with limited run kits.
Back to the POST WWII Jets page
Updated 12/31/15