
Do 217N-1/2
The Do 217N-1 first flew on July 31, 1942 and apart from its power plants and the retention of the aft bomb bay, the N-1 was similar to the J-2 model. Initially they were armed the same as earlier night fighter models but to increase the weight of fire some had the battery of MG FF cannon replaced by a quartet of MG 151 cannon which had a higher velocity and better trajectory. On some craft the turret and lower gun position were removed and the lower position was covered with a long wooden fairing which reduced some of the aerodynamic drag. Such modified the designation was changed to N-1/U1. The Do 217 night fighters began to appear over a wide area during the course of 1943. They were operated in the Frankfort and Eindhoven sectors as well as on the Eastern front used in mixed groups with Ju 88C's. During the early months of 1944 the Do 217J's and N's began to disappear from the Nachjagdgeschwader and the process was complete by the middle of the year. Production of all versions of the Do 217 night fighter had totaled 364 aircraft, 157 having been delivered during 1942 and the balance in 1943. As was the case with some other modifications of existing types to the night fighter role the Do 217 wasn't particularly successful, lacking the necessary speed and maneuverability required for a truly successful machine.
The Kit
The basis for this version will be the Promodeler kit of the Do 217E-5. You can read the review for the base kit here.
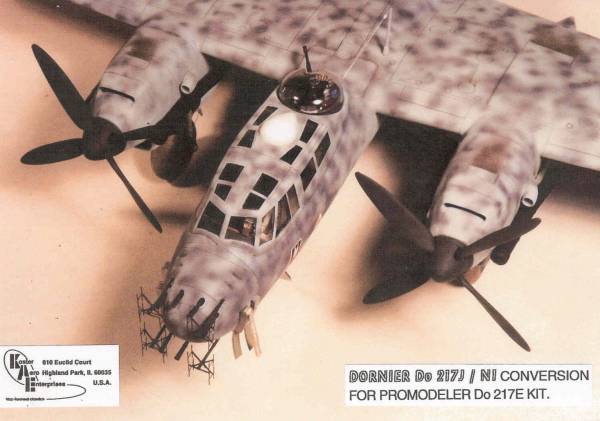
To convert it to the N-1 version requires the Koster Aero Enterprises kit # 31 which as of this writing was still available.
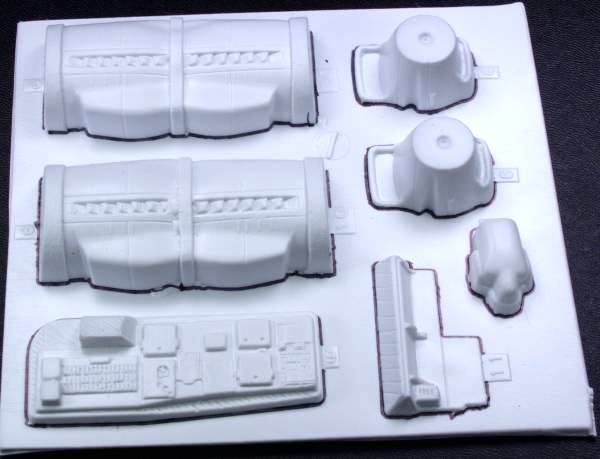
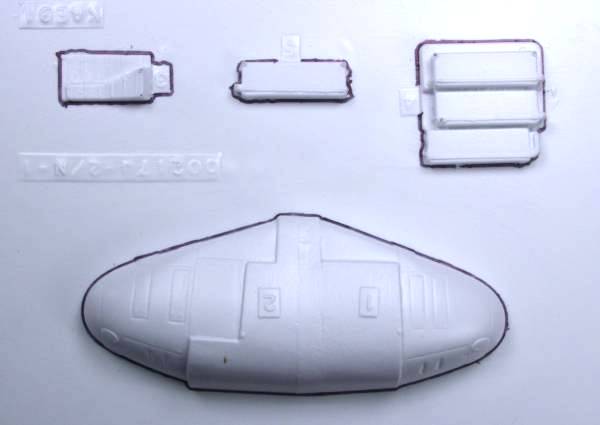
The kit comes in a compact plain vanilla corrugated box with only the kit name and number on the end. The kit allows one to make either the 217J which uses the stock Promodeler engines or the 217N with liquid cooled engines. Inside the box we find all manner of goodies. First off there are two sheets of vacuformed parts, one roughly 5" square and the other roughly 4" x 5". The larger sheet has the parts for the liquid cooled engine cowlings, a new side wall for the cockpit, an alternative armor piece for the pilots seat and a piece I have no clue on, as it is not show on the instructions. It may be used on the inline engined version of the 217K. The parts have recessed panel lines and about as crisp of detail that is obtainable using the vacuform process. The parts are formed from a thick styrene sheet which should give them good strength when assembled. The second sheet contains the replacement nose halves, some ammo boxes for the nose guns and a replacement platform for the gunner to work on the nose guns. See photos below.
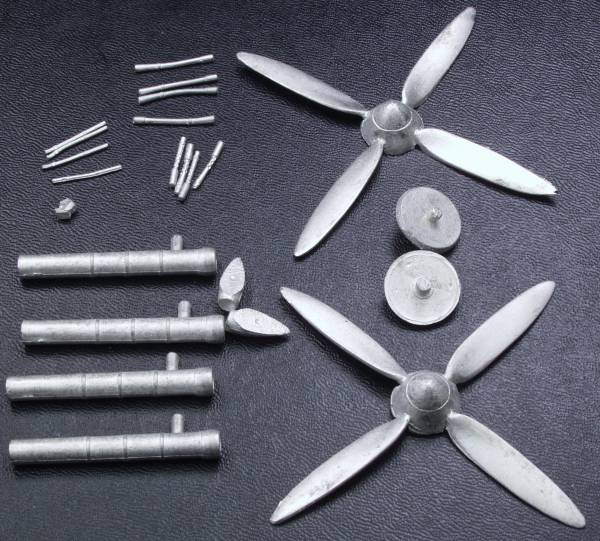
Next we have a bag of cast metal parts, these included two four-bladed props, the backing plates for the spinners, exhaust dampers, two air scoops for the engine cowlings and gun barrels for the nose guns and the support posts for the radar antenna. The parts are nicely done. A couple of my propeller blades needed to be tweaked to make them 90ş to each other but that didn't present any problems. See photo below.
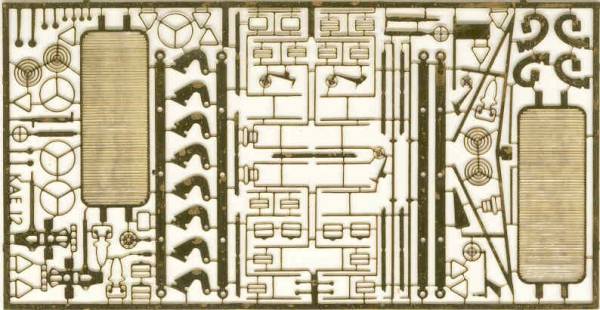
The set also includes a fret of photoetch that includes among other things, oil cooler grills for the engines, rudder pedals, grills for the flame damper intakes, gun sights for the hand held guns, harness and lap belt buckles and clasps, levers for the throttle quadrant, the parts the radar antenna and other assorted goodies. See photo below.
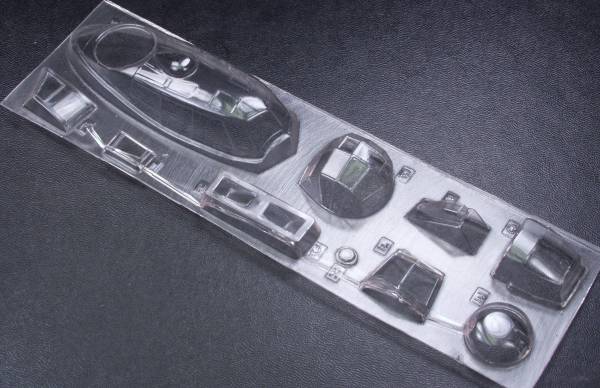
The set also includes a complete set of vacuformed canopy parts which includes the clear nose glazing that won't be used on this kit. the parts are clear and formed from much heavier stock than most vacuformed parts, which should make them a bit easier to work with. See photo below.
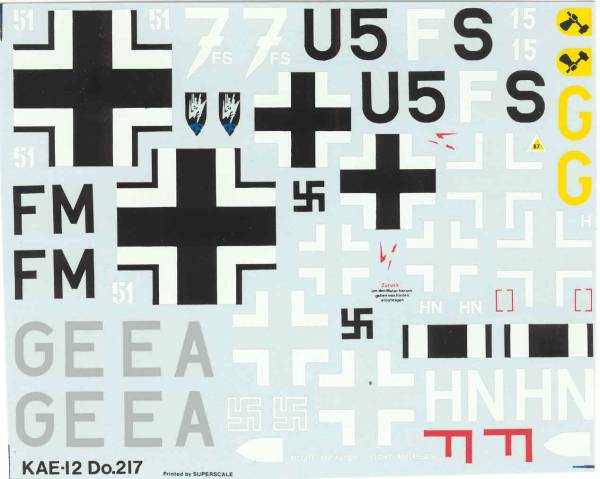
The set includes a sheet of decals. They appear thin and are in register except for the fuel octane stencil which would need to be trimmed a bit to even it up. The sheet is printed by Superscale and includes markings for two aircraft, one overall black and the other in a two tone 76 overall with 75 mottle on top. See photo below.
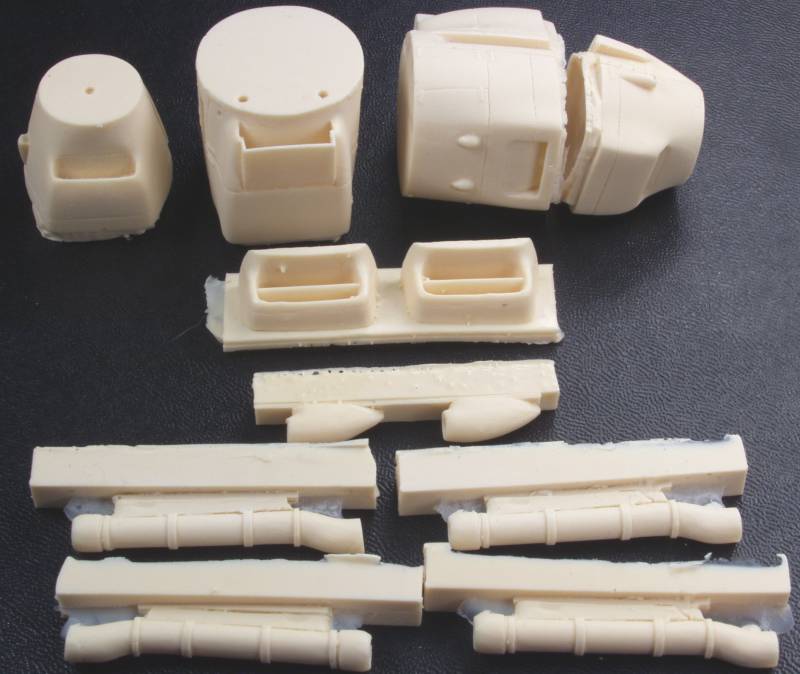
In 2012 Mike West of Lone Star Models released a set for the N-2 version which may prove to be a blessing for those who are hesitant to tackle vacuformed parts. This new set is all resin. Lets take a look at what it includes. First up is a solid resin nose.
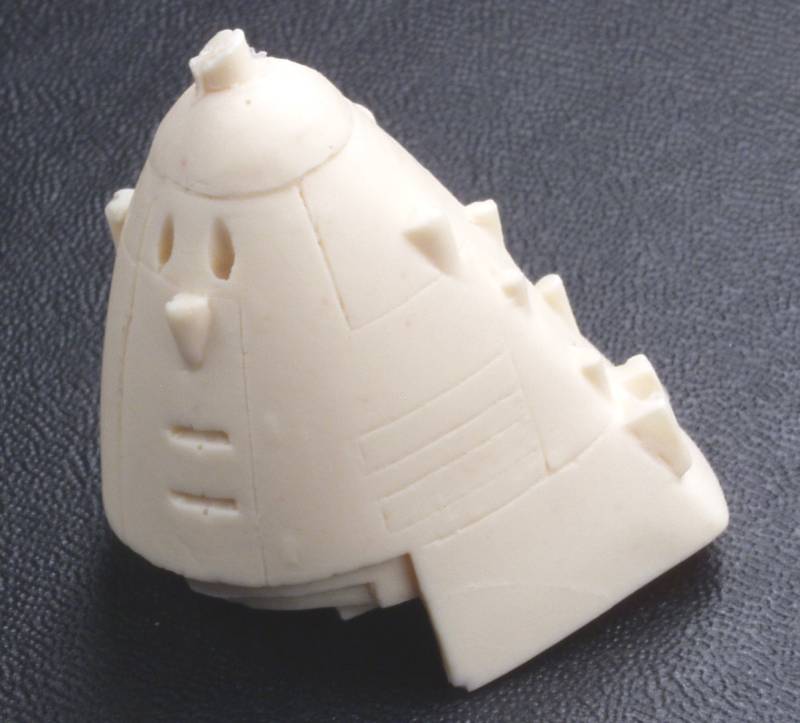
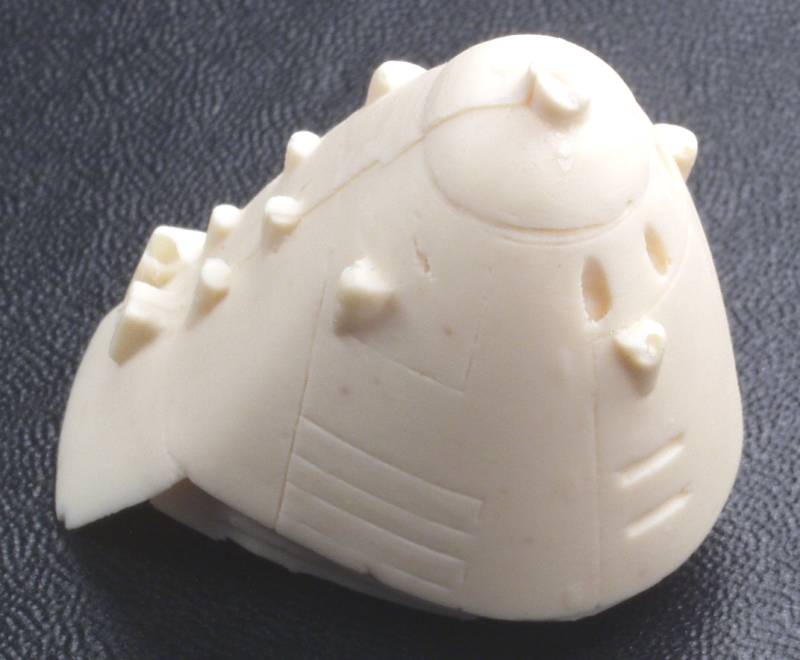
This is nicely detailed and though it does have a pour stub on the nose, a mold parting line and some surface anomalys to clean up, the resin provides much sharper detail that the vacuform part in the Koster set. Plus it also includes an interior bulkhead on the back side as seen below.
The engines are also molded in resin and are made up six parts, a front and rear section, lower intakes, two exhaust shrouds and two carburetor air intakes. There is some light flash to clean up and relatively small pour blocks to remove but again when cleaned up and assembled will have a much higher detail level that the Koster sets vacuform parts.
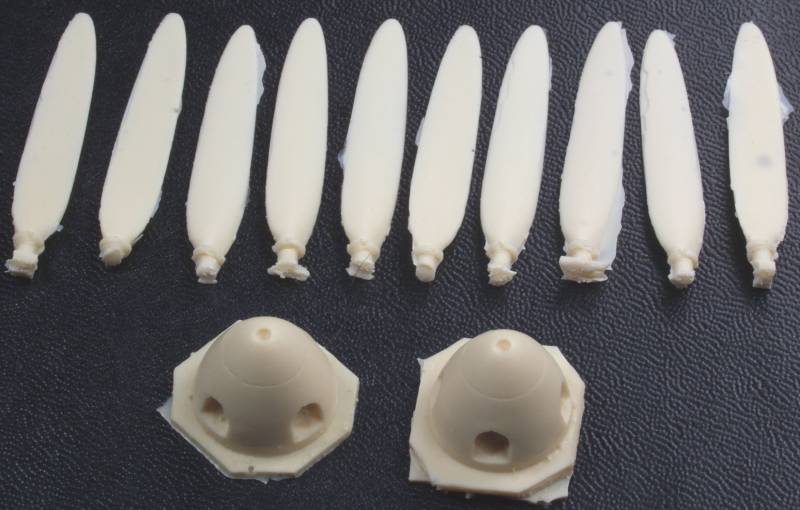
The propellers are made up of individual blades and a spinner. A couple of the blades had some major issues but extras were provided so it's just a matter of using the best 8 blades.
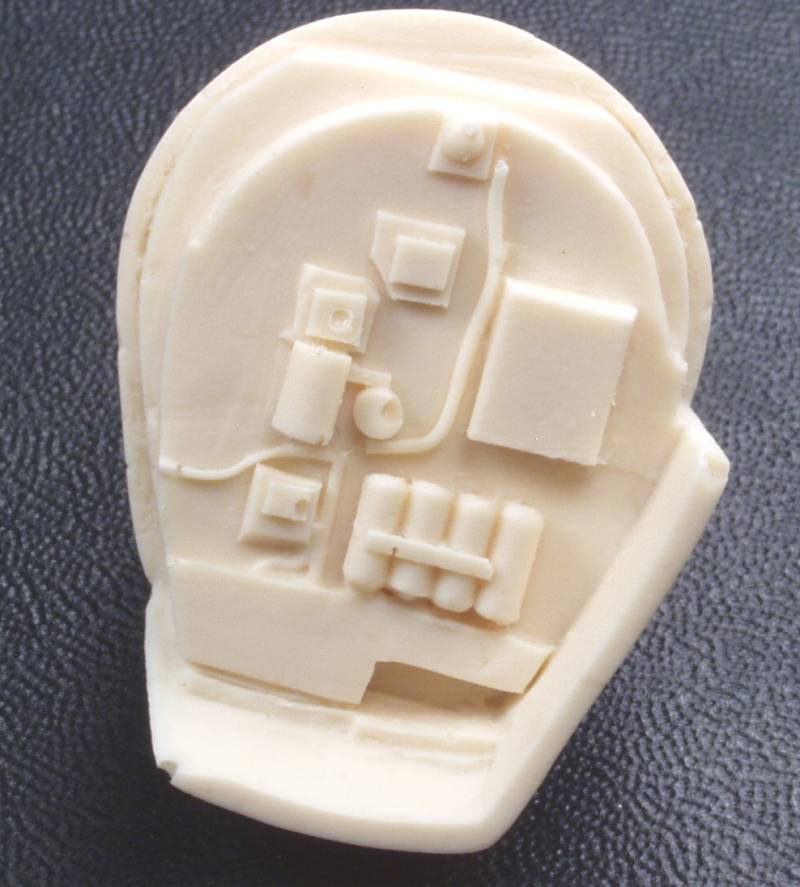
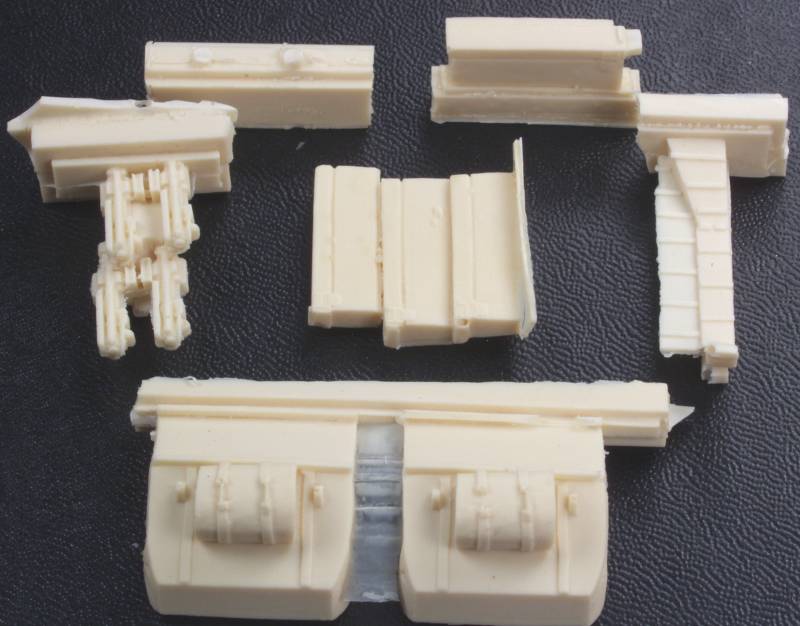
The interior parts consist of a set of four breech blocks for the nose guns, ammunition cases for the nose guns, the piece with the slats is an auxiliary floor the mounts next to the pilots floor and covers the ammo chutes to the forward most guns, and two forward bulkheads for the gear bay. These are all nicely molded with minimal flash and a few air bubbles that will need to be addressed.
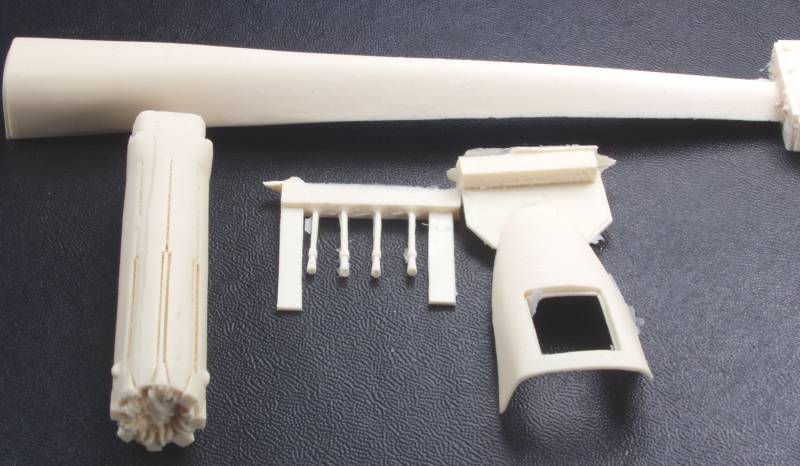
And lastly some exterior parts, at the top is a pannier that was used on some aircraft to fair in the lower gunners position to improve aerodynamics a bit. The strange looking long object on the left is a retractable braking chute, one of several devices that were tried to prevent the aircraft from overshooting its intended victim. Also included is four guns for the protruding one in the nose and a cover that can be used in place of the turret area on the kits canopy. The turret was omitted on some aircraft as a weight saving measure.
So would I recommend this over the Koster set ? Actually if you are serious about building an N series Dornier 217 I would get both. I like the one piece cast metal props in the Koster set better and the radiator screens in the Koster photo etch will look great behind the openings on the LSM set, not to mention all the other PE parts supplied in the Koster set as well as the decals.
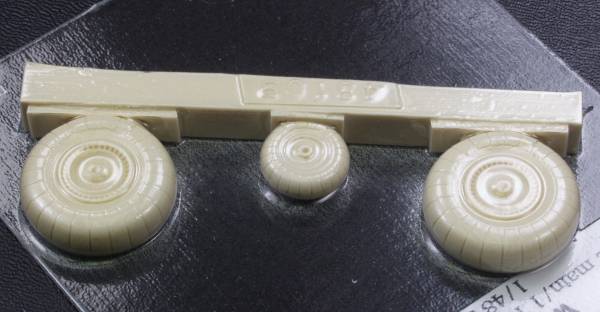
True details offers a wheel set in resin (48109) but doesn't really improve on the those supplied with kit except you don't need to glue them together. The kit wheels are flattened to simulate the aircraft weight. The True Detail wheels appear to be the same width as the kit wheels which I read somewhere were a bit narrow in width. See photo below.
Conclusions
This conversion kit is not for the faint of heart as it does require taking a razor saw to various donor kit parts. It also will help if you have had some experience working with vacuformed parts and photoetch. If you don't want to deal with the vacuformed parts then get the LSM set. The vacuformed parts are from a good heavy stock and will be much easier to work with than many vacuformed kits. It's really your only choice if you want this aircraft in this scale, there was an all vacuform kit by MPM but it would be much more work than required for this set. I would certainly recommend this conversion to anyone with a medium level of modeling experience.
Links to kit build or reviews
A review of the base model can be found here.
References
Last updated 8/1/12