Ar 234B V-16
The Arado Ar 234 began its life as a response to an RLM request for a long range reconnaissance aircraft designated by Arado as project E370. Arado was given a development contract for the design in February of 1942. This project received the RLM designation Ar 234 in April of 1942. As originally designed the aircraft was equipped with a skid and outriggers for landing and used a jettisonable three wheeled trolley for takeoff thus saving the weight and space required for a landing gear and making it available for additional fuel. The prototype flew in July of 1943 and proved to be a generally successful design.
The decision to build a bomber variant necessitated a number of changes including a set of normal landing gear. The B variant first flew in March of 1944. The B2 variants were reconnaissance platforms but were also fitted with bomber equipment and associated systems.
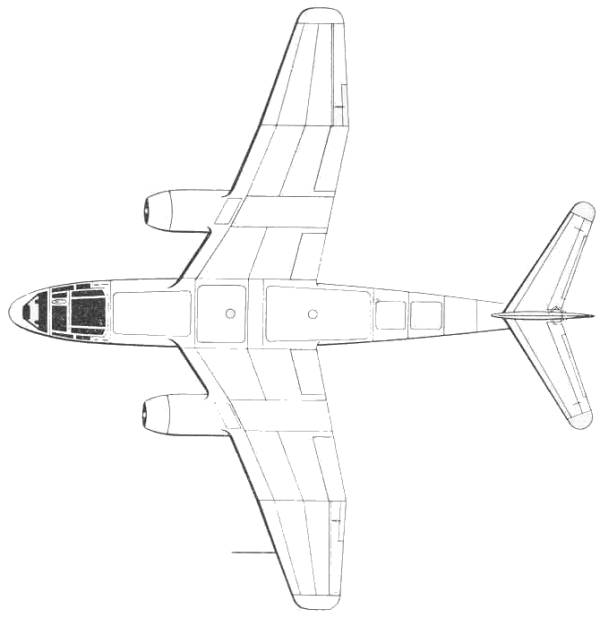
The V16 was an interesting prototype developed for testing the revolutionary crescent wing plan form designed by Arado's chief aerodynamicist Rudiger Kosin. With the crescent wing the V16 had a leading edge sweep of 37 degrees inboard, decreasing in two steps to 25 degrees outboard. Thrust would have been supplied by twin BMW 003R composite turbines. The "R" designation referred to rocket drive. A single HWK 509 bi-fuel liquid rocket drive had been attached to each of the 003 for providing additional thrust during take off and/or rapid climb during night fighting. In April 1945 the experimental crescent wing was ready to be attached to the fuselage of V16 (Wr.Nr 130026, coded PH+SX), but before that could be accomplished the Arado facility was overrun by British troops and the new wing and the aircraft itself was destroyed during the fighting. However, the wind tunnel test data and design plans were salvaged and in 1951 the Handley Page Company resurrected the crescent wing idea for use on it Victor bomber.
The Kit
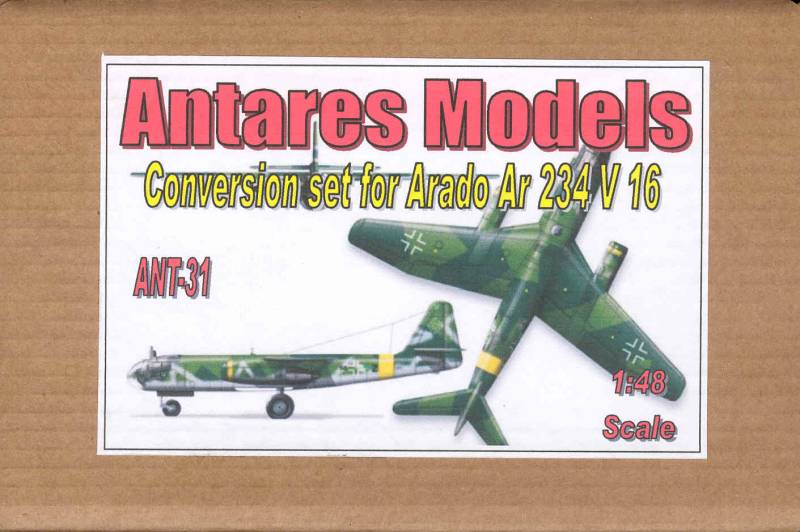
This is not a kit review so much as a conversion set review. The conversion set will be used with one of the Hasegawa Ar 234B kits which are already reviewed in this section, so you can refer to those if need be. The Antares Models conversion set arrives in a sturdy cardboard box roughly 7" x 5" x 2". Inside the parts were either wrapped in bubble pack or bagged or both and nestled in styrafoam peanuts. All parts were intact and undamaged which is good considering they were shipped from Argentina.
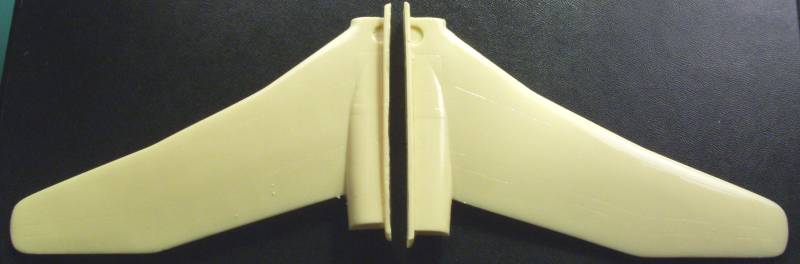
This is a resin conversion kit and consists of two wing castings, two main engine housing castings, two engine exhaust castings, two engine starter castings and two horizontal stabilizer castings. Like most resin kits from South America the resin is hard with a glossy finish compared to the softer matte finished parts from most every where else. The wings are cast as one piece left and right with an integral part of the fuselage which should slip into the fuselage cavity of the kit in a similar manner to the kit wings. The wings in my set were nicely cast with no warps or bows. There was very little if any flash on the parts and, not unexpected, there were a few minor pin holes and a couple of very small rough spots that will need to be dealt with. The panel lines are recessed to match the kit but a bit smaller and lighter than the kit and the demarcations for the flaps and ailerons seemed a bit too light to me but should be easy to fix with a little scribing. The casting block looks like it would be best removed by sanding on a flat surface. Sawing would most likely result in a rough edge that would need sanded and if too much is removed you will end up with a gap between the two right down the center of the top. The engine castings are nicely done and there are a couple of pin holes to fill. The intake side is pretty amazing as it extends nearly a half inch into the housing and there is still engine face detail at that depth. Getting the engine starter housing attached and centered that deep in the intake may prove to be interesting. The other parts included are the horizontal stabilizers and the same comments about the wings apply here as well. The stabilizers are swept back and will be butt mounted. It may be necessary to fill the tab holes for the kit stabilizers with some styrene in order to provide a gluing surface. The stabilizers are very thin and it looks to be difficult to insert a rod to provide addition strength. No decals are provided but the necessary ones shouldn't be that hard to find. Photos of the parts are shown below.

The instructions are printed on two A4 size sheets, the first page contains a brief history and notes on cleaning and assembling resin parts. The second page contains a drawing showing roughly how everything goes together.
This looks to be a pretty straight forward conversion kit which when completed will provide a unique looking Luft 46 aircraft for your collection. One never knows for sure till you dive in just how well every thing will go together but this one looks much better from the get go than many I have looked at and I think anyone with a couple of resin conversions under their belt would not have that much trouble with this one.
Links to kit build or reviews
Kit builds / reviews...None that I have found
References
"Warplanes of the Third Reich" by William Green
Back to the Post WWII Jets page
Last updated 5/17/13