
Ju EF 128
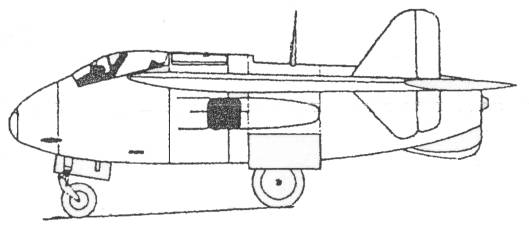
This aircraft was one of
numerous German designs that was on the drawing board or an advanced
state of design at the end of the war. I was drawn to it because of
the similarities to the Chance-Vought F7U Cutlass built in the early
50's, although Chance-Vought is said to have used information for
their design from Arado advanced design information. The design was
one of several that was submitted in February of 1945 for the
Emergency Fighter Competition. It was to have a pressurized cockpit
with ejection seat and armor protection. It was to be powered by a
Heinkel-Hirth HeS 011 jet engine and armed with two MK 108 30mm
cannon, wind tunnel tests of a model were favorable. For additional
information on this interesting design check out the Luft
46 site.
The Kit

The only 1/48 scale model of this aircraft is made by Arba and is a mixed media kit consisting of resin and pewter parts. See the photo below for the contents of the box.
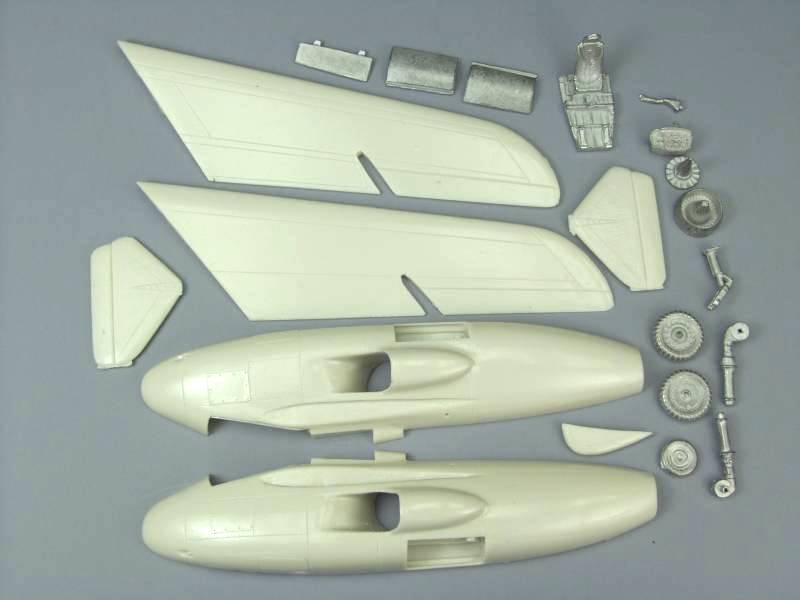
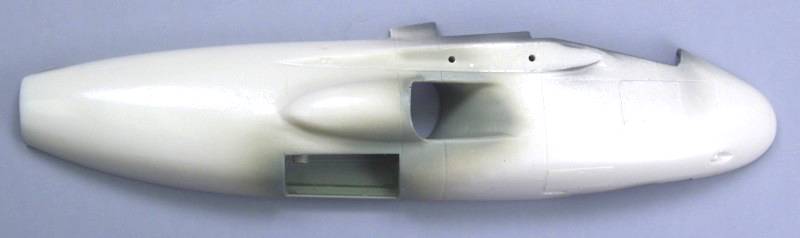
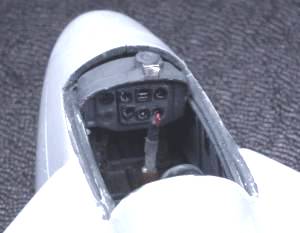
The kit consists of 7 resin parts, 14 cast metal parts and 2 clear canopies. The resin is a tan color and seemed to have a slight orange peel texture to it. The only clean up that had been done in the above photo was to remove some flash from the fuselage air intakes. The metal parts consist of the gear doors, pilot's seat with harness molded in and floor, stick, control panel, intake and exhaust ends of the engine, wheels and gear struts. I was glad to see the metal struts as I have heard stories about resin struts bending under the weight of the model over time. Although most of the detail on the metal parts is good the bottom portion of the seat, the control panel and the wheel centers seemed to be a bit soft detail wise. The fuselage is solid except for the engine intakes the cockpit area and the gear bays. A photo of the cockpit bay shows the detail molded into the side walls is below.
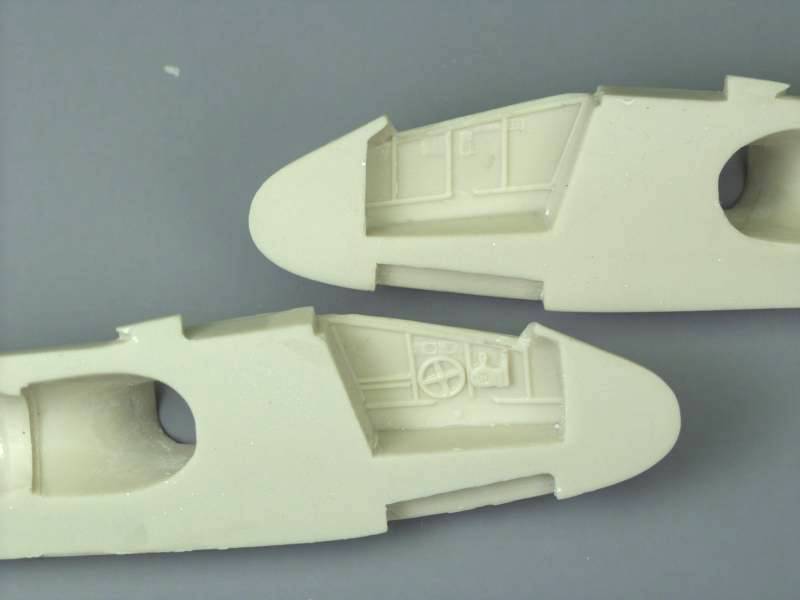
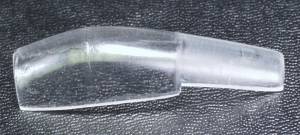
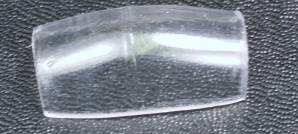
Not a lot of detail but considering the plane was never built, it is all some what speculative anyway ! I was most impressed with the large and rather complex shaped intakes. There was a web of flash that needed to be removed and a parting line that gave me fits trying to figure out how to get to it but it must have been an interesting challenge to create a mold for it. The molds were free of bubbles and pin holes and the panel lines seemed nice but maybe just a little light in a few places. The metal parts and the canopy, shown below, of which you get two ,were bagged separately and all parts were in good condition when received.
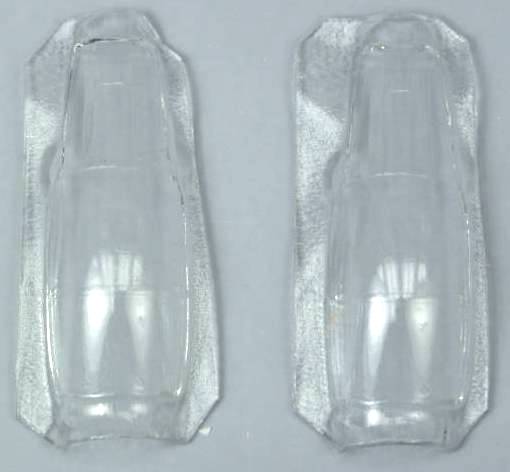
The canopies were anything but clear and Future only helped a little. A spare is always a good thing ! The kit does not come with any decals so you are on your own to come up with something. This is going to be my first resin kit so it should be interesting !
Construction
The first thing I did was clean the web of flash out of the intakes. The web came out easy enough but the parting line followed the rather complex lines of the intakes and was difficult to get to. A set of riffler files would have been handy. What I couldn't get with ordinary tools I finished off with a piece of sandpaper rolled up into a tight tube, something like a round file only finer !
Next up I test fitted the fuselage halves. They lined up well but the mating surfaces needed to sanded on a sheet of sandpaper taped to a glass plate to make sure they end up as flat as possible. The trick here is to take it easy, take off too much and the fuselage internal parts will not fit correctly in the fuselage. When the seam line reach the point where it was no wider than a panel line I stopped. The exhaust end of the fuselage was not as round as it should have been so I taped the fuselage halves together and used a variety of different drill bits and a tapered reamer, gradually increasing in size and slowly worked out it out to round taking care not to force things. I find when I try carving or filing it always ends up something other than round.
Next I cleaned up the pilot seat / floor and test fit it in the fuselage. I needed to file some off the back bottom corner of the floor to match the less than square corner of the inside of the pit. Other than that the fit was good ! The castings for the jet engine intake and exhaust ends required very little work to clean up but test fitting showed that at least the intake end was going to be a bear to get in the correct position by just gluing it to one half first.
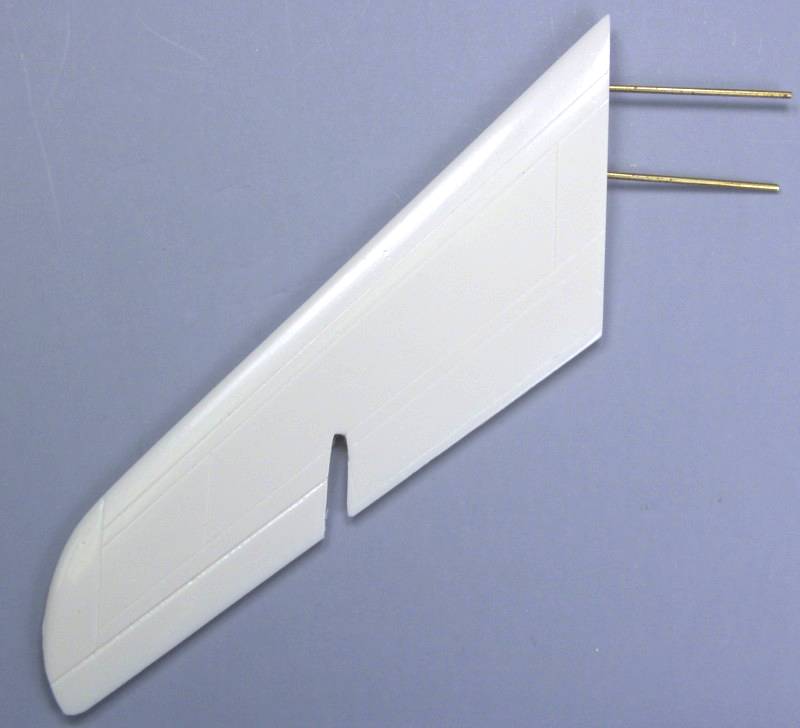
The fuselage internal areas were painted the appropriate colors as were the interior features. The engine intake which had the input turbine blades represented on it was left natural metal and highlighted with a black wash to pop out the blades. The exhaust end was paint with burnt iron. Prior to gluing the fuselage together I marked to locations where I wanted to install some reinforcing pins to strengthen the wing to fuselage connection. I drilled these using a drill press to keep the holes straight. I then taped the fuselage halves together and using the first two holes as guides drilled through the other side of the fuselage with a pin vice. The fuselage halves were separated again and holding the wings in the correct position marked where the holes needed to go in the wing. These were then drilled by hand being careful to make certain that the drill went in straight and true to the wings. I used some .046" diameter brass wire that I had on hand for the reinforcement. By going clear through the fuselage with them they will help align the fuselage halves during gluing. The photos below show the holes in the fuselage and one wing with the wires inserted.
Once this was done I wet sanded the wings, fuselage and vertical tail surfaces with 600 grit sand paper to remove and surface irregularities and to eliminate the slight orange peel the surface exhibited. Once all the parts had been sanded the fuselage was assembled using 5 minute epoxy. Once it had cured the excess epoxy was cleaned up and the wings were then attached also with epoxy. They fit fairly well but some filler was require on the top side wing roots. The lower tail fin was attached with super glue. After the wing fillets were filled and sanded a coat of primer was applied. As is usually the case the primer showed up some spots that needed more filler and some pin holes that needed filled. The photo's below show the results after touch up but before re priming.
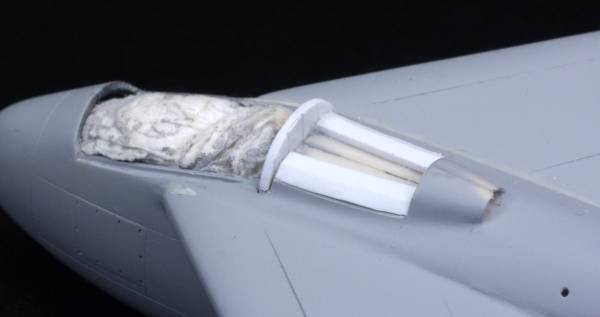
At this point I needed to get the canopy fitted. This turned out to be laborious process. It took a lot of sanding and trimming to get the front part to fit and the rear portion didn't even come close. I tried to fill in the gap with some styrene but it didn't seem to help that much. After looking at some artwork and drawings in a Luftwaffe projects book I noticed that the portion extending behind the pilots seat wasn't shown as clear. At that point I decided to cut the rear portion off, and use the rear of the canopy to create a bulkhead. After gluing it in I filled the space between the bulkhead and the fuselage with Magic Sculpt. Once set up it was sanded to shape. The next photo shows the canopy before and after.
The next two photos show the fuselage before and after filling.
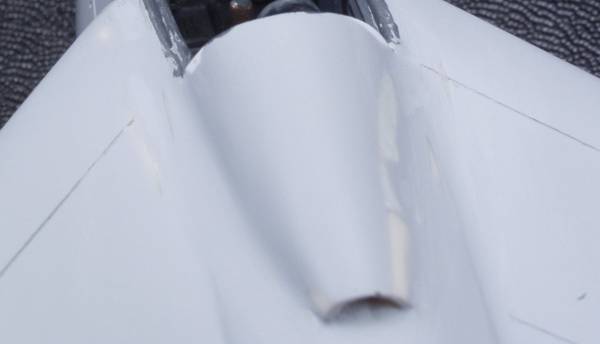
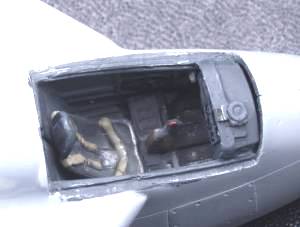
At this point I needed to get the cockpit buttoned up so painting could begin. The only thing that needed installed was the instrument panel and again fit issues reared their ugly heads. There wasn't enough room for the gun sight to fit under the canopy even after lowering the panel as much as I could. I tried shortening the reflector part to no avail and since the canopy was a bit thick and not all that clear I finally gave in and cut it clear off. Even at that with the panel installed fit was still not that great. The next two shots show the cockpit before canopy installation. The gap at the top of the panel won't be seen as it's covered by the canopy frame.
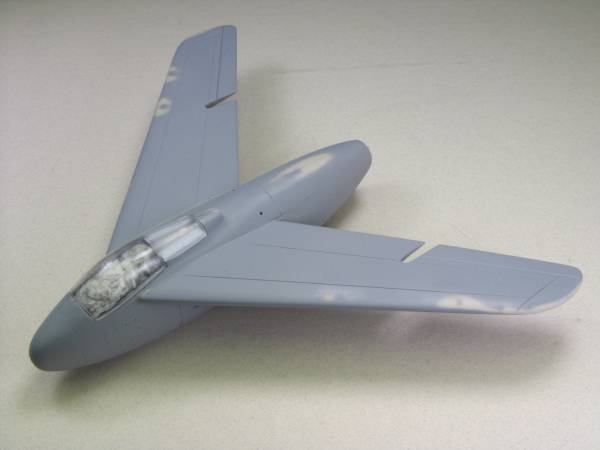
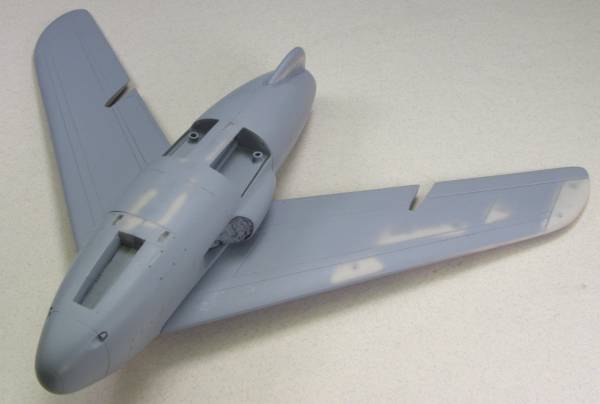
The canopy was masked and then installed. It fought me all the way and I ended up holding one side in place and using super glue and accelerator then doing the same with the other side. I still had gaps that needed to be filled and some trimming to do. After everything was filled to my satisfaction a final coat of primer was put down followed by the three final colors in order from light to dark. After drying a coat of Future was applied followed by the decals and another coat of Future with some Tamiya flat base. I wanted a semi gloss finish and I kept weather and wear and tear to a minimum as I felt had this aircraft made it to squadron service they probably would have had a rather short service life. After a panel wash the balance of the fiddly bits were installed and photos below show the final product.
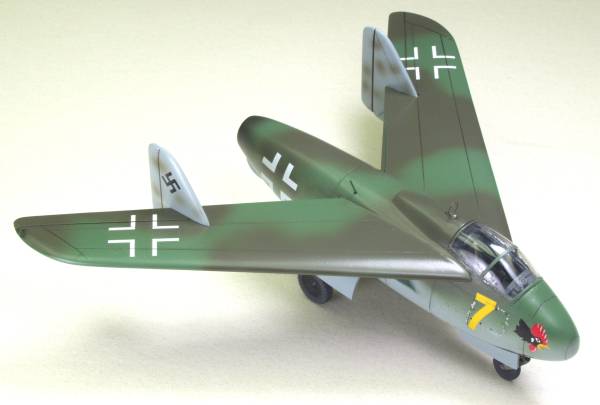
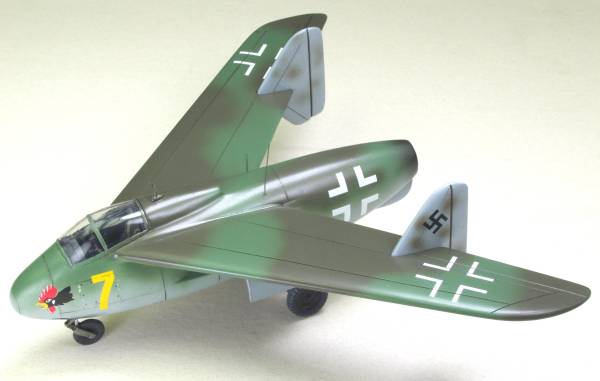
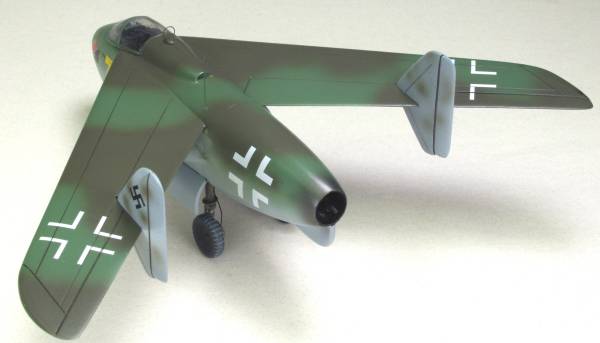
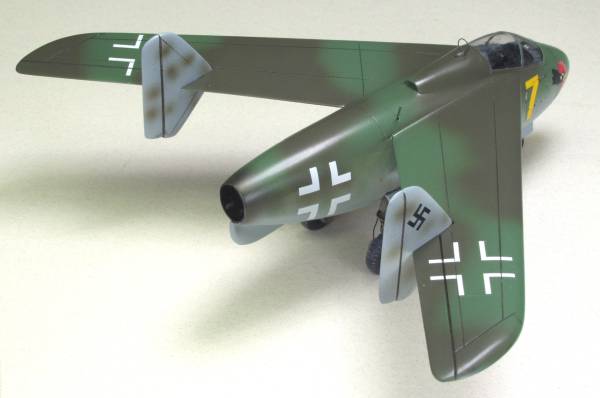
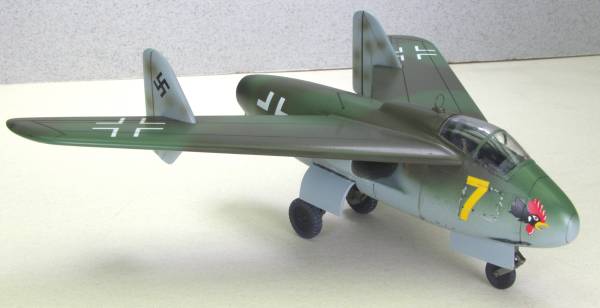
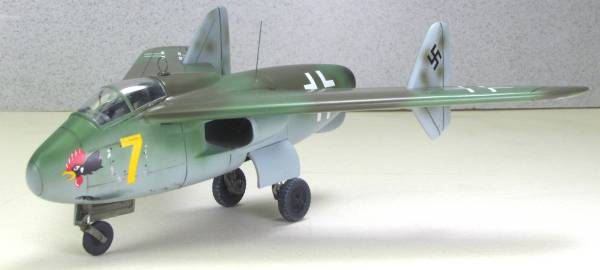
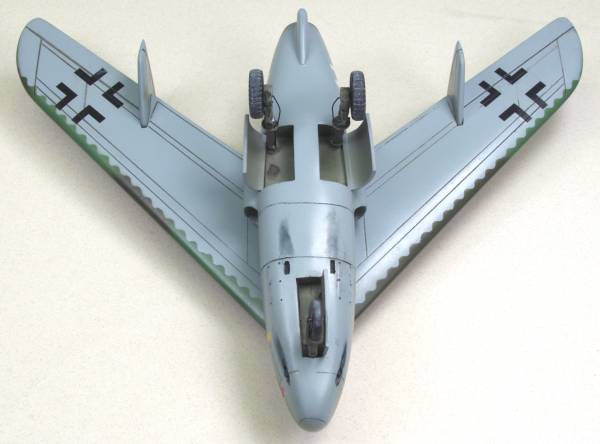


The
unit
markings were borrowed from the Ta 183 sheet and are meant to
represent JG 52. The national markings and swastikas came from various
generic sheets. As my first foray into resin I was quite pleased with
the outcome and there will be more resin kits in my future builds. The
kit was rather sparsely detailed and I could have gone nuts dressing
it up but just wasn't motivated to do so, especially on an aircraft
that never got beyond the mock up stage.
Links to kit build or reviews
I could find no reviews or builds for this kit which is the reason I went into detail here.
References
Back to POST WW II Jets page
Last updated 4/24/08